Are you looking for a way to cover or hide parts of your website content? Then you need to know about redacted text in WordPress and how to do it. We are going to cover it all in this guide.
The good news is that learning how to redact text in WordPress is easier than you might think. Using a straightforward tool like the Eyes Only plugin, you can hide text manually using the WordPress editor or configure it automatically in your plugin settings.
Why Redact Text in WordPress?
Before we look at how to create redacted text in WordPress, let’s take a look at what it is and why you might want to do it. First, to “redact” simply means to censor or obscure specific parts of the text:
In the example above, the customer’s identity has been hidden – or redacted. This is a common use case.
In general, proofreading is often necessary for legal or privacy reasons, but when it comes to online publishing, there are a few different scenarios in which you might want to do it.
For example, let’s say you’re a freelance accountant who runs a financial blog. In your tutorials, you may want to provide real world examples of official documents being partially filled in without revealing any sensitive information.
Alternatively, if you offer premium content on your site, you might want to entice people to become paying customers with edited text in WordPress. You can provide a preview of your content, blurring out the most valuable details, thereby encouraging people to sign up for your membership site or online course.
How to redact text in WordPress
Now that you know why you want to create modified text in WordPress, we are going to show you how you can do it in three steps!
Step 1: Install and Activate the Eyes Only Plugin
The best thing about WordPress is that it allows you to extend its functionality using plugins. When it comes to reform, the easiest way to do it is eyes only Placement
So, the first step is to navigate to your WordPress dashboard. then go to Plugins > Add New and search for “eyes only:”
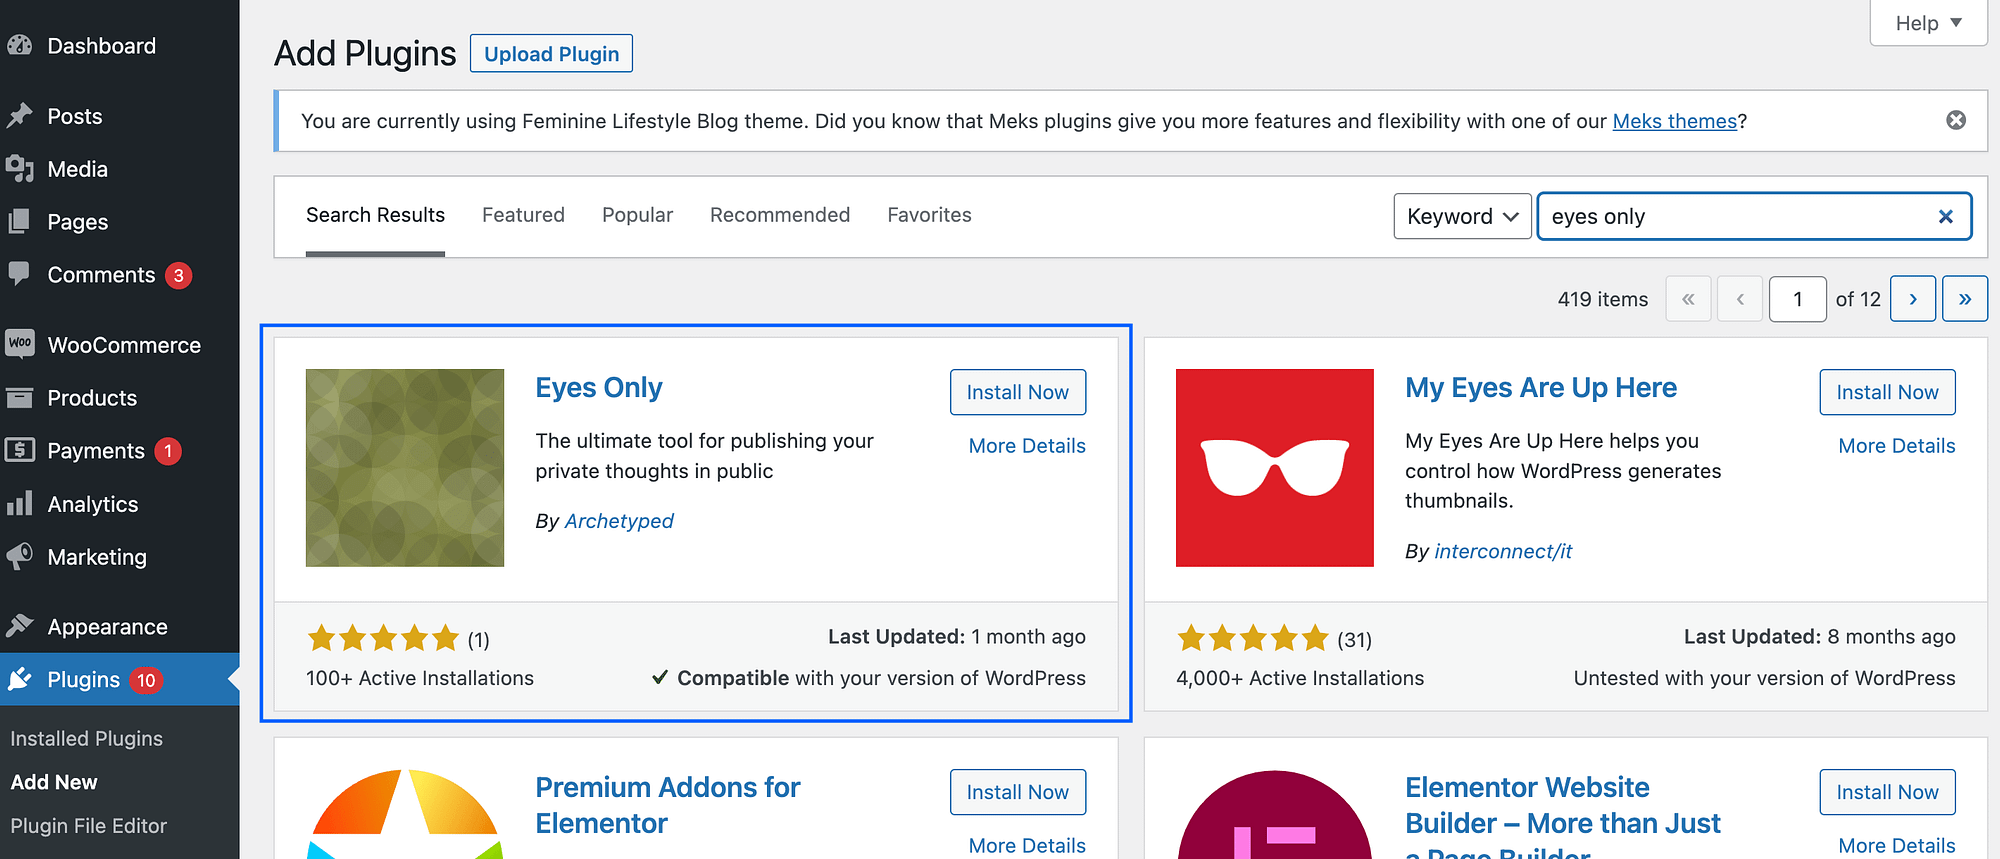
After locating the tool, click on Install Now After Active, Eyes Only doesn’t require any configuration, so you’re now ready to move on to the next step!
Step 2: Manually Redact Text in the WordPress Editor
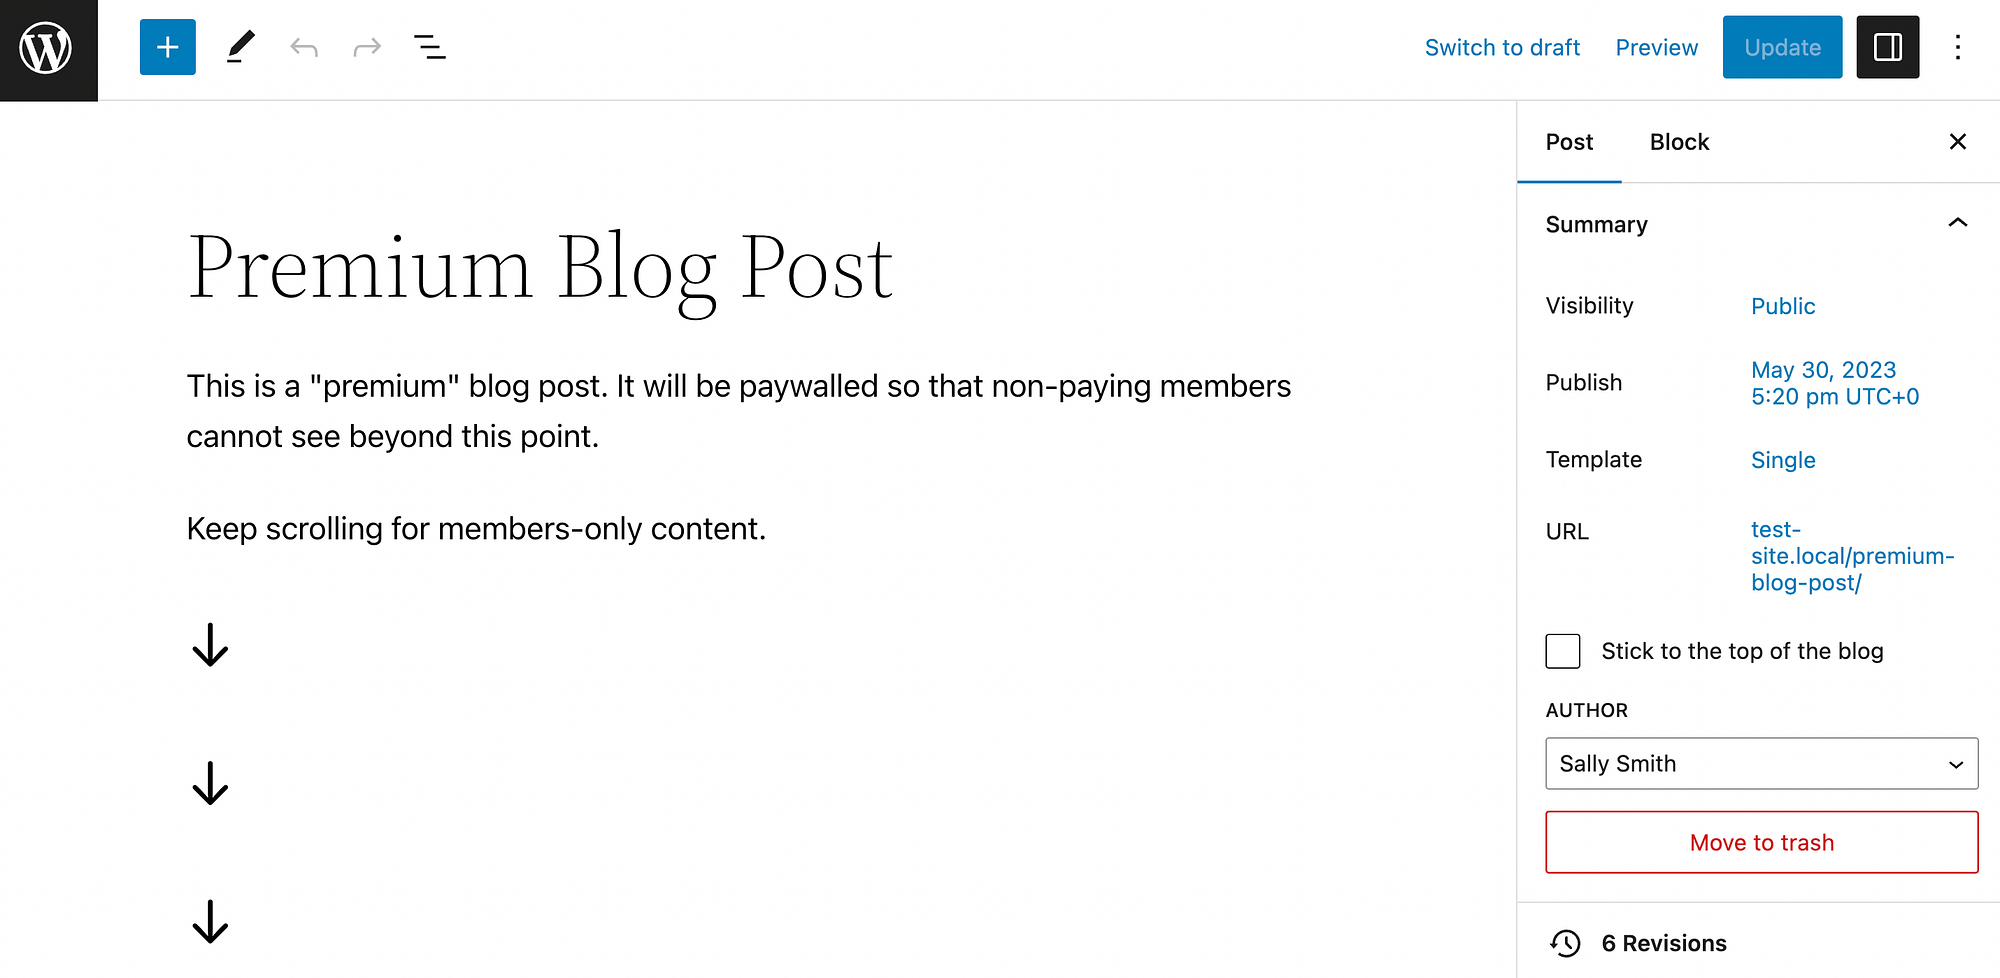
If you only need to edit a small amount of text or a singular blog post, you may want to do this manually. To get started, simply navigate to a page or post that contains the text you want to hide. Then, open the block editor.
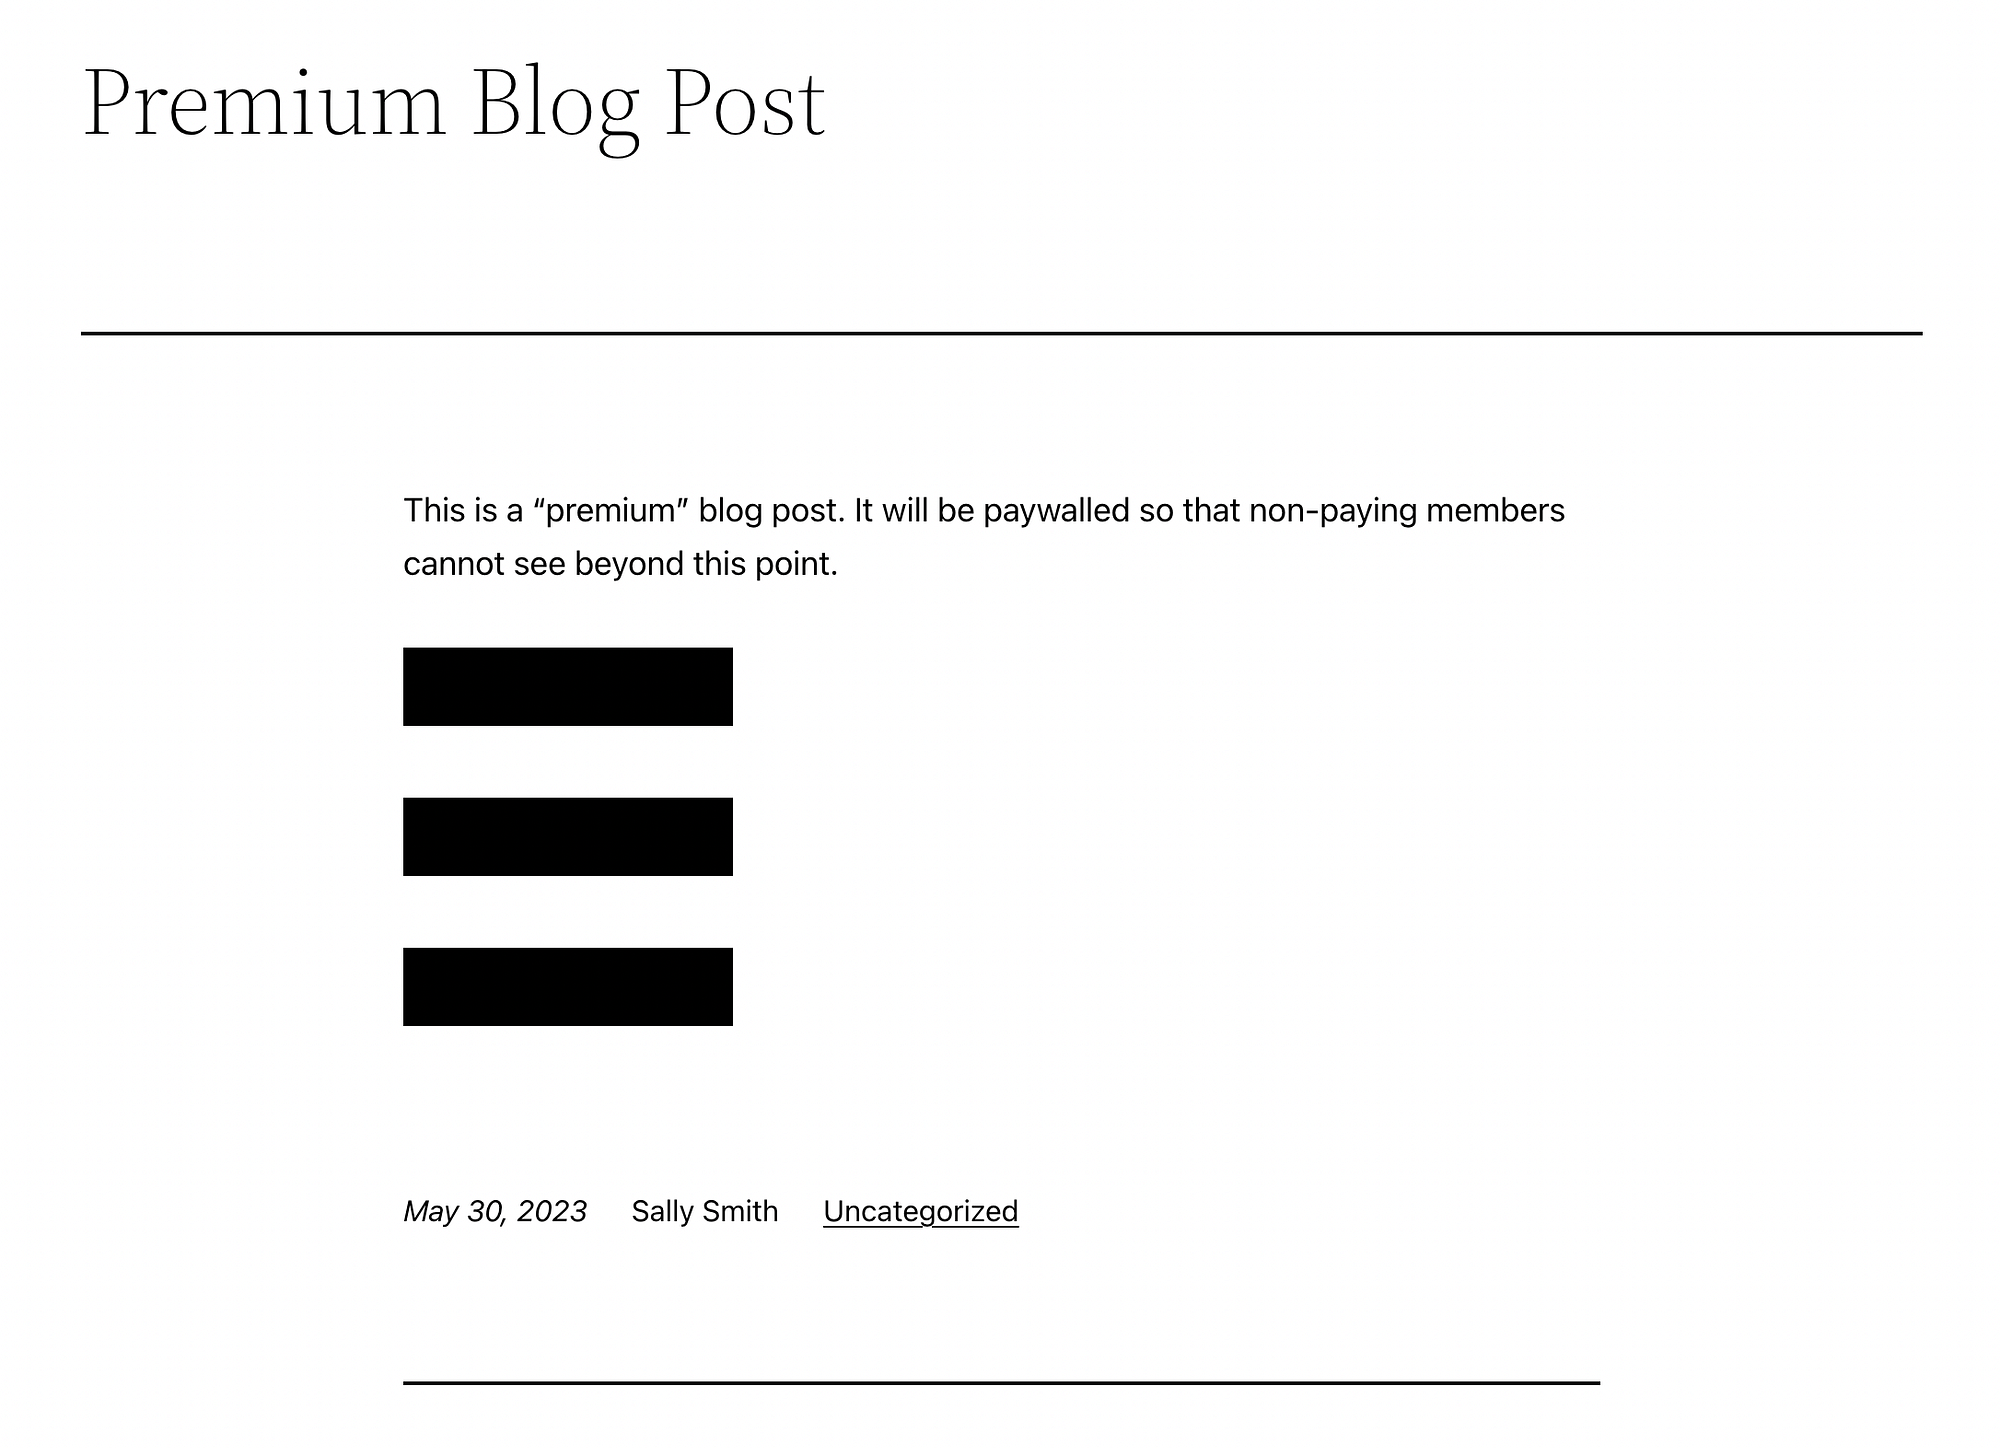
For our example, we’ll edit a “Premium” blog post:
To start editing, just click three vertical points on the far right of your horizontal menu. this will open your Option, search Editor panel, and select code editor,
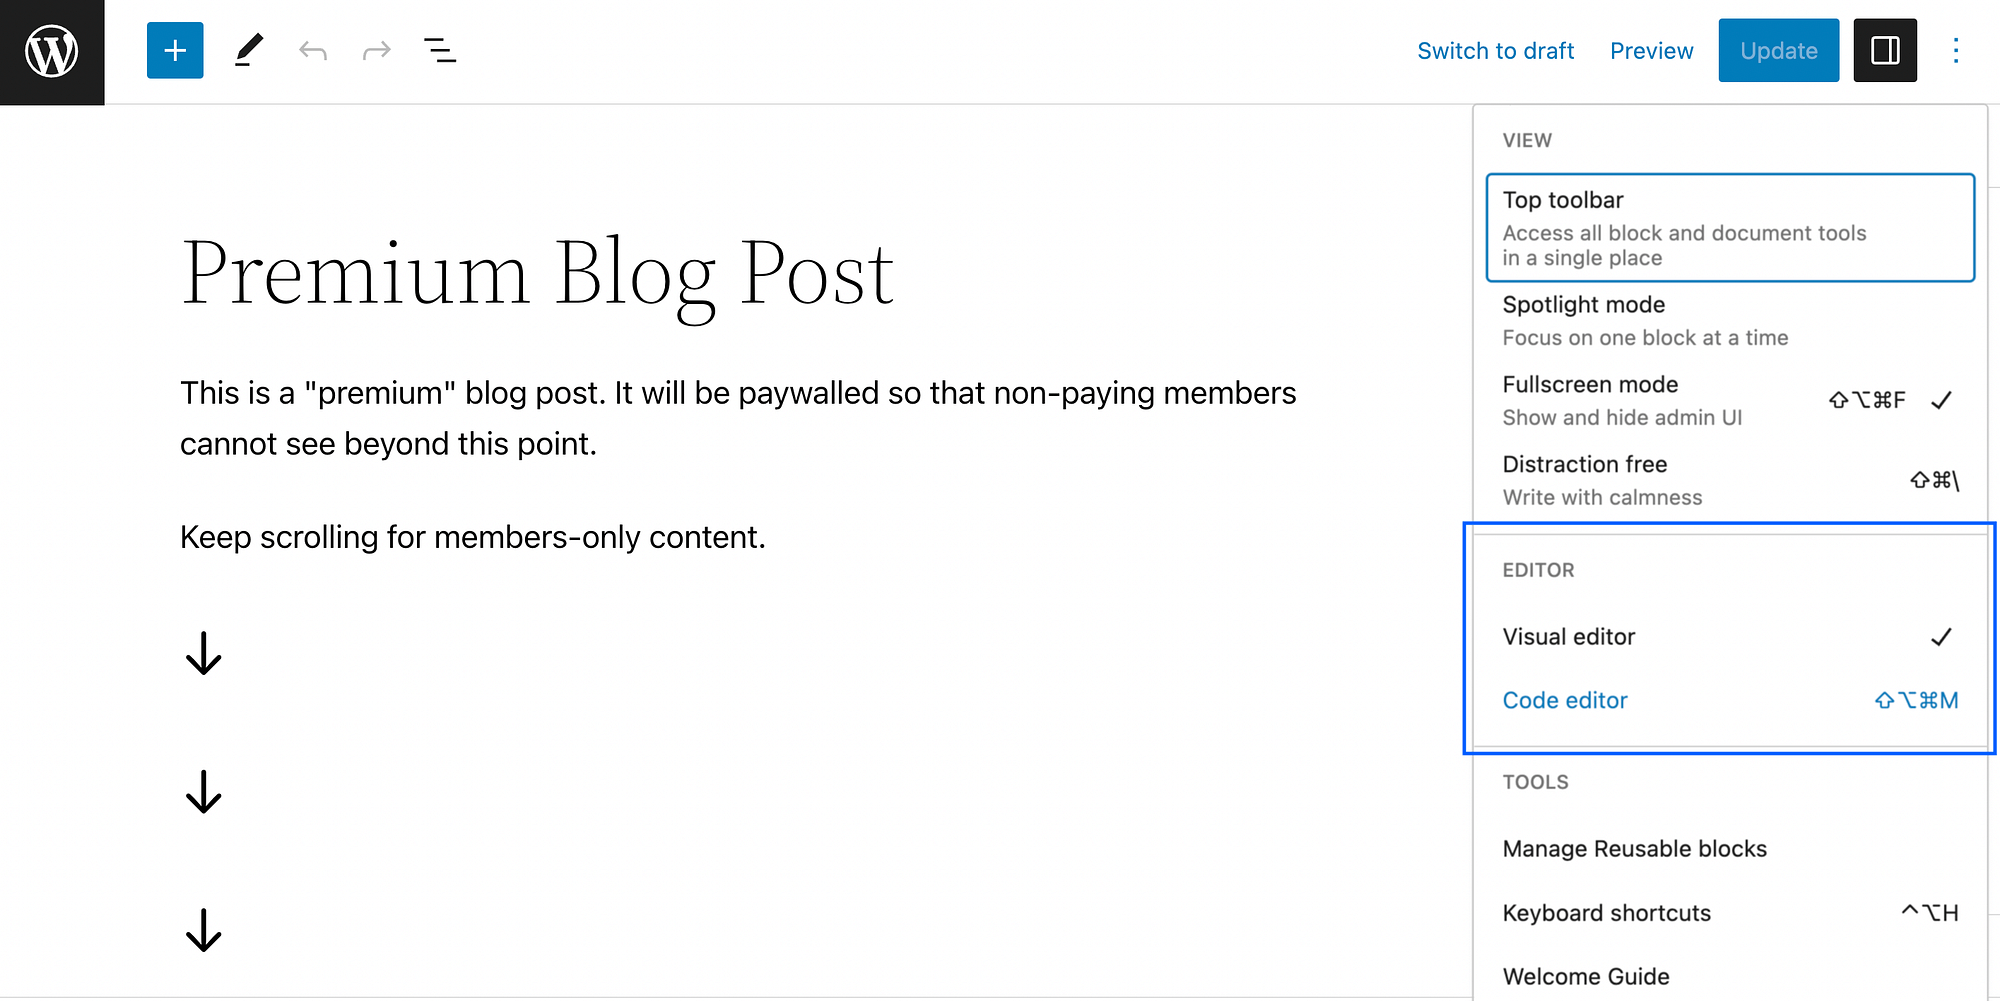
This will automatically switch you from a visual editor to a code editor, but don’t stress! We’re only going to use the most basic HTML here.
Next, locate the location where you want your modified text to start in WordPress. here, type [redact], Then, find the point where you want to end editing and type [/redact] anymore:
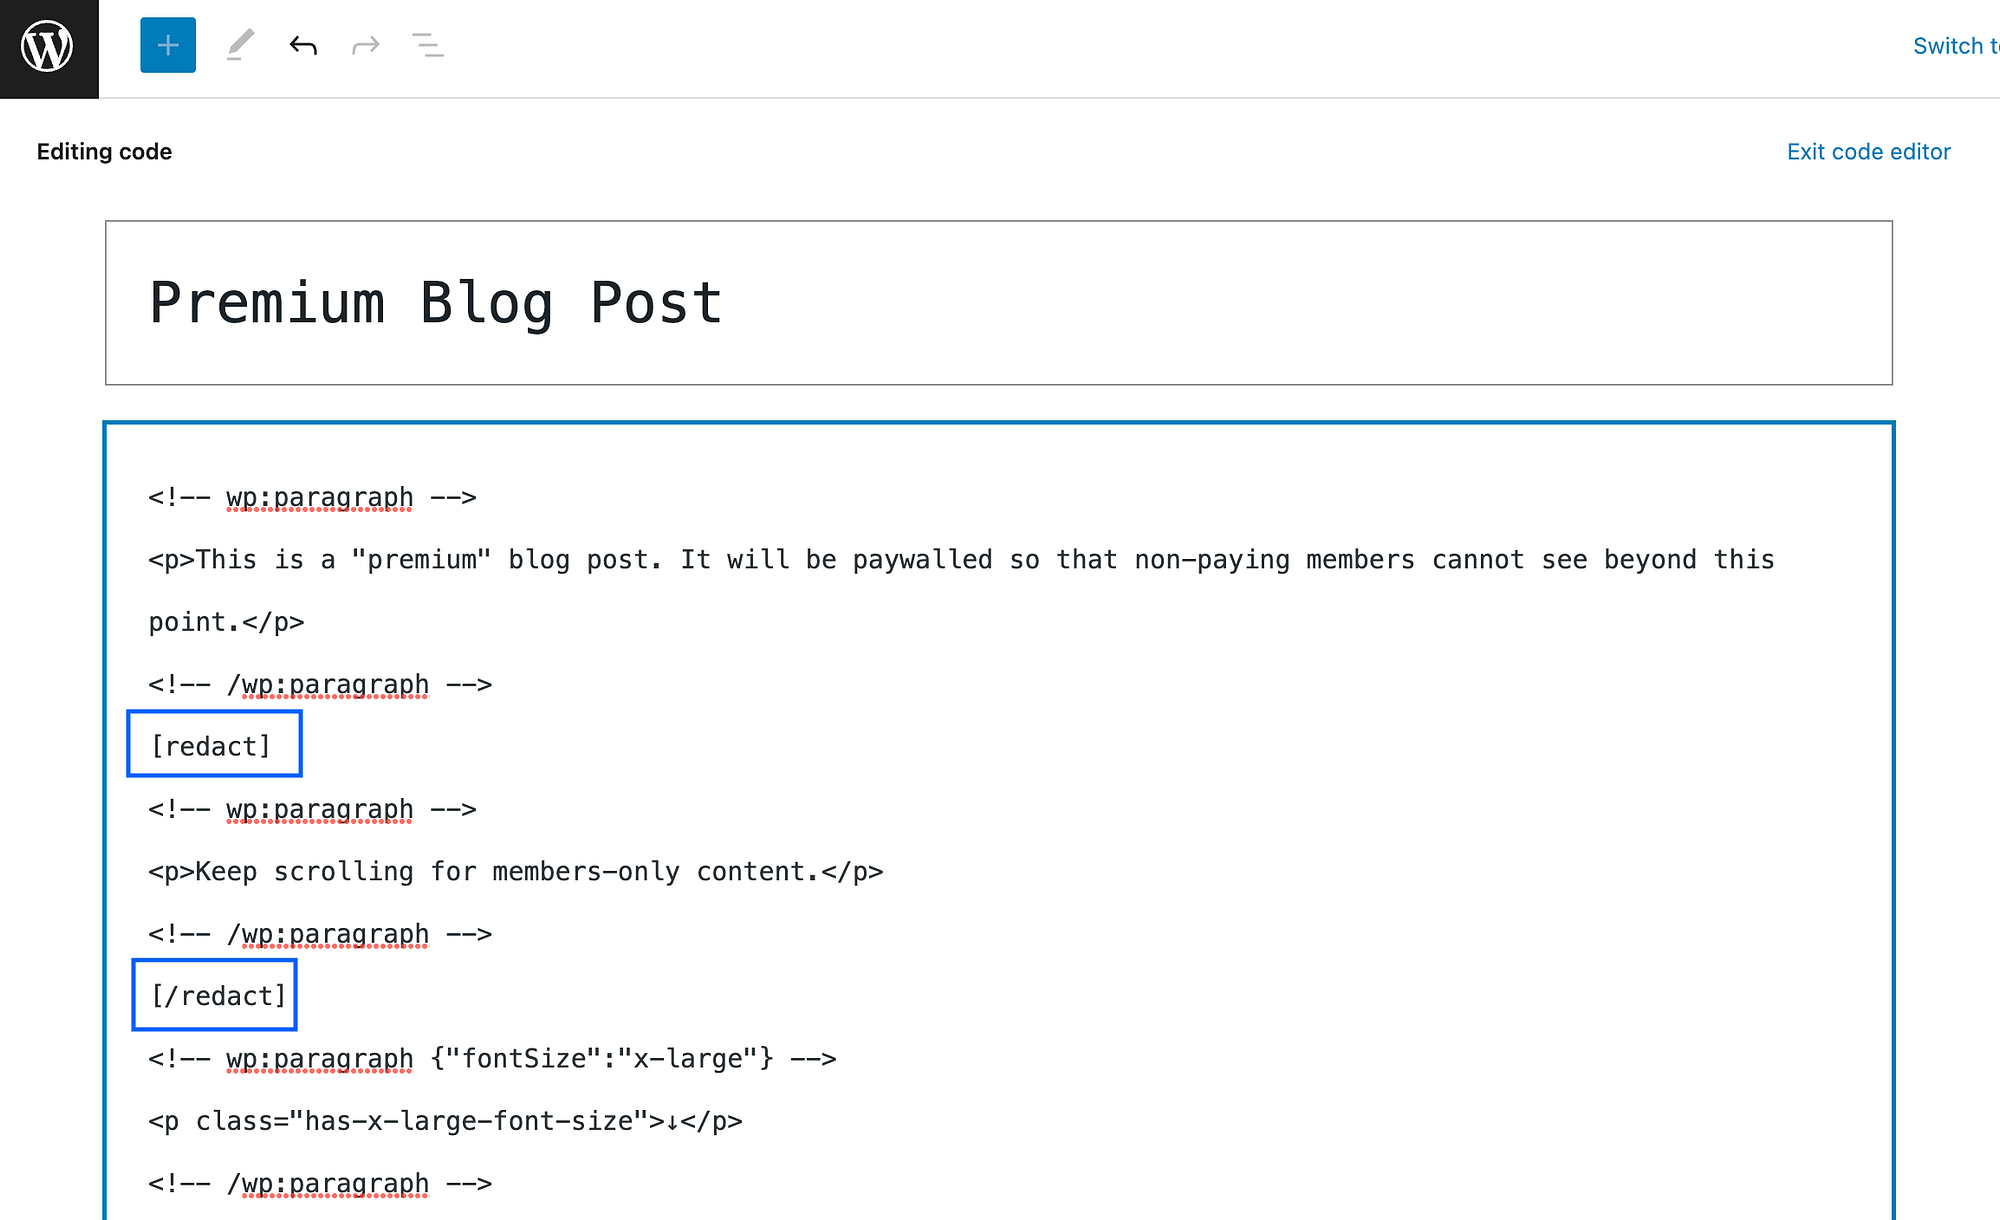
now just kill Updates to finalize your changes! And, if you want to go back to your visual editor, you can hit exit code editor anytime.
Keep in mind, though, that you won’t be able to see the improvements in action when you’re signed in as an administrator on your WordPress site.
To double-check that it’s working, you’ll need to either sign out or use an incognito browser tab to view the redaction on the front end.
Here’s how our example turned out after a little more tweaking:
It’s as simple as that!
Also, as you can see, we’ve used the block editor, but if you’re still using the classic editor, you’ll be able to use the Eyes Only redact button instead.
Step 3 (Optional): Set up autocorrect in your plugin settings
If you want to edit the content on your WordPress website, you’ll want to set this up in your plugin settings. This way, you can automatically mask specific words and phrases in one fell swoop.
Let us see how it will work.
To get started, return to your WordPress dashboard. then go to Settings > Eyes Only,
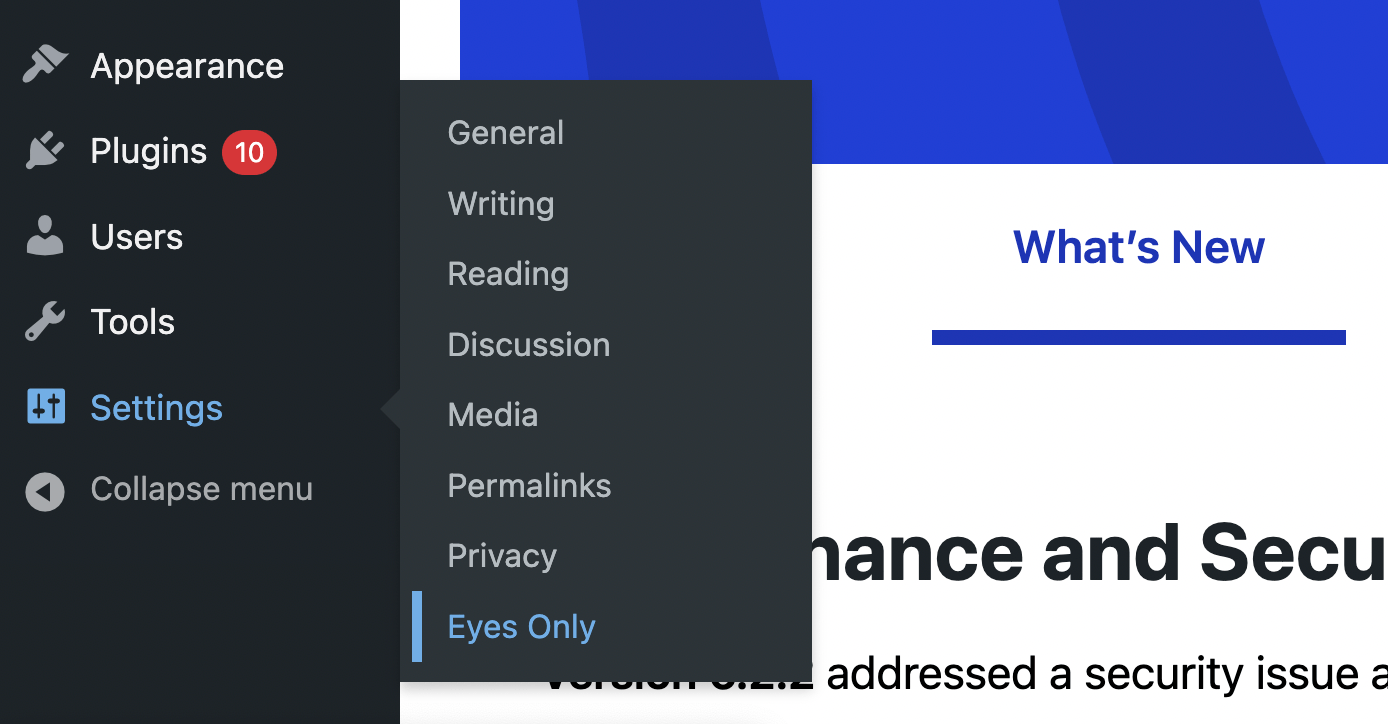
it will take you automatic deduction Screen. click on add new,
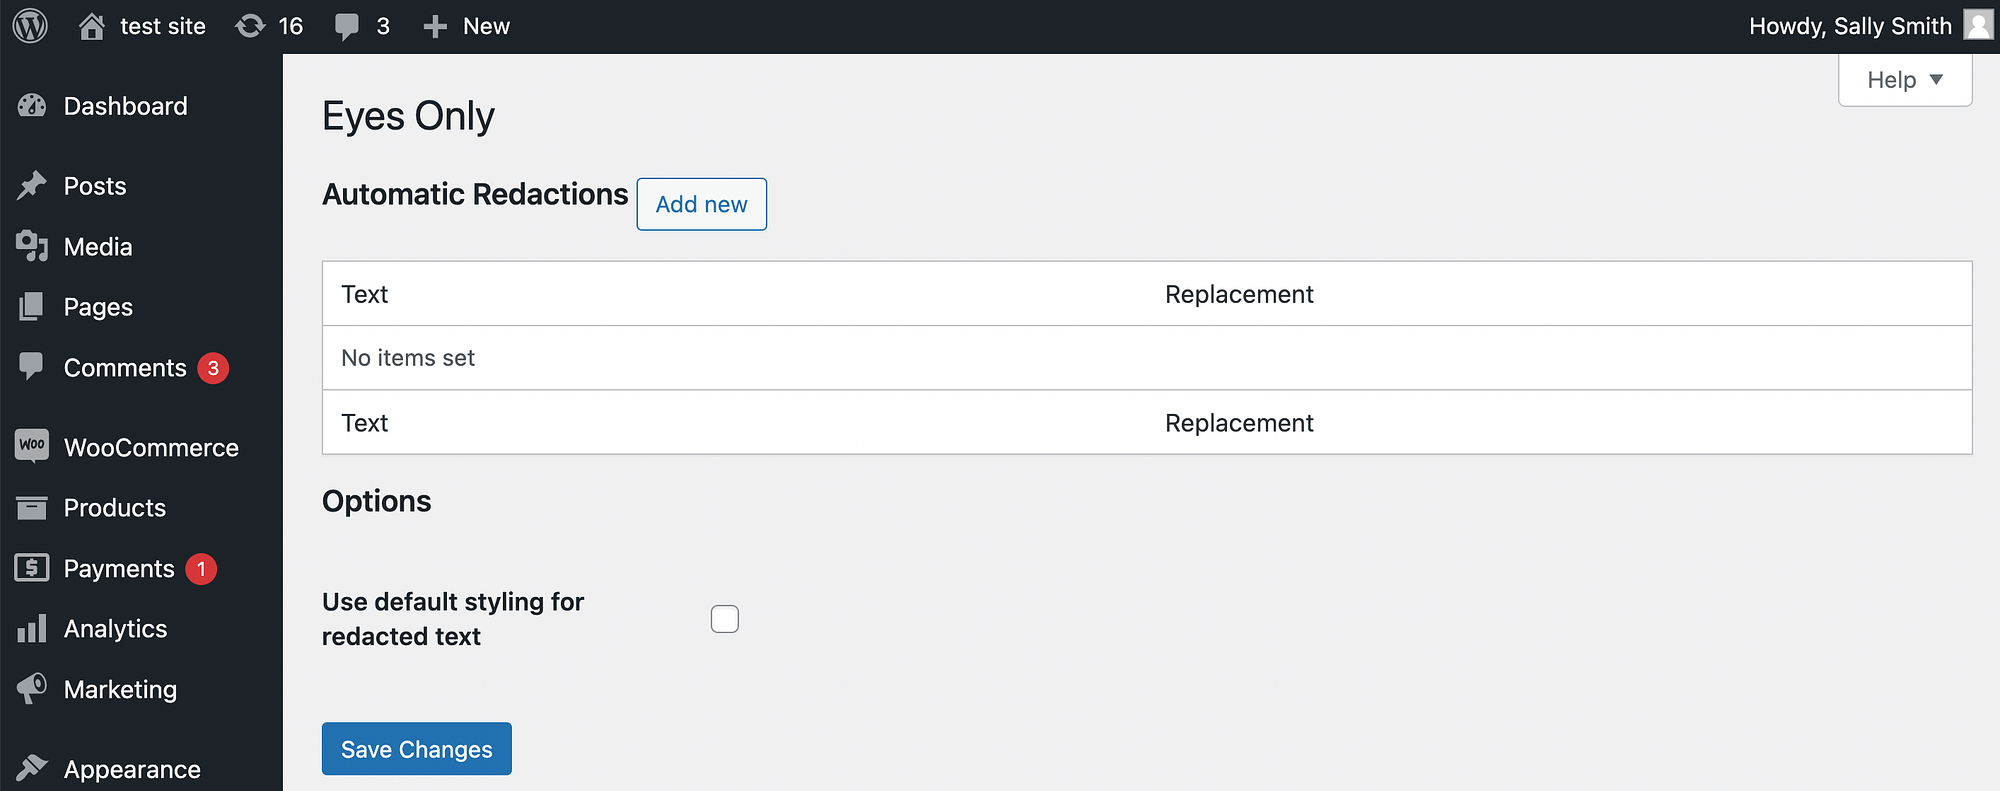
Here, you can simply type in the word or phrase that you want to edit on your WordPress site.
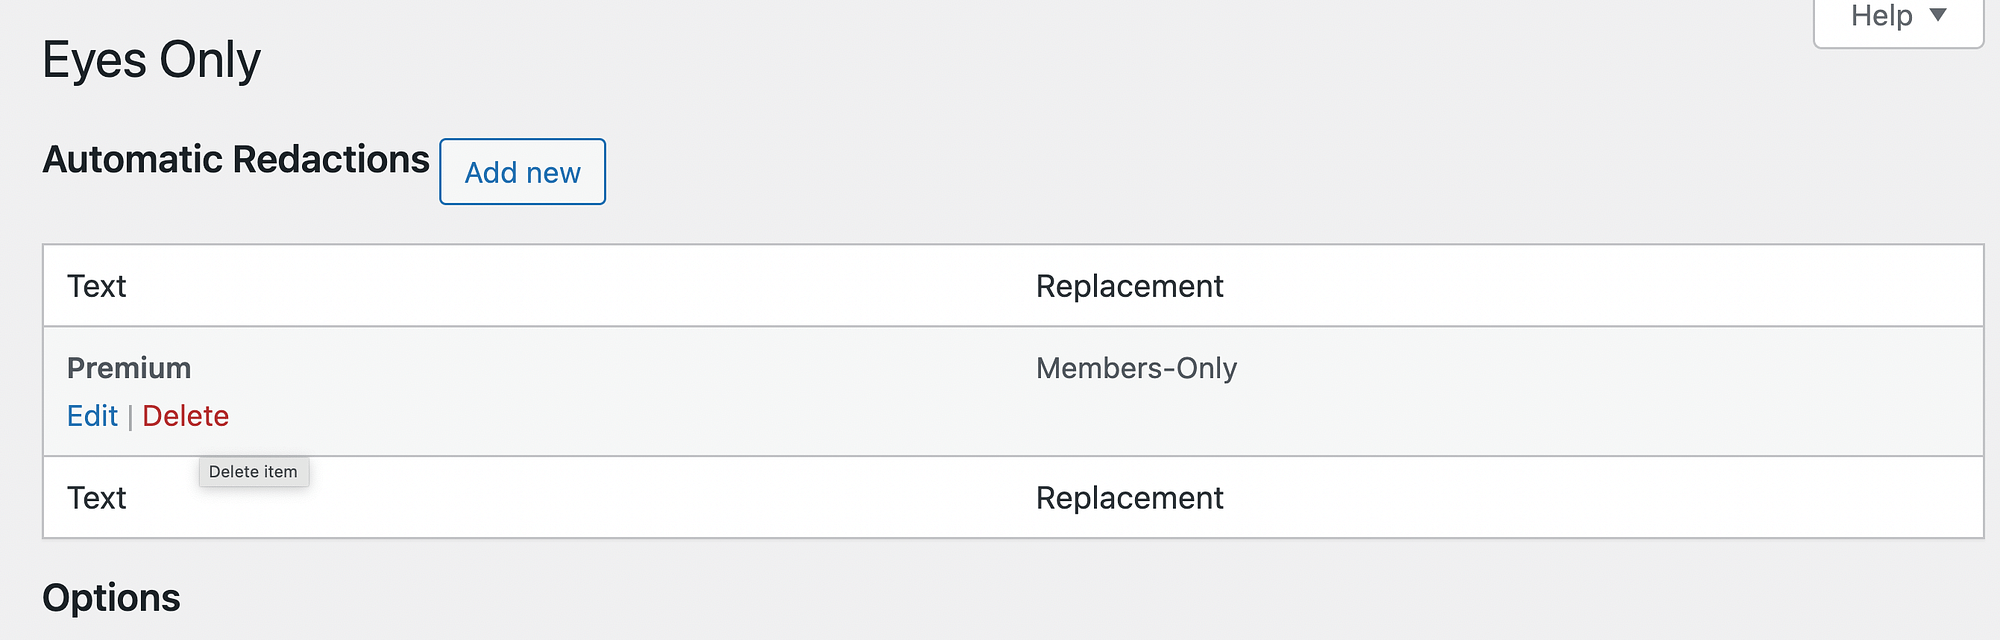
For this example, we’ll use the word “premium”. and our replacement text will be “Members only:”
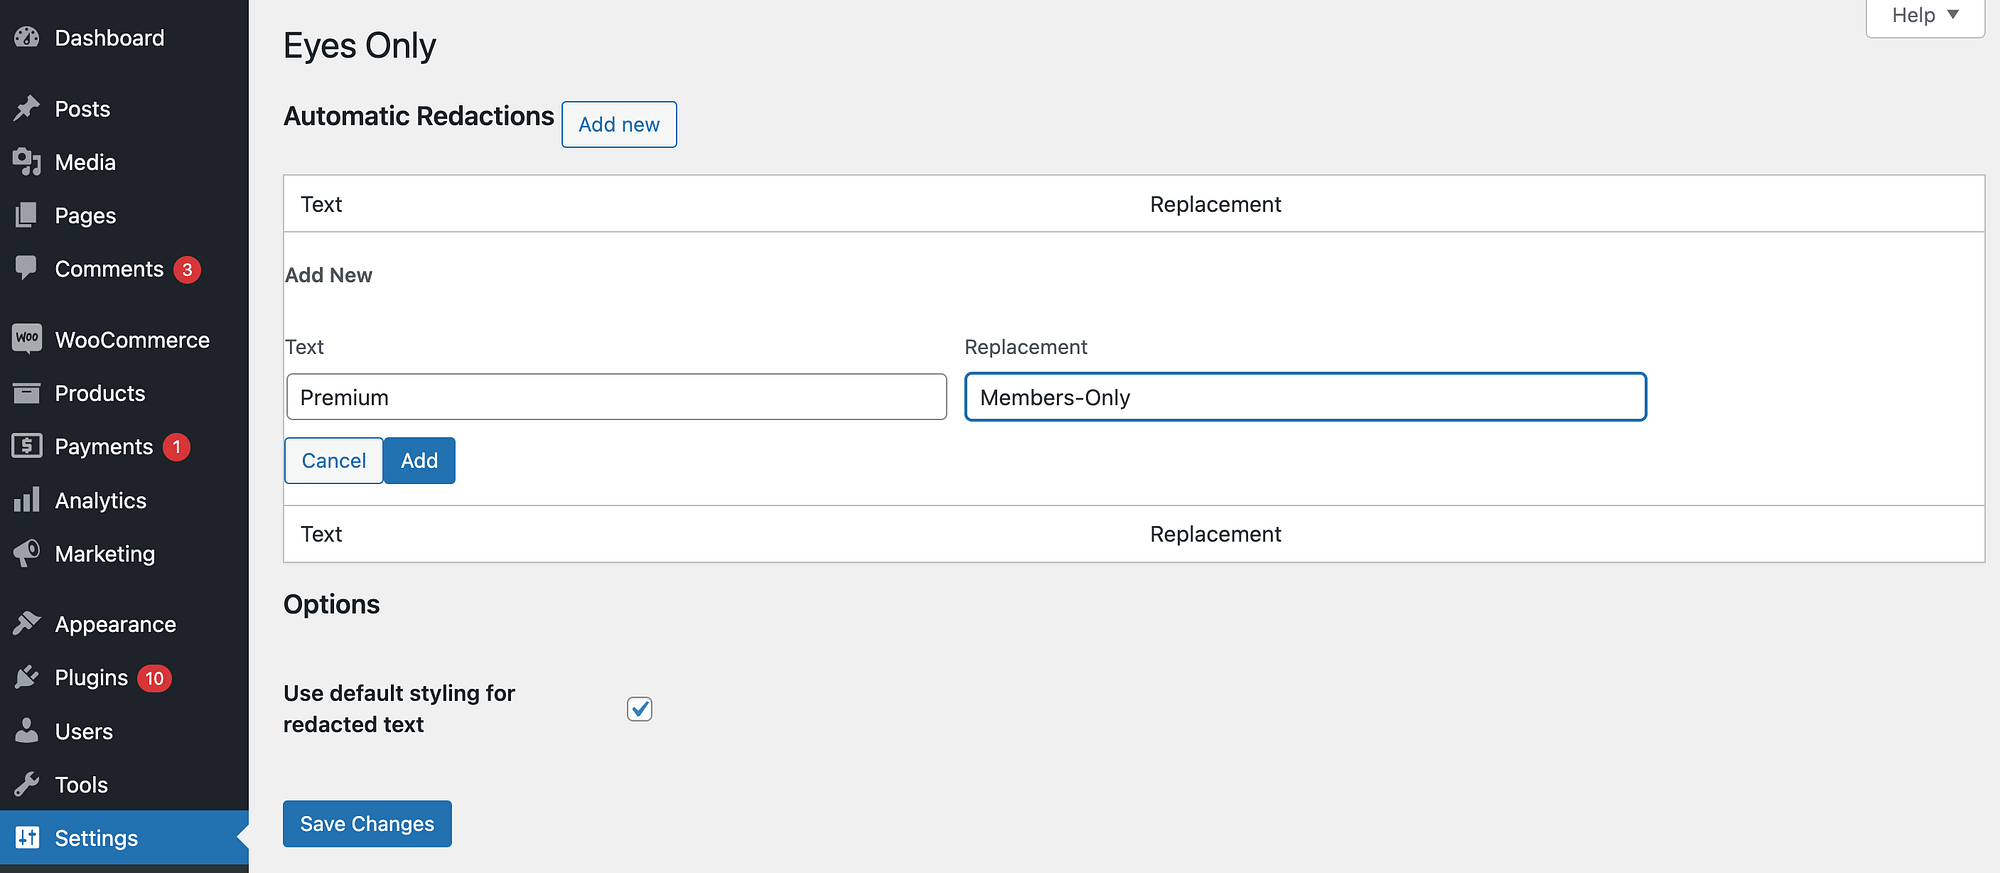
Click Next Add After Save Changes, That’s it!
If you want to remove an autocorrect, just hover over it and click delete After Yes, Then, save your changes:
keep in mind that the Basic lesson of The field is case-sensitive. This means that if you want all variations to be edited in WordPress, you will need to add an edit for “premium” in this scenario.
Conclusion
You may want to mask specific text if certain pages of your website contain sensitive information, or if you want to hide premium content from users. However, WordPress does not provide this functionality out of the box.
Luckily, you can create redacted text in WordPress using a plugin like Eyes only, After installing the tool, you can manually redact text in the WordPress editor.
However, if you are looking for an alternative approach, you can consider creating private WordPress posts or managing WordPress user roles.