Looking for a way to white label WordPress? This can be useful if you are building websites for clients or just want to create a more customized experience inside the WordPress admin.
There are many ways to white label WordPress. For example, you can adjust the admin interface, create a custom login page, hide widgets in the dashboard, or white-label the interface manually by editing your theme’s functions.php file.
Why White Labeling Your WordPress Website Is Smart
White labeling is the process of removing the branding of a software and replacing it with your own. Typically, this enables you to upload a custom logo and apply your brand colors.
However, you can also make functional changes to the software. For example, you may prefer to hide some of its settings to streamline the interface for your customers. This can be helpful if they don’t need access to certain parts of the website, or if they don’t know how to configure these settings themselves.
White labeling is also a great way to give your clients a custom website. You can change the logo, text, and colors of the admin area to reflect their brand identity and personalize the experience.
Or, you can even add new content to the dashboard that makes it easier to use, such as tutorials or glossaries inside it to help users perform key tasks.
Four Ways to White Label WordPress
Now that you know why it’s smart to white-label WordPress, let’s take a look at four simple ways to do it.
- change WordPress admin area
- Create a Custom Login Page
- Add or Hide Menu Items and Widgets in WordPress Dashboard
- white label WordPress manually
1. Change WordPress Admin Area
The easiest way to white-label WordPress is to replace the admin area using a plugin like White Label CMS. This beginner-friendly tool enables you to edit URLs, white-label the admin bar, upload your logo, and more.
First of all, you need to install and activate the plugin in WordPress. then, go to Settings → White Label CMS To configure the plugin’s settings:
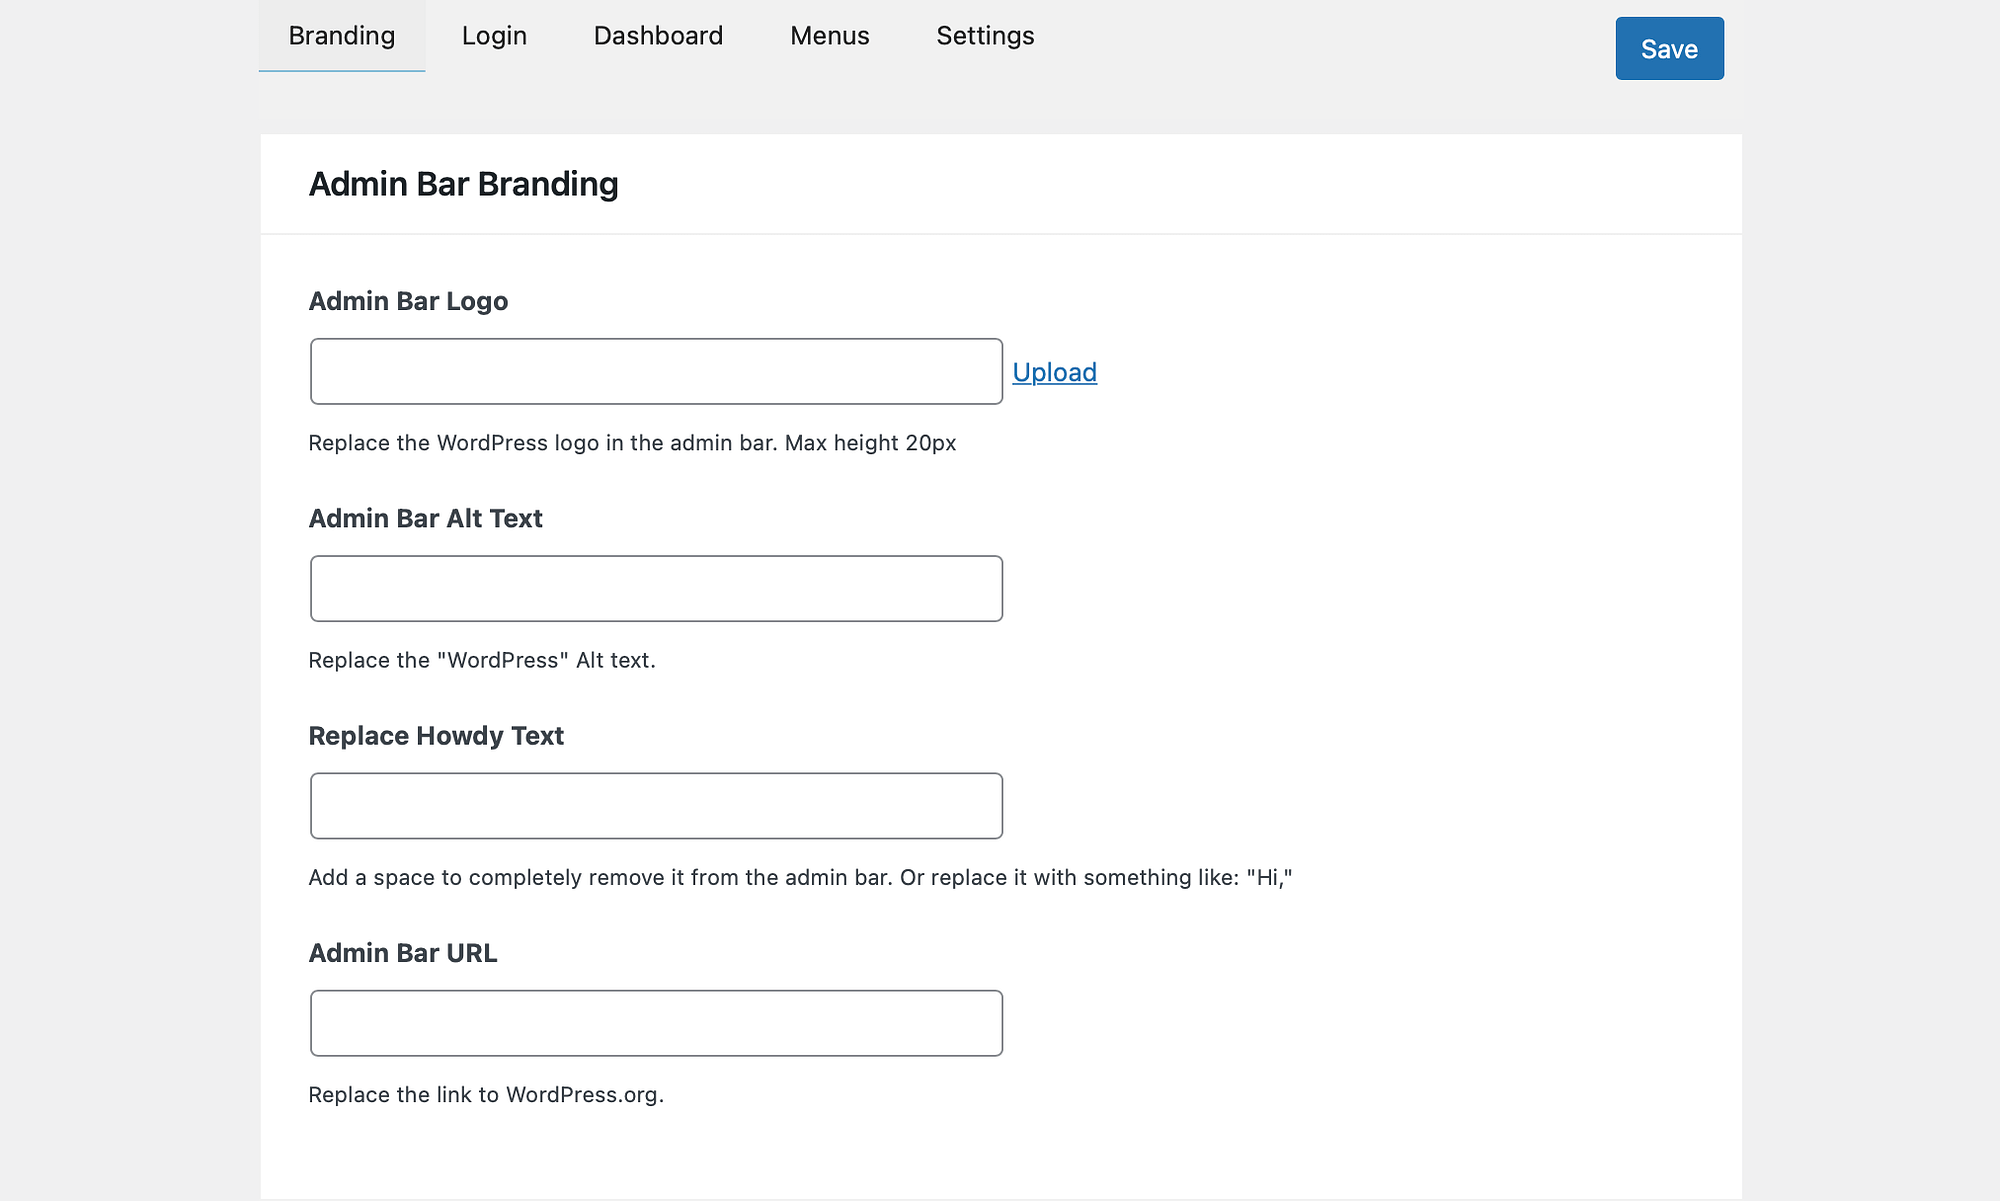
In branding In the tab, you have the option to show/hide the WordPress logo and links.
Meanwhile, if you scroll down the admin bar branding, you can upload your custom logo and replace the “WordPress” and “Howdy” text. Also, you can change the link to WordPress.org:
under Side Menu Branding, you might want to change the alt text, add links to menu items, or add images that will appear at the top of the menu. You can also change the Gutenberg exit icon, and change the footer text, image, and URL.
Although the White Label CMS plugin is ideal for white labeling on admin screens, it also enables you to extend its functionality. For example, you can add your own dashboard icons and hide specific dashboard panels for certain users.
2. Create a Custom Login Page
As mentioned above, White Label CMS enables you to customize the login page to some extent. However, with specialist plugins like LoginPress, you can access more features and settings.
This tool also gives you the option to white-label WordPress login error messages. Plus, you can design your Page in the live editor and view and approve updates in real time.
To get started, you need to install and activate LoginPress in WordPress. then go to log in customized log in To access the editor:
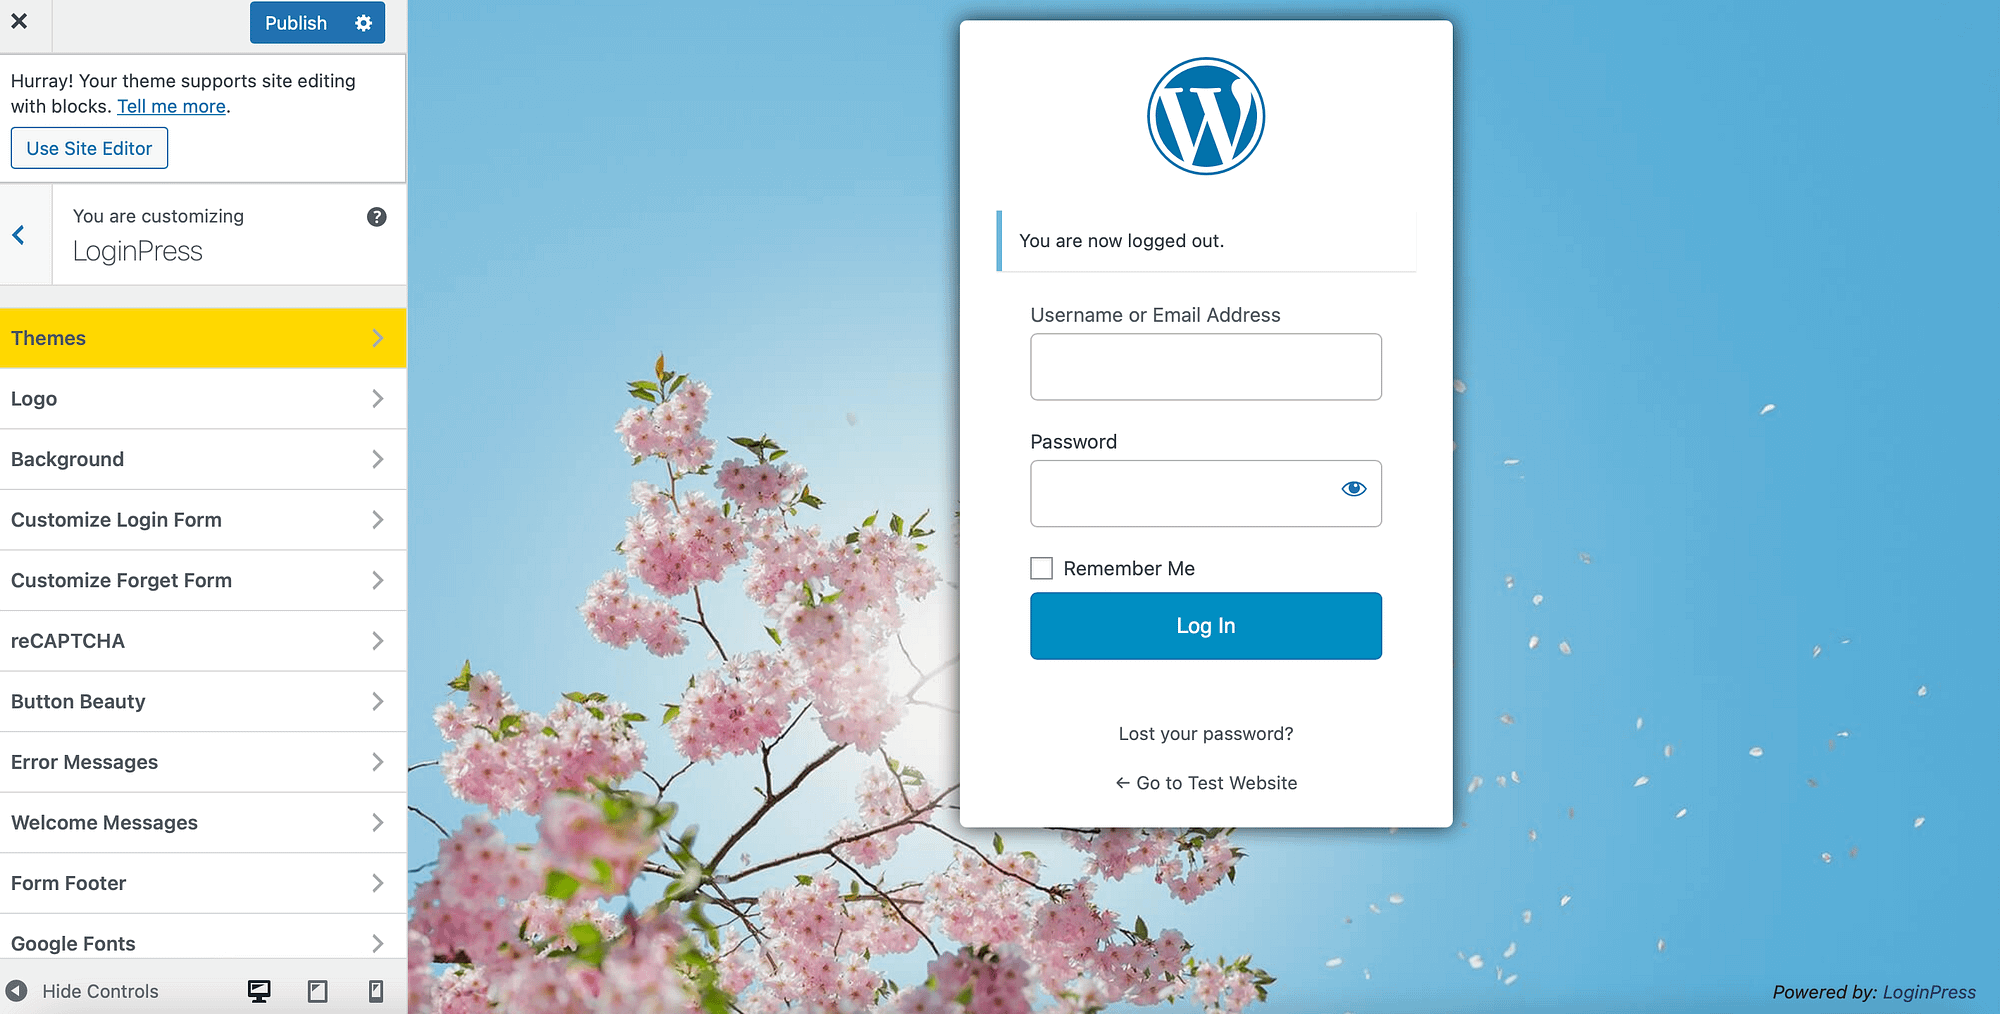
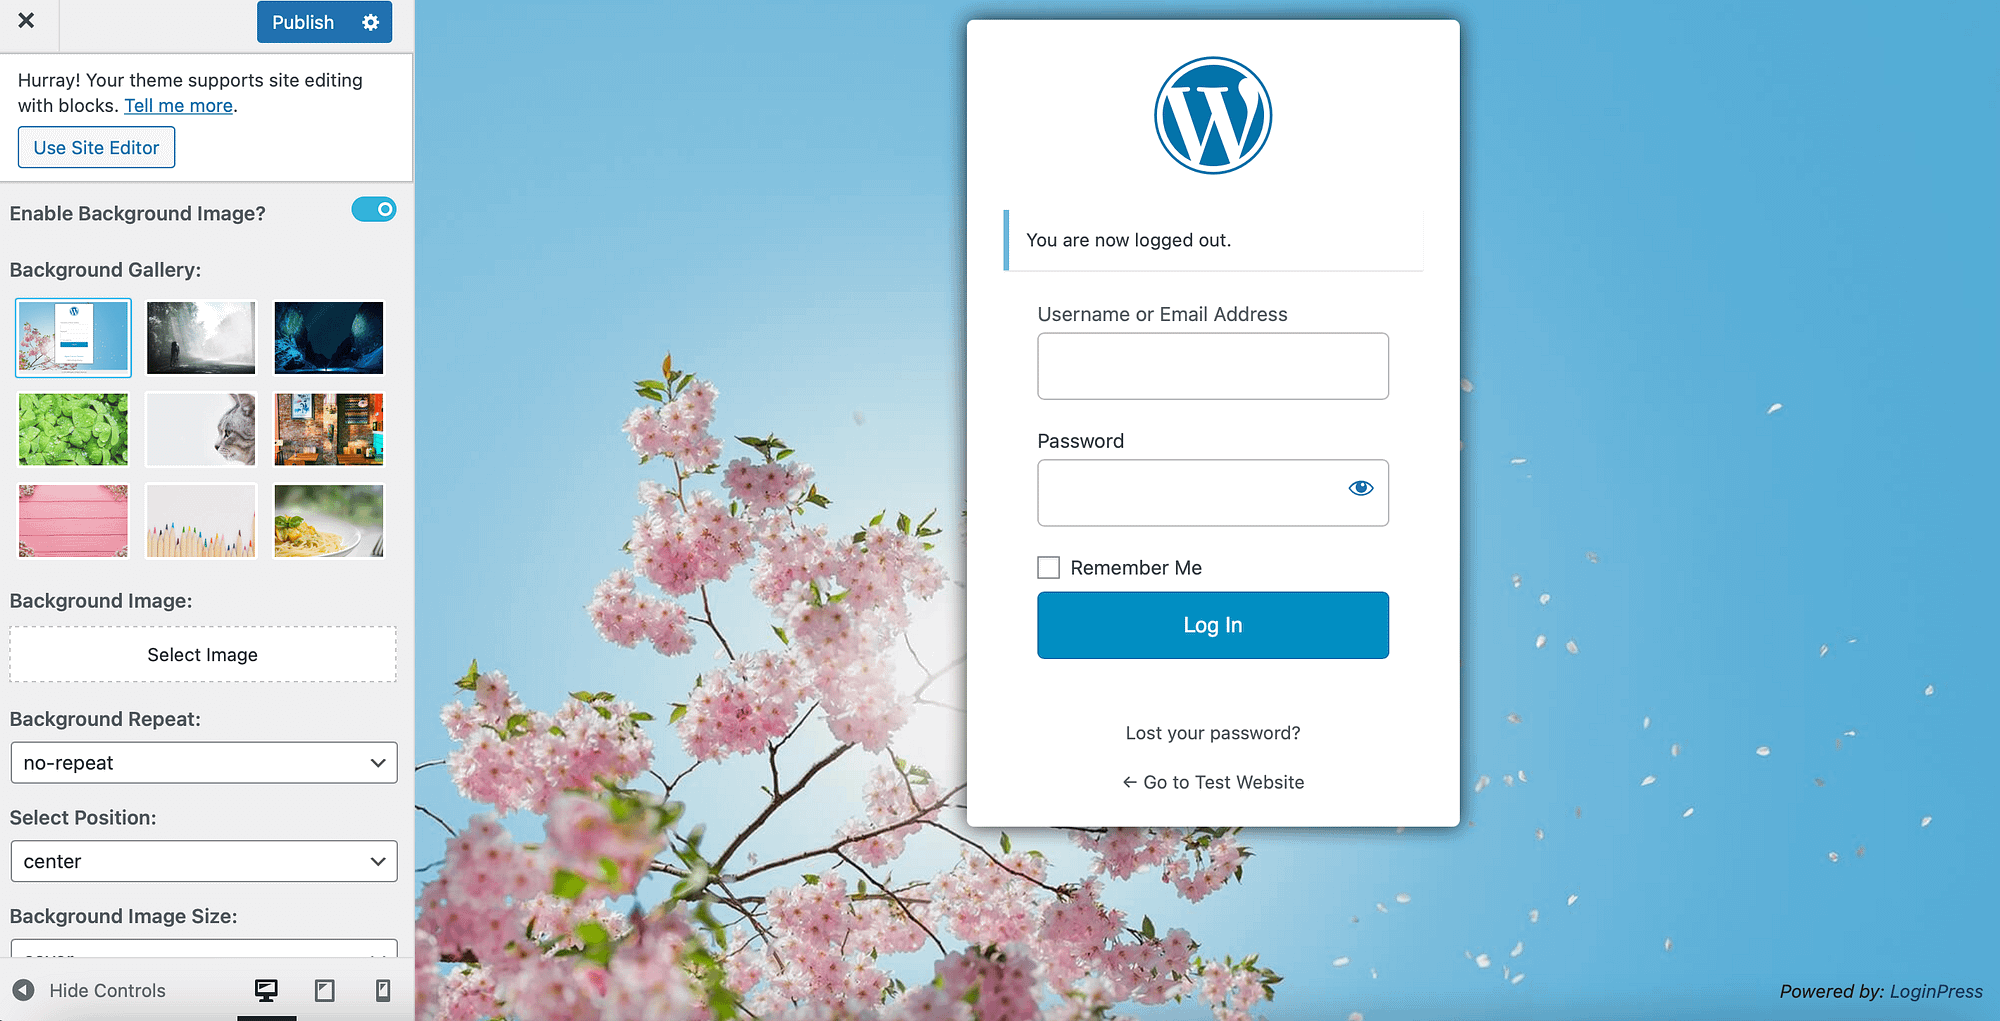
here, go to Subject matter Tabs to apply pre-designed layouts to your login page. Alternatively, you can go background And select a block color for your screen or enable a background image using the slider.
Then, choose a picture or upload your own image:
Now, click on Logo Tab to display your unique logo on the login page. You can disable the logo altogether if you want to give your customers a blank website to configure themselves.
To upload your file, select the image And customize the width and height of the design:
You can also white-label the login form footer. all you have to do is click from the footer, Then, you can click on “Lost your password?” Change text, and text color and enable copyright notice.
if you click the Error messageYou can type the text you want to be displayed when users forget their username or enter the wrong password.
3. Add or Hide Menu Items and Widgets in the WordPress Dashboard
Another useful way to white-label WordPress is to add or hide specific menus and widgets in the dashboard. For example, you might want to create a custom widget or remove irrelevant options for some users.
Luckily, it’s easy to use a plugin like Ultimate Dashboard. With this tool, you can design a completely unique dashboard for yourself and your customers. You can customize the login page, change the login URL, and create custom widgets.
Once you have installed and activated the plugin, navigate to the ultimate dashboard admin menu editor,
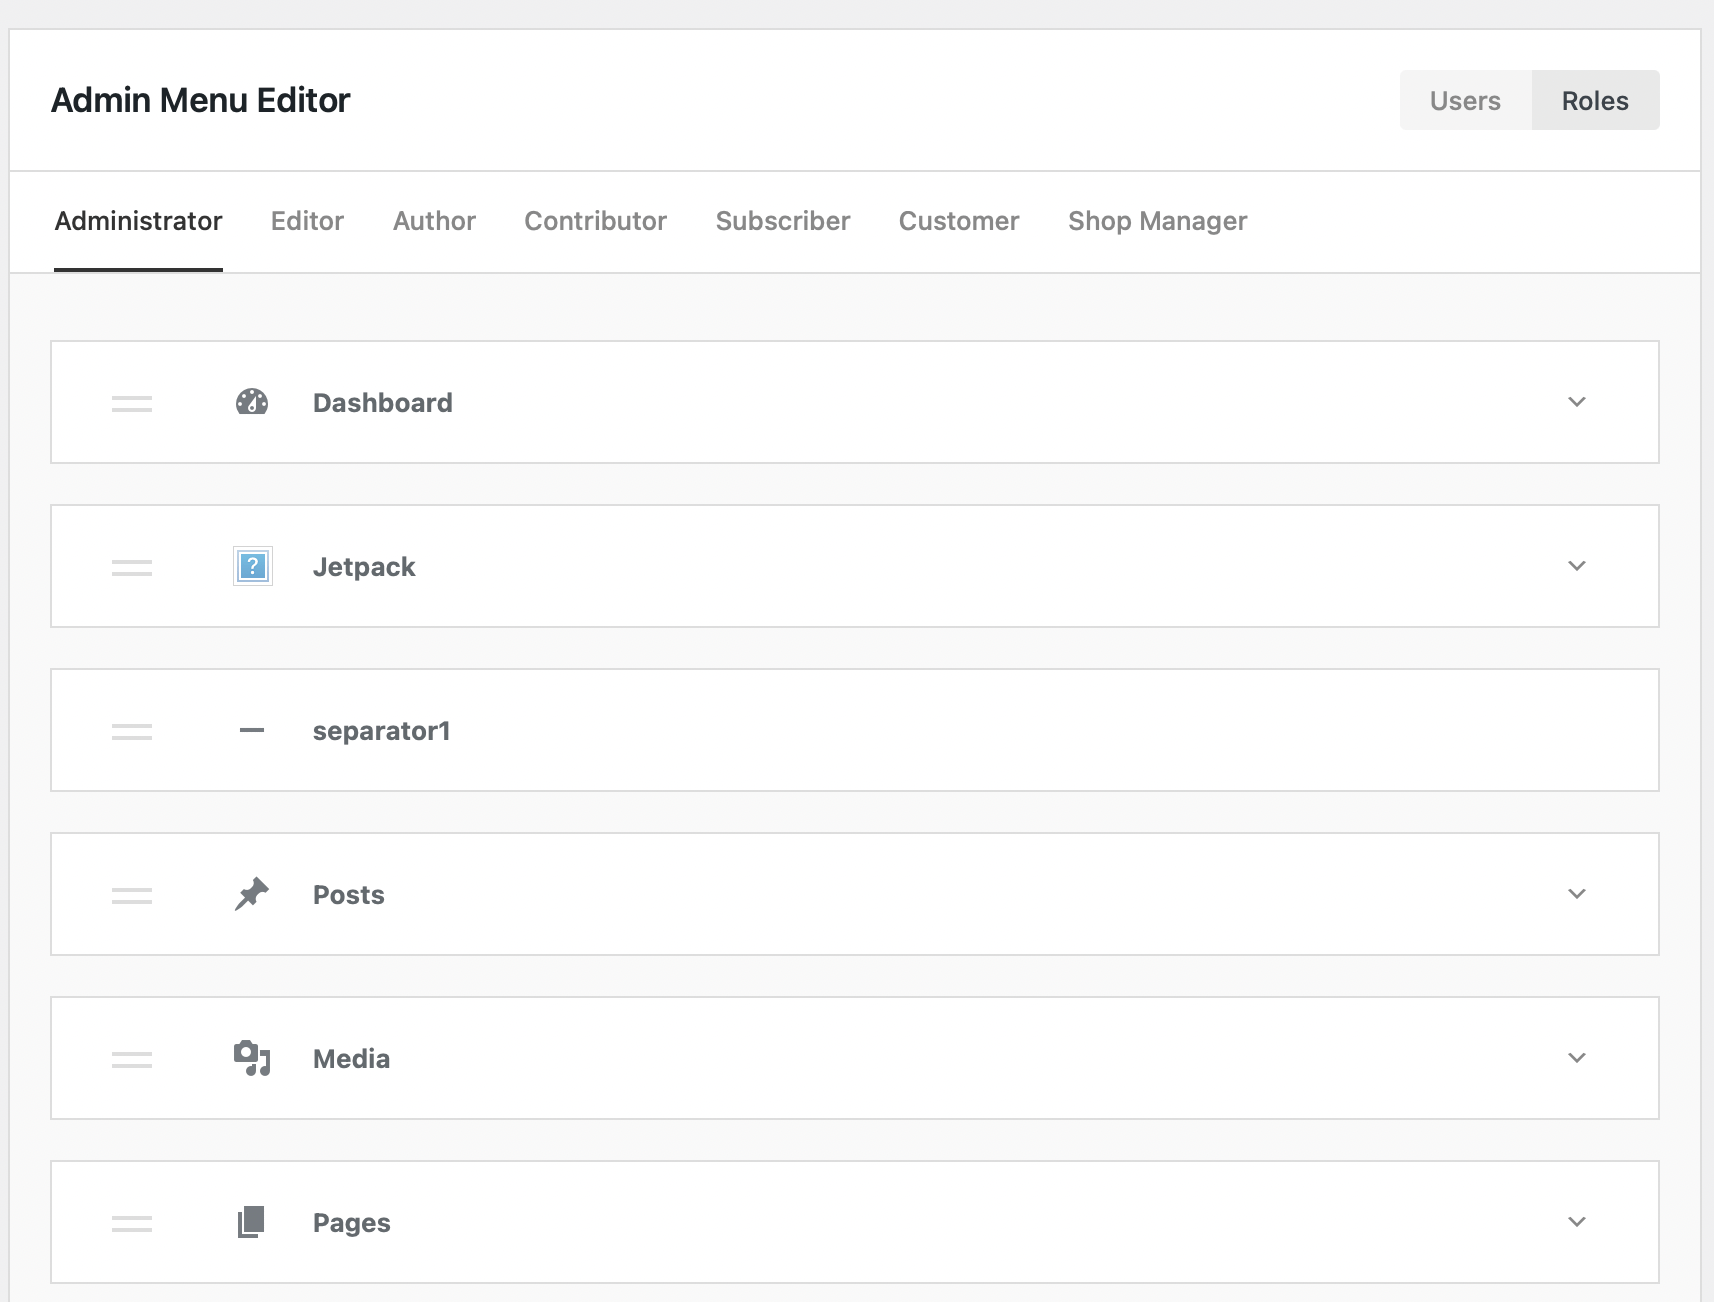
At the top of the screen, you will see the different user roles available in WordPress. So, when you click on Author, You can view the menu items that all authors will see when they log into the website.
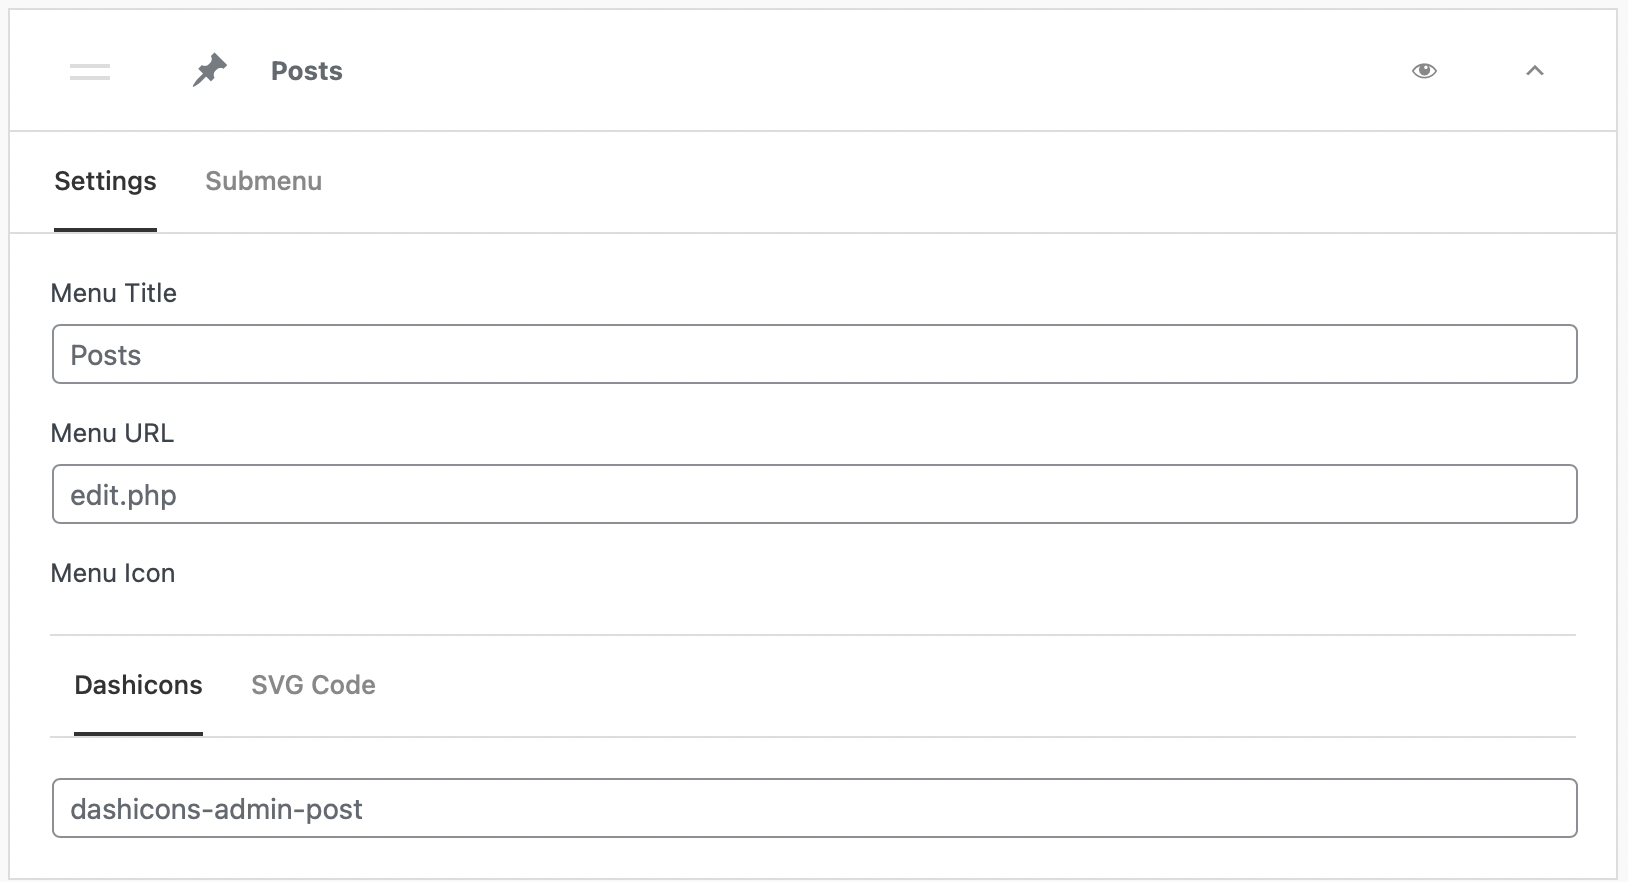
If you click to expand the item, you can change the menu title and menu URL:
Alternatively, you can click on the submenu To update the submenu title and URL. What’s more, if you click on “eye icon, you can hide this option from view:
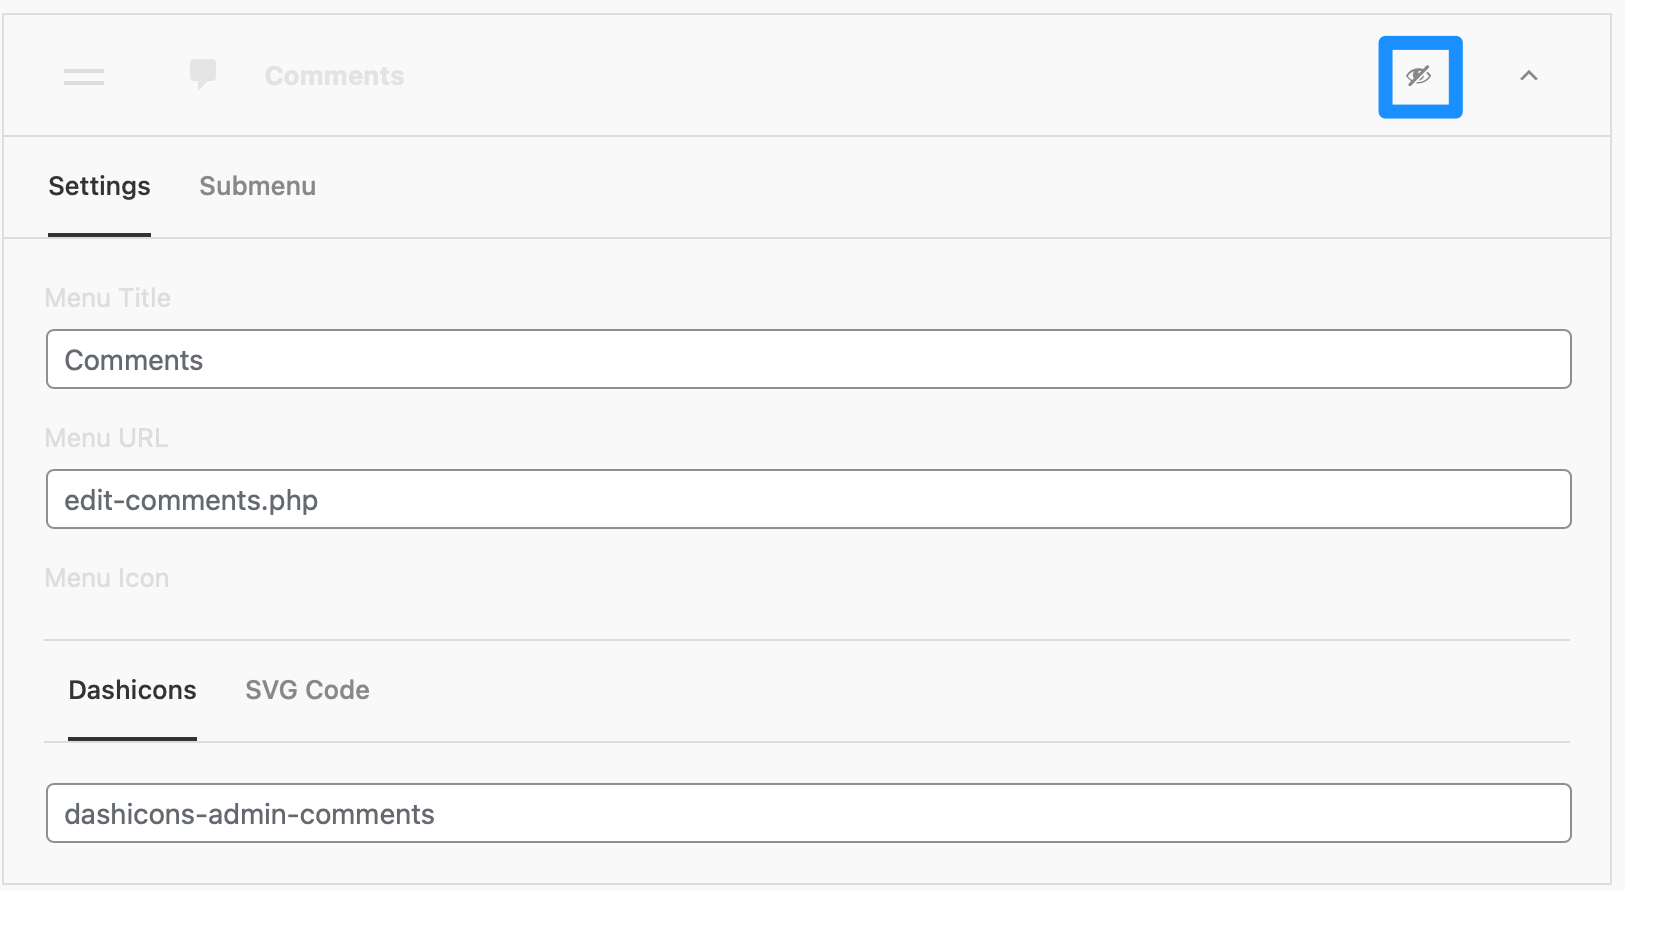
For example, you might not want authors to have access to comments in WordPress. All you have to do is cross off the icon, and comments will no longer be visible to authors on your site.
To create a custom widget, go to the ultimate dashboard for all widgets, Here, you can view or select existing widgets on your site. add new,
Choose a widget title and widget type. Then click on Choose icon,
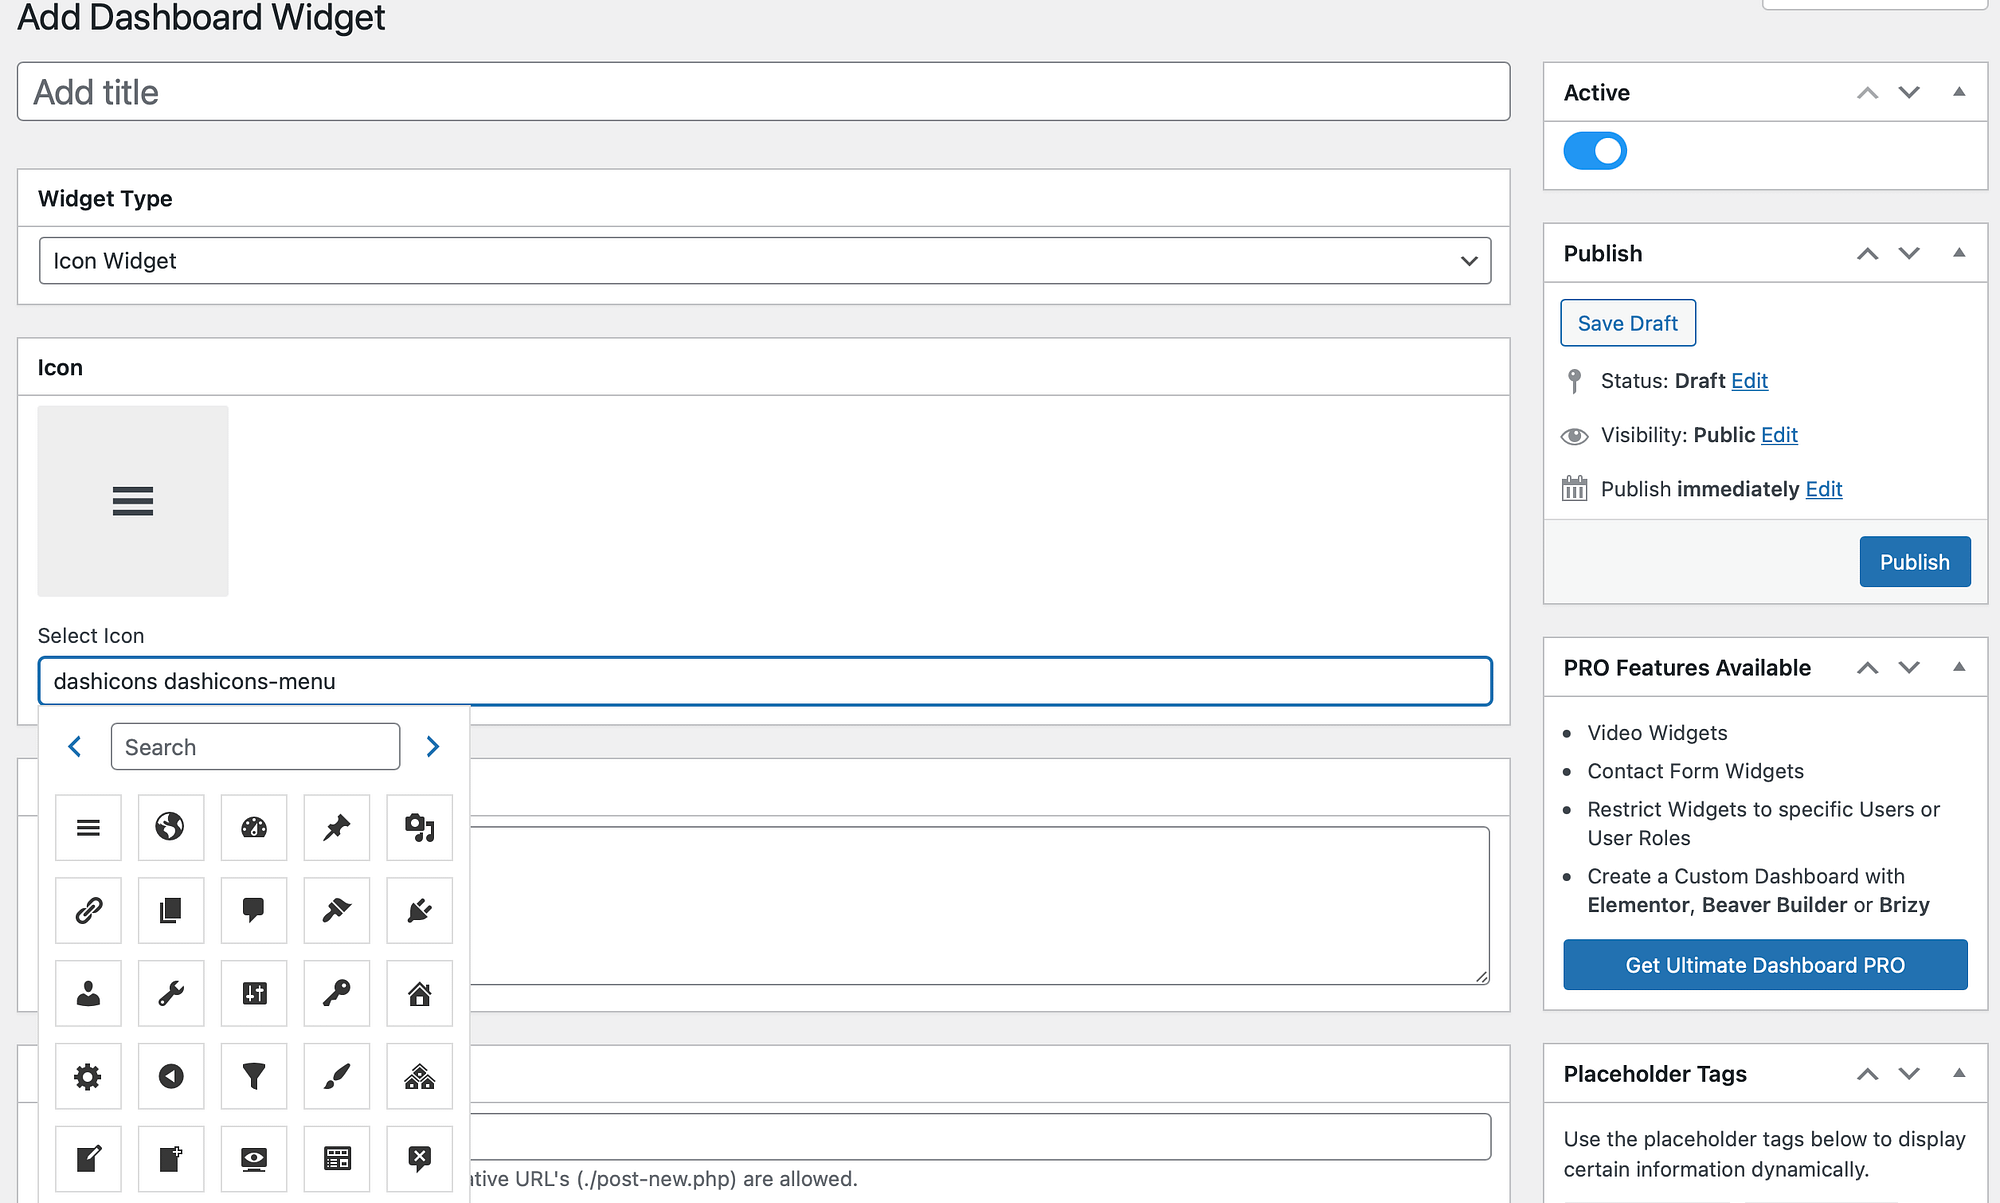
Next, add your link and decide whether you want to place your icon in the right or left column. With the Pro version of the plugin, you can limit widgets to specific users or user roles.
4. White Label WordPress Manually
If you don’t want to use plugins for White Label WordPress, you can customize your dashboard and login screen manually. To do this, you have to edit your functions.php file.
It’s a good idea to use a child theme to make these changes. You may also want to create a backup of your site in case something goes wrong.
Then, you’ll need to access your site files through cPanel or connect to your website using a File Transfer Protocol (FTP) client. To locate your function file, open public_html folder.
then go to wp-content Subject matter,
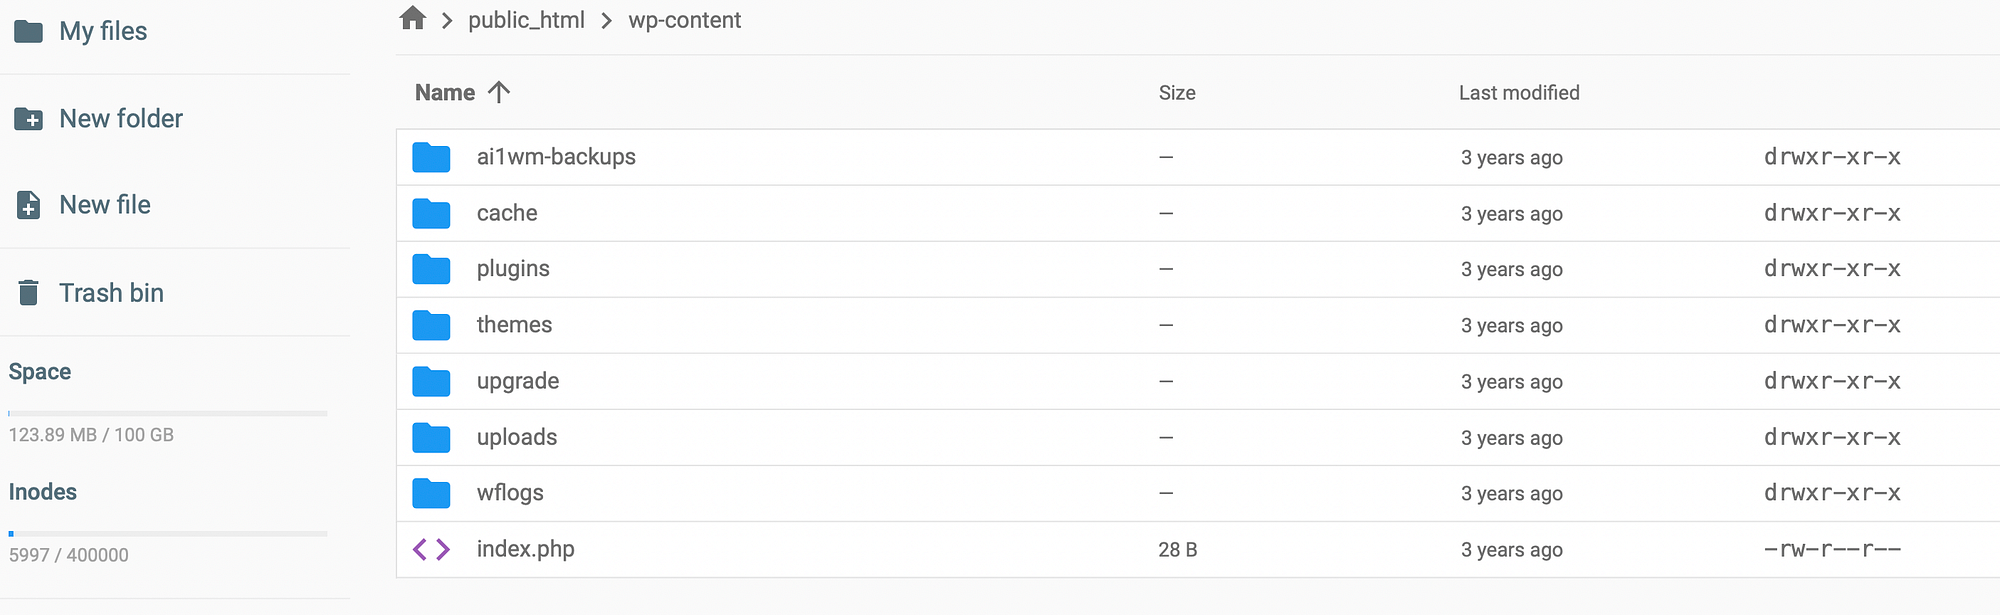
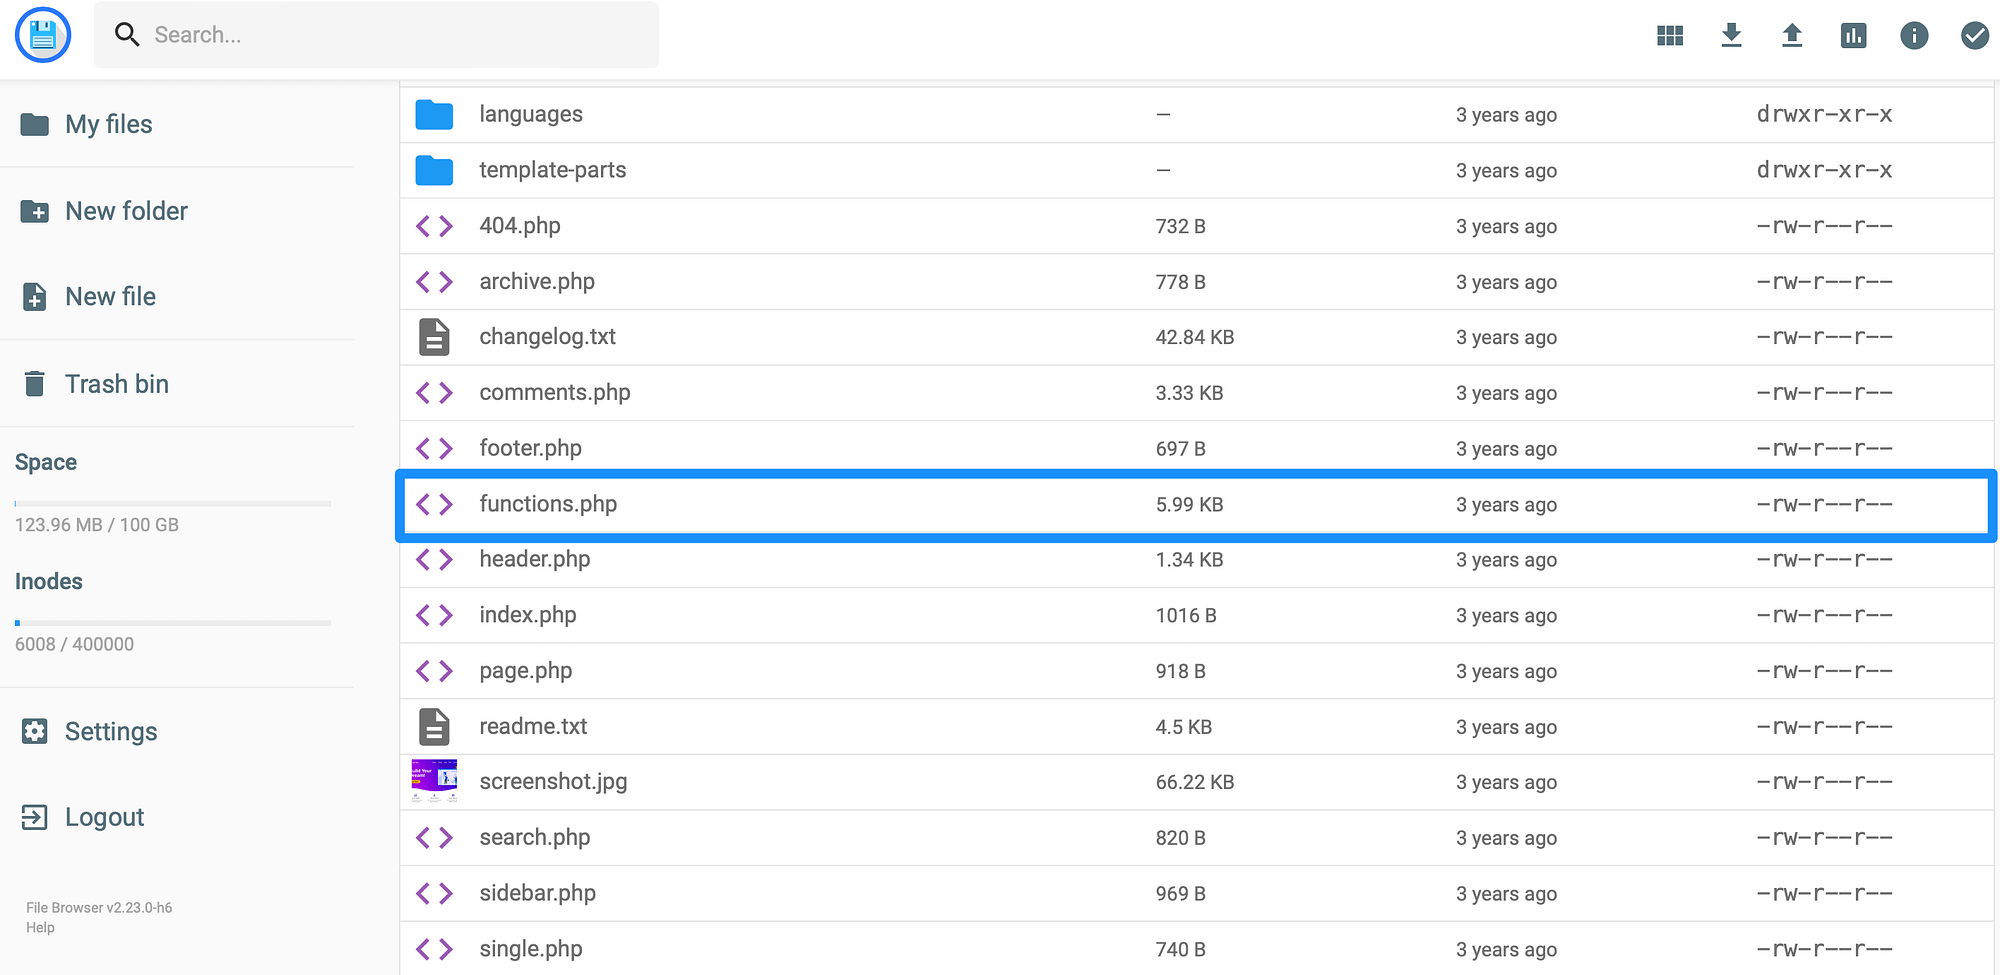
Find and view your themes in the directory functions.php file:
Now, open the file to edit it. First, you’ll need the add this line of code,
add_theme_support( 'custom-logo' );Then, you can configure some parameters by adding them to the theme support function. For example, you might want to change the height and width of the logo.
Meanwhile, you can adjust the header text and unlink the homepage logo by adding the following code,
function themename_custom_logo_setup() {
$defaults = array(
'height' => 100,
'width' => 400,
'flex-height' => true,
'flex-width' => true,
'header-text' => array( 'site-title', 'site-description' ),
'unlink-homepage-logo' => true,
);
add_theme_support( 'custom-logo', $defaults );
}
add_action( 'after_setup_theme', 'themename_custom_logo_setup' );
Although you will display the logo in your theme using the custom logo function, it is important to wrap the code in a function_exists(), This ensures compatibility with older versions of WordPress.
you can get it by adding a simple line of code,
if ( function_exists( 'the_custom_logo' ) ) {
the_custom_logo();
}
Additionally, you can edit functions.php File to change the menu, update the welcome message, and adjust the footer text.
White Label WordPress Today
As a web developer, one of the best ways to deliver custom websites to clients is to white-label WordPress. It also enables you to control what other users can see or do on the Website.
In short, here are four ways to white-label WordPress:
- replace wordpress admin area with White Label CMS,
- Build a custom login page with login,
- Add or Hide Menu Items and Widgets in WordPress Dashboard Using a Plugin ultimate dashboard,
- white label WordPress manually by editing the functions.php file.
For a more in-depth look at some of these topics, you might be interested in our posts on How to Customize the WordPress Login Page and How to Customize the WordPress Admin Interface.