Description Of DNS: DNS stands for“Domain Name System”. It’s a system that lets you connect to websites by matching human-readable domain names with the unique ID of the server where a website is stored.
It lists domain names with their corresponding identifiers called IP addresses.
When a user enters a domain name on their device, it looks up the IP address and connects them to the physical location where that website is stored.
How Does DNS Work?
Domain names were invented to solve this problem by using alphabets and allowing users to select easy-to-remember names for their websites.
DNS or Domain Name System basically translates those domain names into IP addresses and points your device in the right direction.
A domain name and its matching IP address are called a “DNS record”.
Servers: A server is a type of computer that’s dedicated to storing and delivering websites to other computers around the world.
Name Server: A name server, sometimes spelled “nameserver”, is a special type of server that keeps all the DNS records of your domain name.
Its job is to provide your DNS information to anyone requesting it.
Each nameserver has its own address and can store the records of many websites.
CNAME Record: CNAME stands for Canonical Name. A CNAME record is a type of DNS record that’s used to point a domain name to another domain name, instead of an IP address.
MX Record: MX record is an abbreviation for the Mail Exchanger record. It’s another type of DNS record that defines a mail server to handle emails for a particular domain name.
TXT Record: A TXT record is another DNS resource record type. TXT records can have both SPF (Sender Policy Framework) and DKIM (Domain Key Identified Mail) records that add an encrypted key in outgoing mail.
This information improves your email deliverability by adding a trust layer to your mail server.
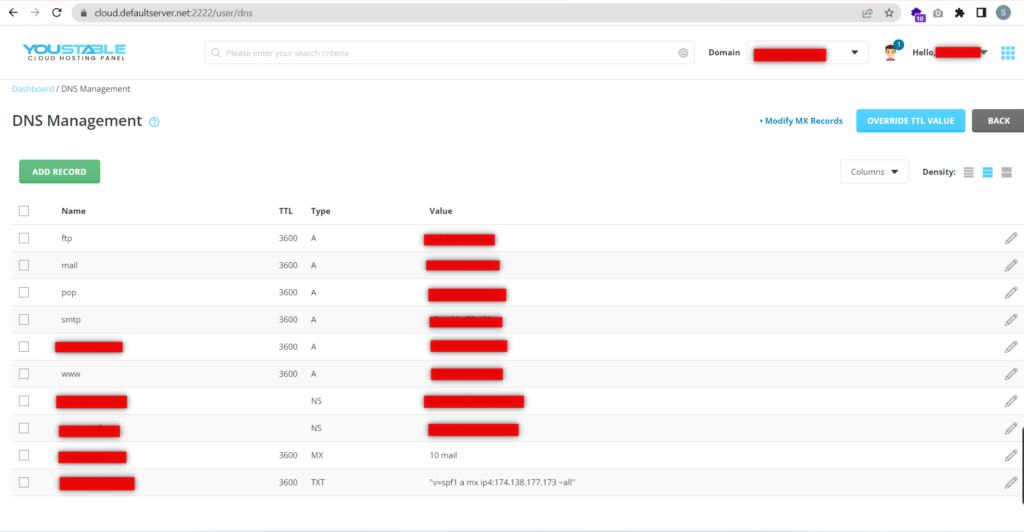
Steps to Modify Or Add The DNS Records:
Step 1: Log in to your Direct Admin control panel.
Step 2: Goto Account Manager and click on DNS Management.
Step 3: From the DNS Management you can add or modify the DNS records of your domain.