Wondering how to add a WordPress author bio box to your posts? It’s definitely a good question to ask. The thing is, if you manage a large blog with multiple authors and collaborators, including author information is a good idea. Providing this can help build trust between readers and provide credit where it is due.
The good news is that WordPress makes it easy. There are many ways you can achieve this. For example, you can use the post author block (built into WordPress) or use a dedicated plugin.
Why add a WordPress author bio box to your posts
There are many benefits of adding a WordPress author bio box to your blog posts. First, when readers know who the author is, they may be more likely to trust the article’s content.
For example, if a reader sees that a writer has a license or advanced degree in a post’s subject matter, they will probably be more likely to take its content seriously:
Also, the author bio box may be a requirement if you have promised an author that their work will be credited. This can be especially useful for larger blogs with multiple contributors or guest bloggers.
How to add a WordPress author bio to your posts
Now that we’ve gone over some of the benefits of author bios, let’s look at four different ways you can add one to your WordPress posts!
- In your WordPress settings
- Sing WordPress post author block
- With an author bio plugin
- In sidebar widget
1. In your WordPress settings
The easiest way to add a WordPress author bio box is in your settings. This method is extremely convenient because once you’ve configured it, the bio is automatically added to new posts.
However, keep in mind that you can only use this approach if your theme already comes with an author bio box in its global design. For example, twenty twenty-three subjects This setting is not included, but the Neve Pro does.

To configure your author box settings in Neve Pro, go to your WordPress dashboard. go for Presence, customize, layout, and single post, Then, scroll down to the Author Box section and make your selection.
Next, return to your dashboard and go to users, All users,
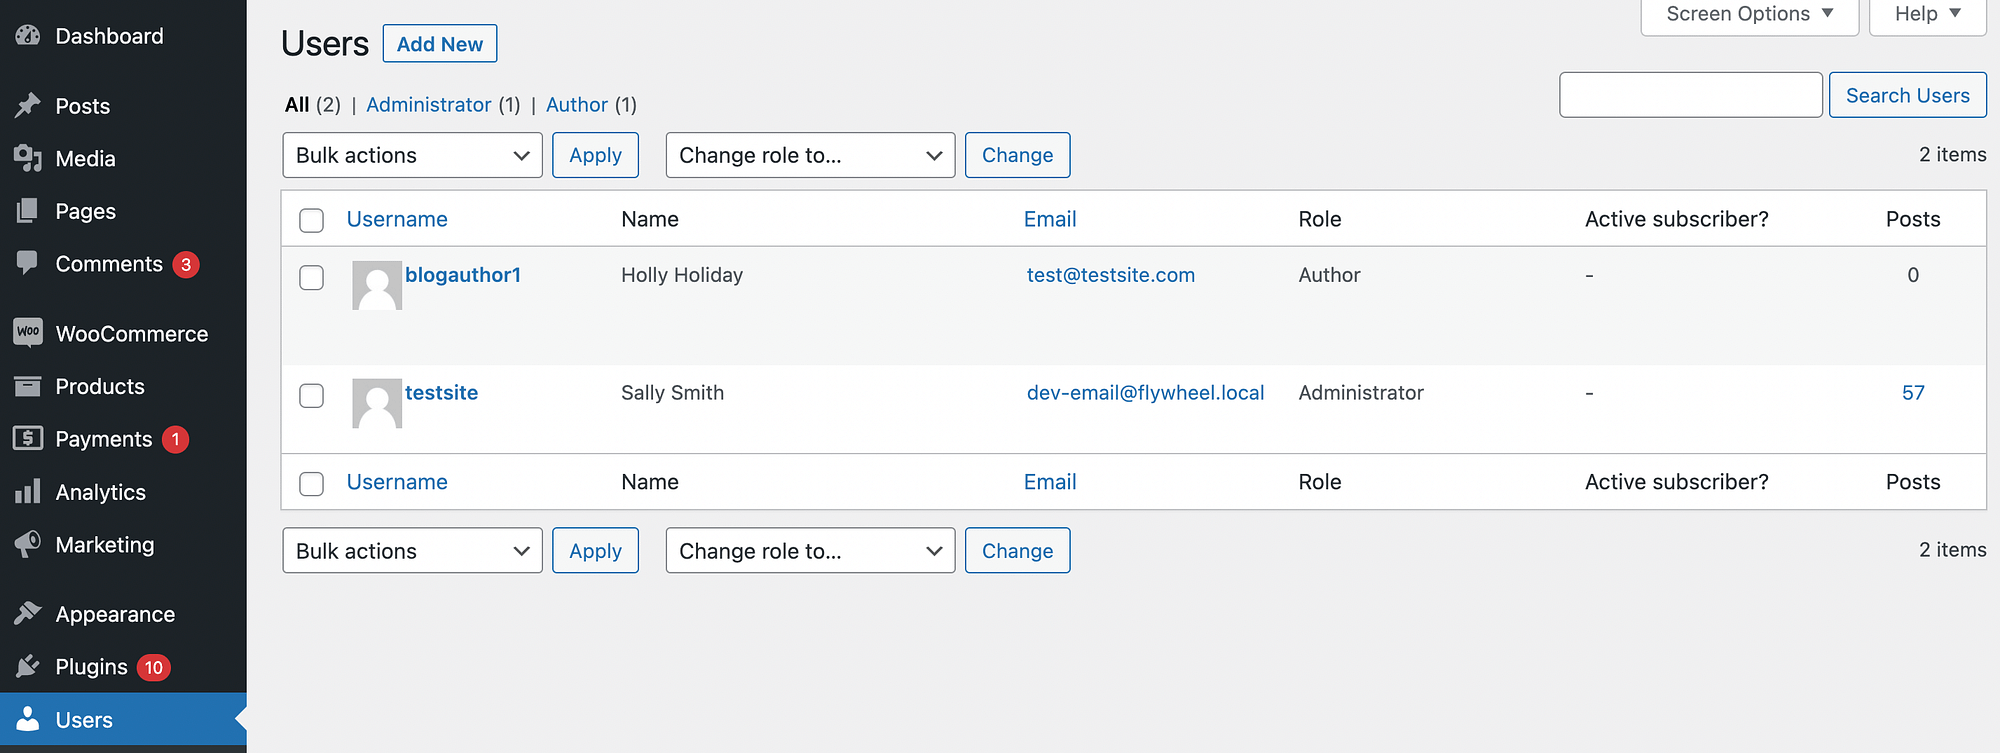
Search the user (ie, the author) for which you want to add an author bio. then, hit edit link under their username. If you are filling out your own author bio, just scroll down about yourself Section:
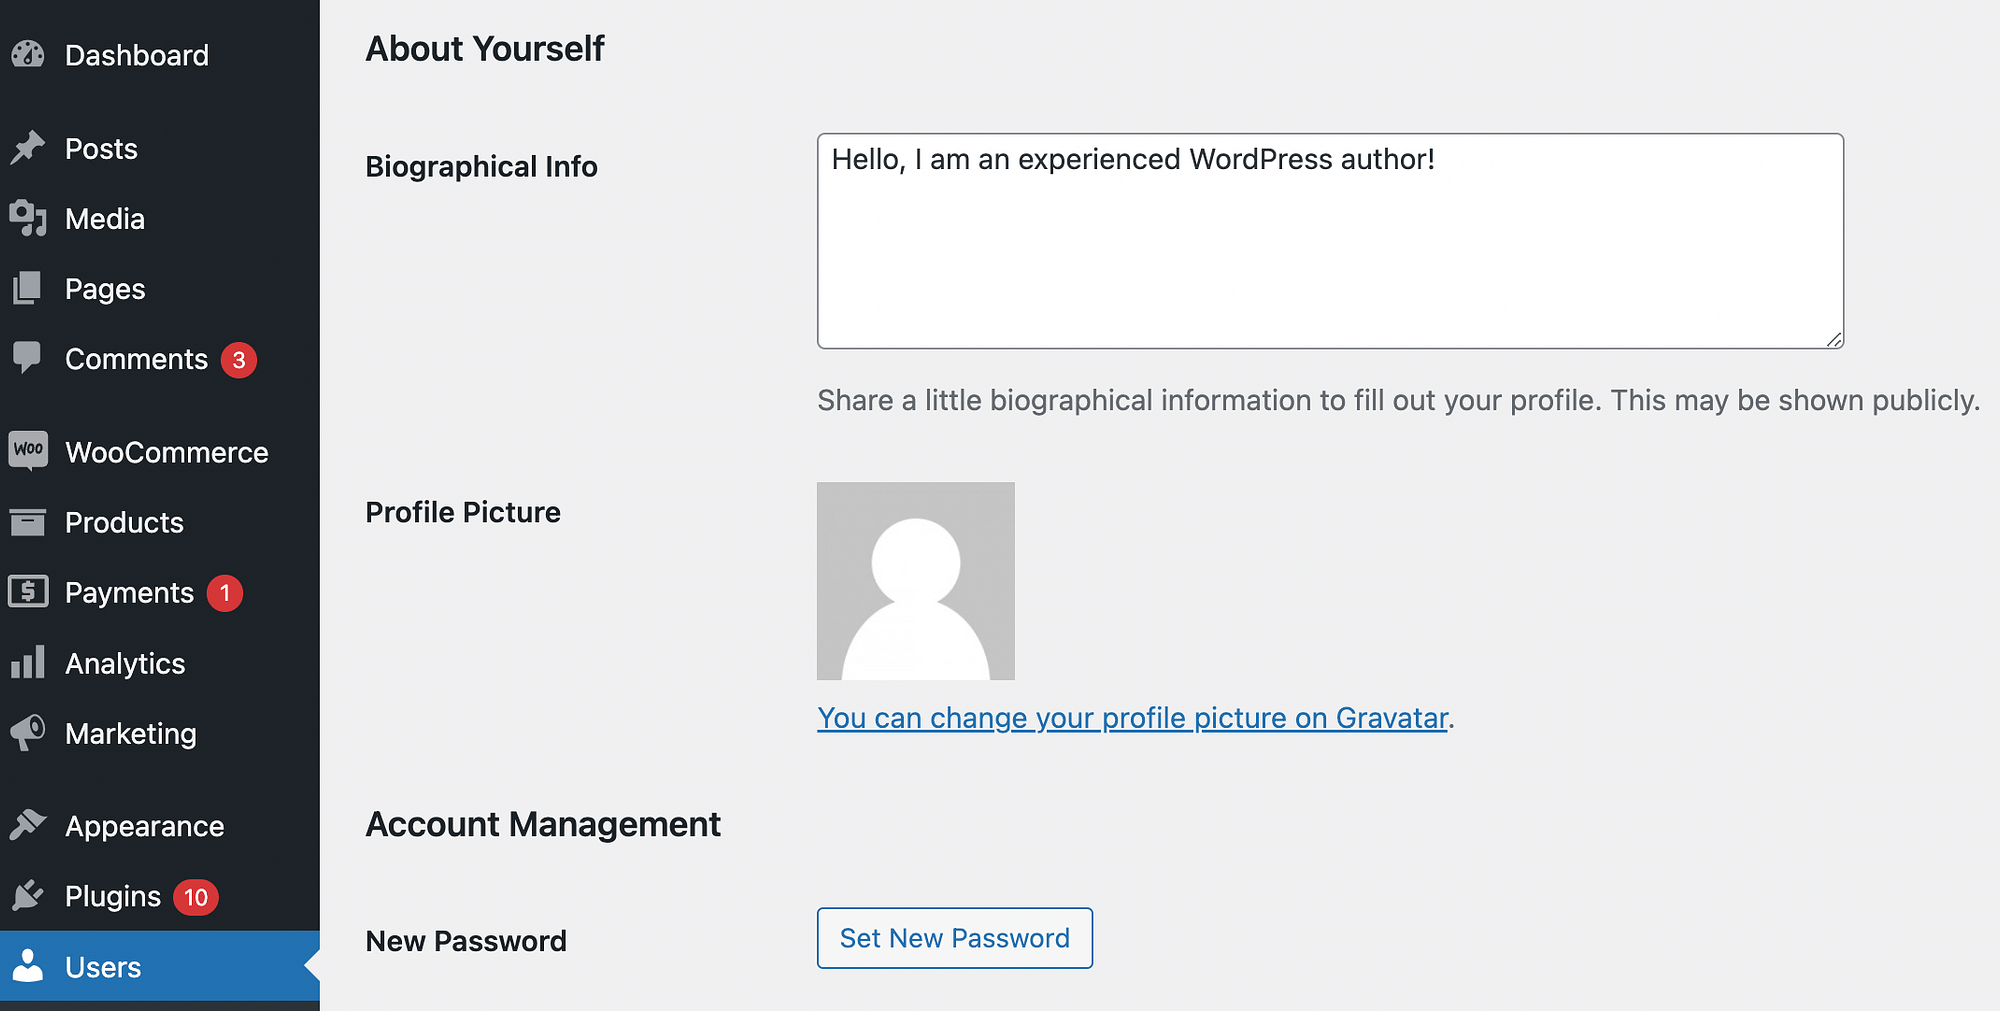
Here you can fill Biographical Info section and add a profile picture.
If you’re creating an author bio for someone else, the process is similar, but you’ll need to scroll through the About user clause instead:
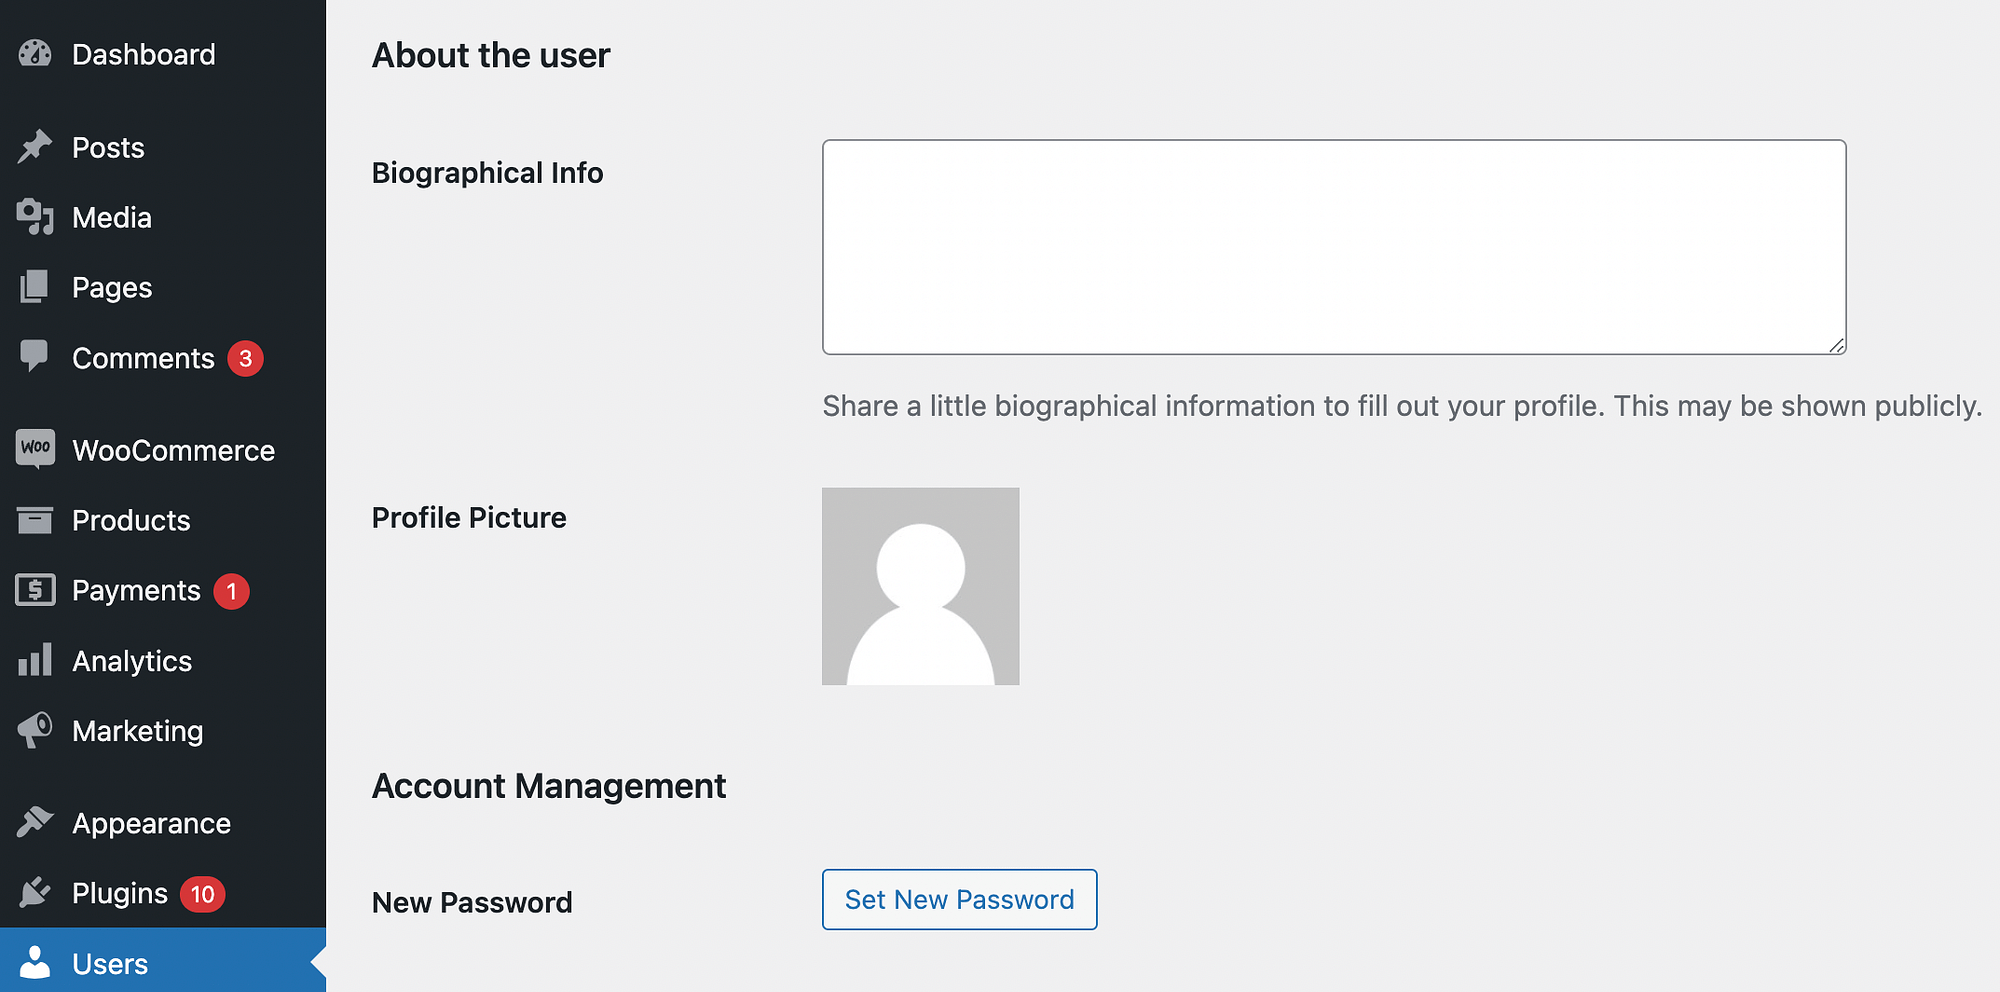
Its as simple as that!
2. Using WordPress Post Writer Block
If your theme doesn’t include an author bio block in its design by default, you can always add one manually. you can do it by using post writer block,
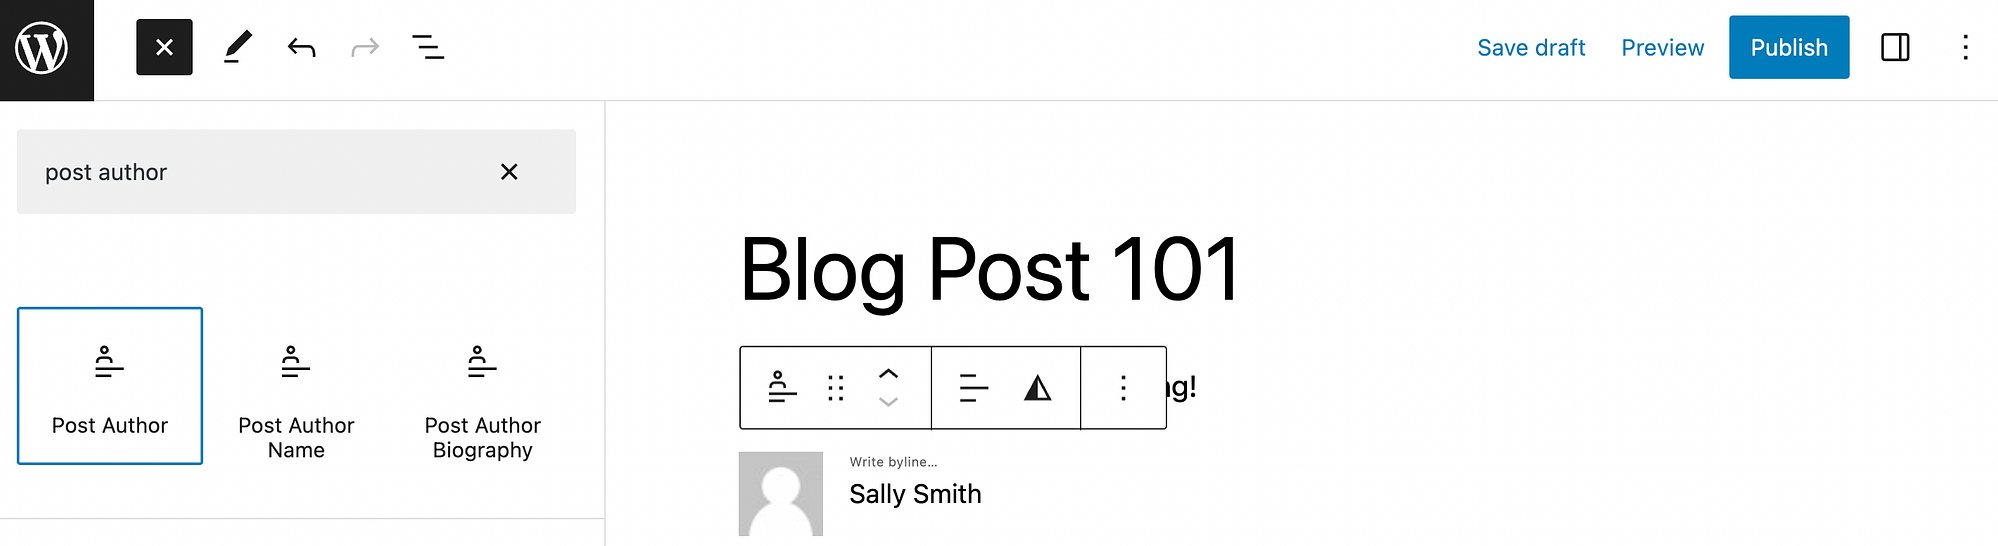
After you have filled in the author information in the user settings (as we did in the previous method), simply navigate to the post or page where you want to add a WordPress author bio. click on, an icon to open your block menu. Then, search for “post author:”
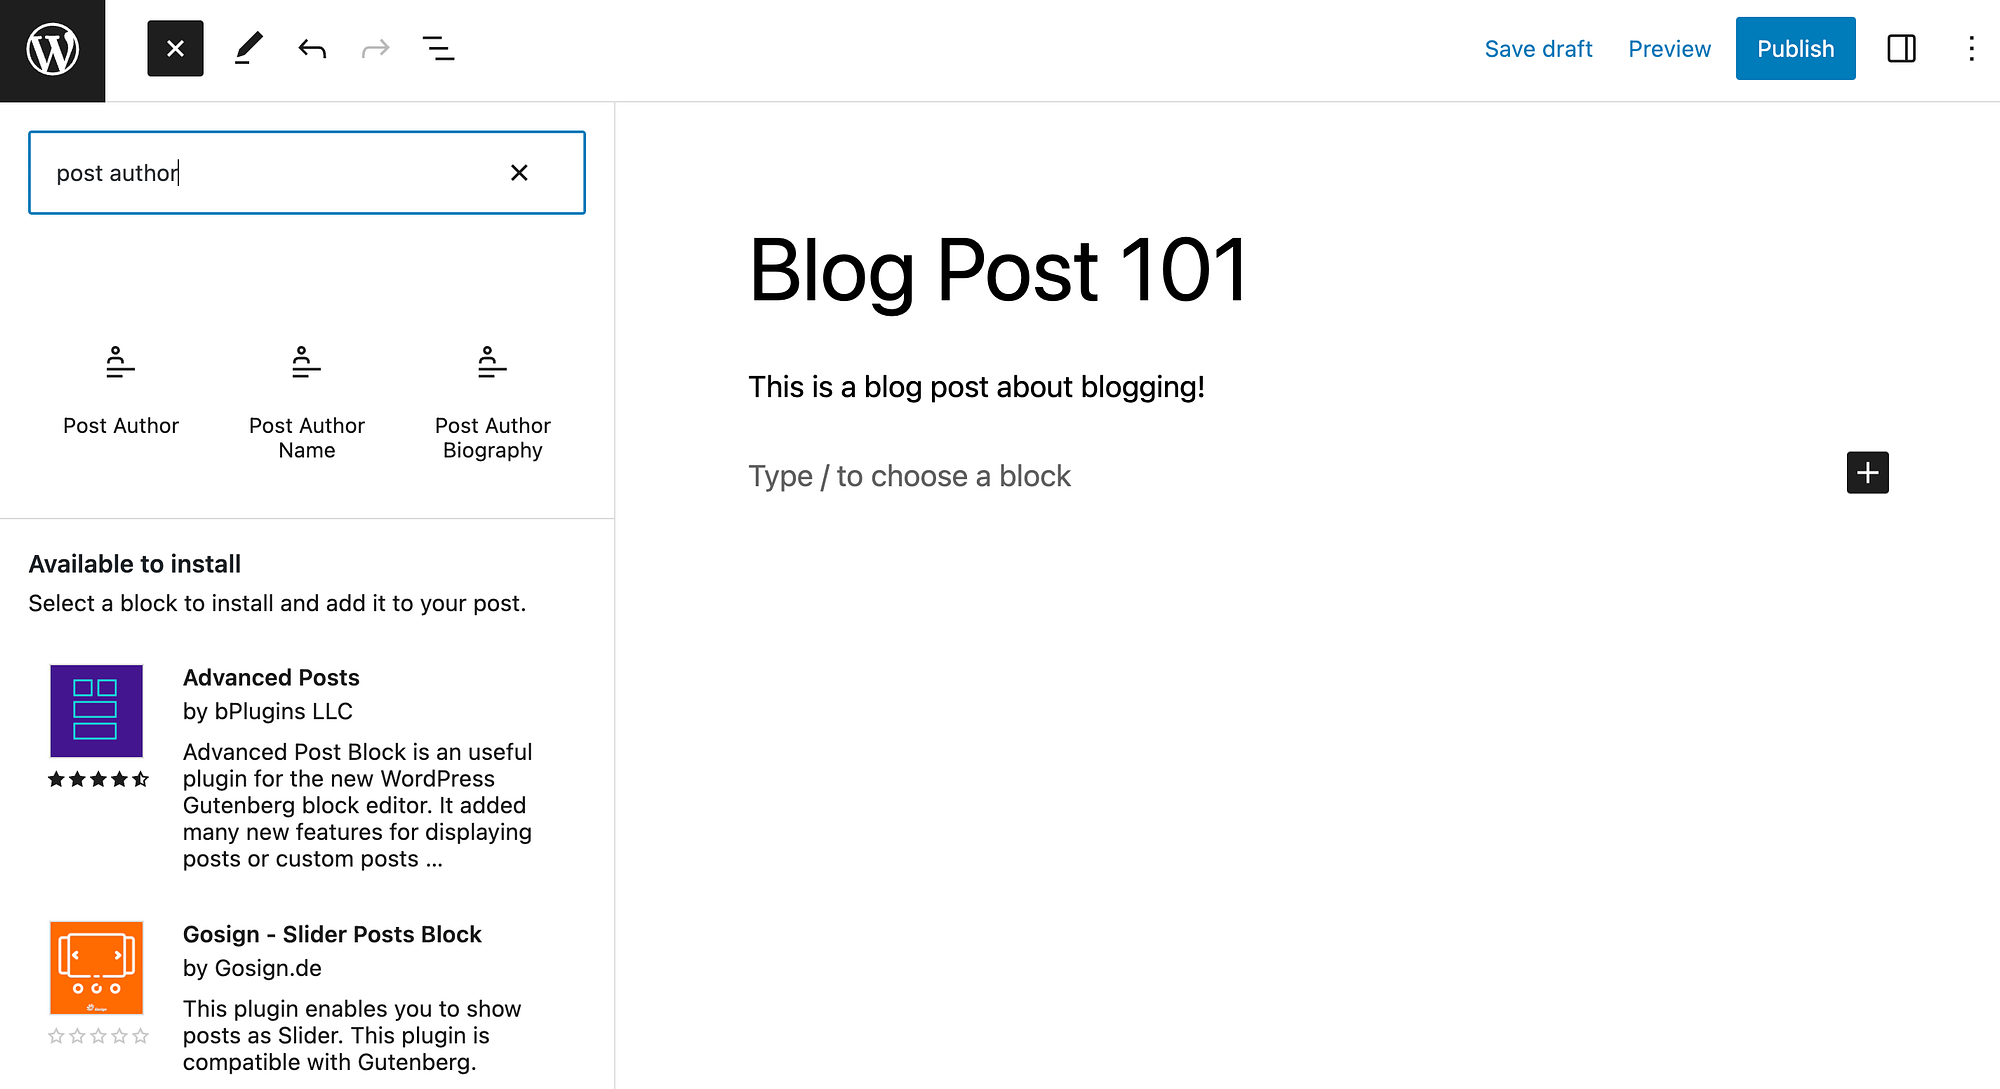
As you can see, it gives some options. If you choose the first option, post writer, this will populate the username and profile picture. It will also let you add an extra byline:
When you choose the post author name, it will append the name in plain text. if you choose post author biography block, you’ll get a biography but not a picture of the author:
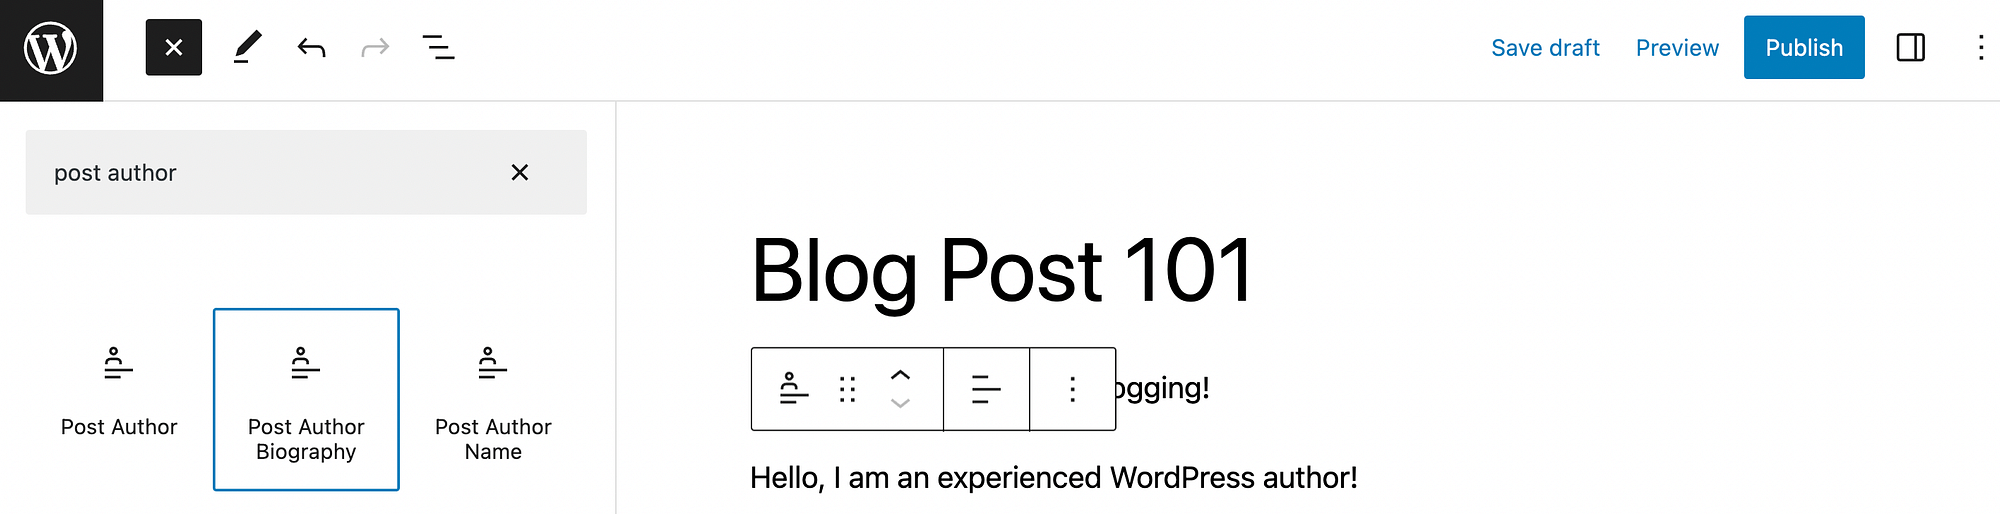
You can make your selection based on how much information you have about the author.
For example, for a guest blogger, you can just have a name. Alternatively, if the post was written by a regular contributor, you can have both a bio and a picture.
3. With an Author Bio Plugin
Now, let us see how you can add a WordPress author bio box using a dedicated plugin. For our example, we’re going to use Molongui authorship.
Molongu is a good choice as it provides unique author bio features and customization that WordPress does not offer out of the box.
For example, Molongui lets you create author bios without having to create a WordPress account for the author. Plus, you’ll be able to guest author, co-author, and more.
This can come in very handy if you run a large blog that publishes a lot of one-time articles from different authors. What’s more, limiting the number of users you can create can help keep your site secure.
After you have installed and activated the Molongu Authorship plugin, go to Author, Adjustment To configure your preferences:
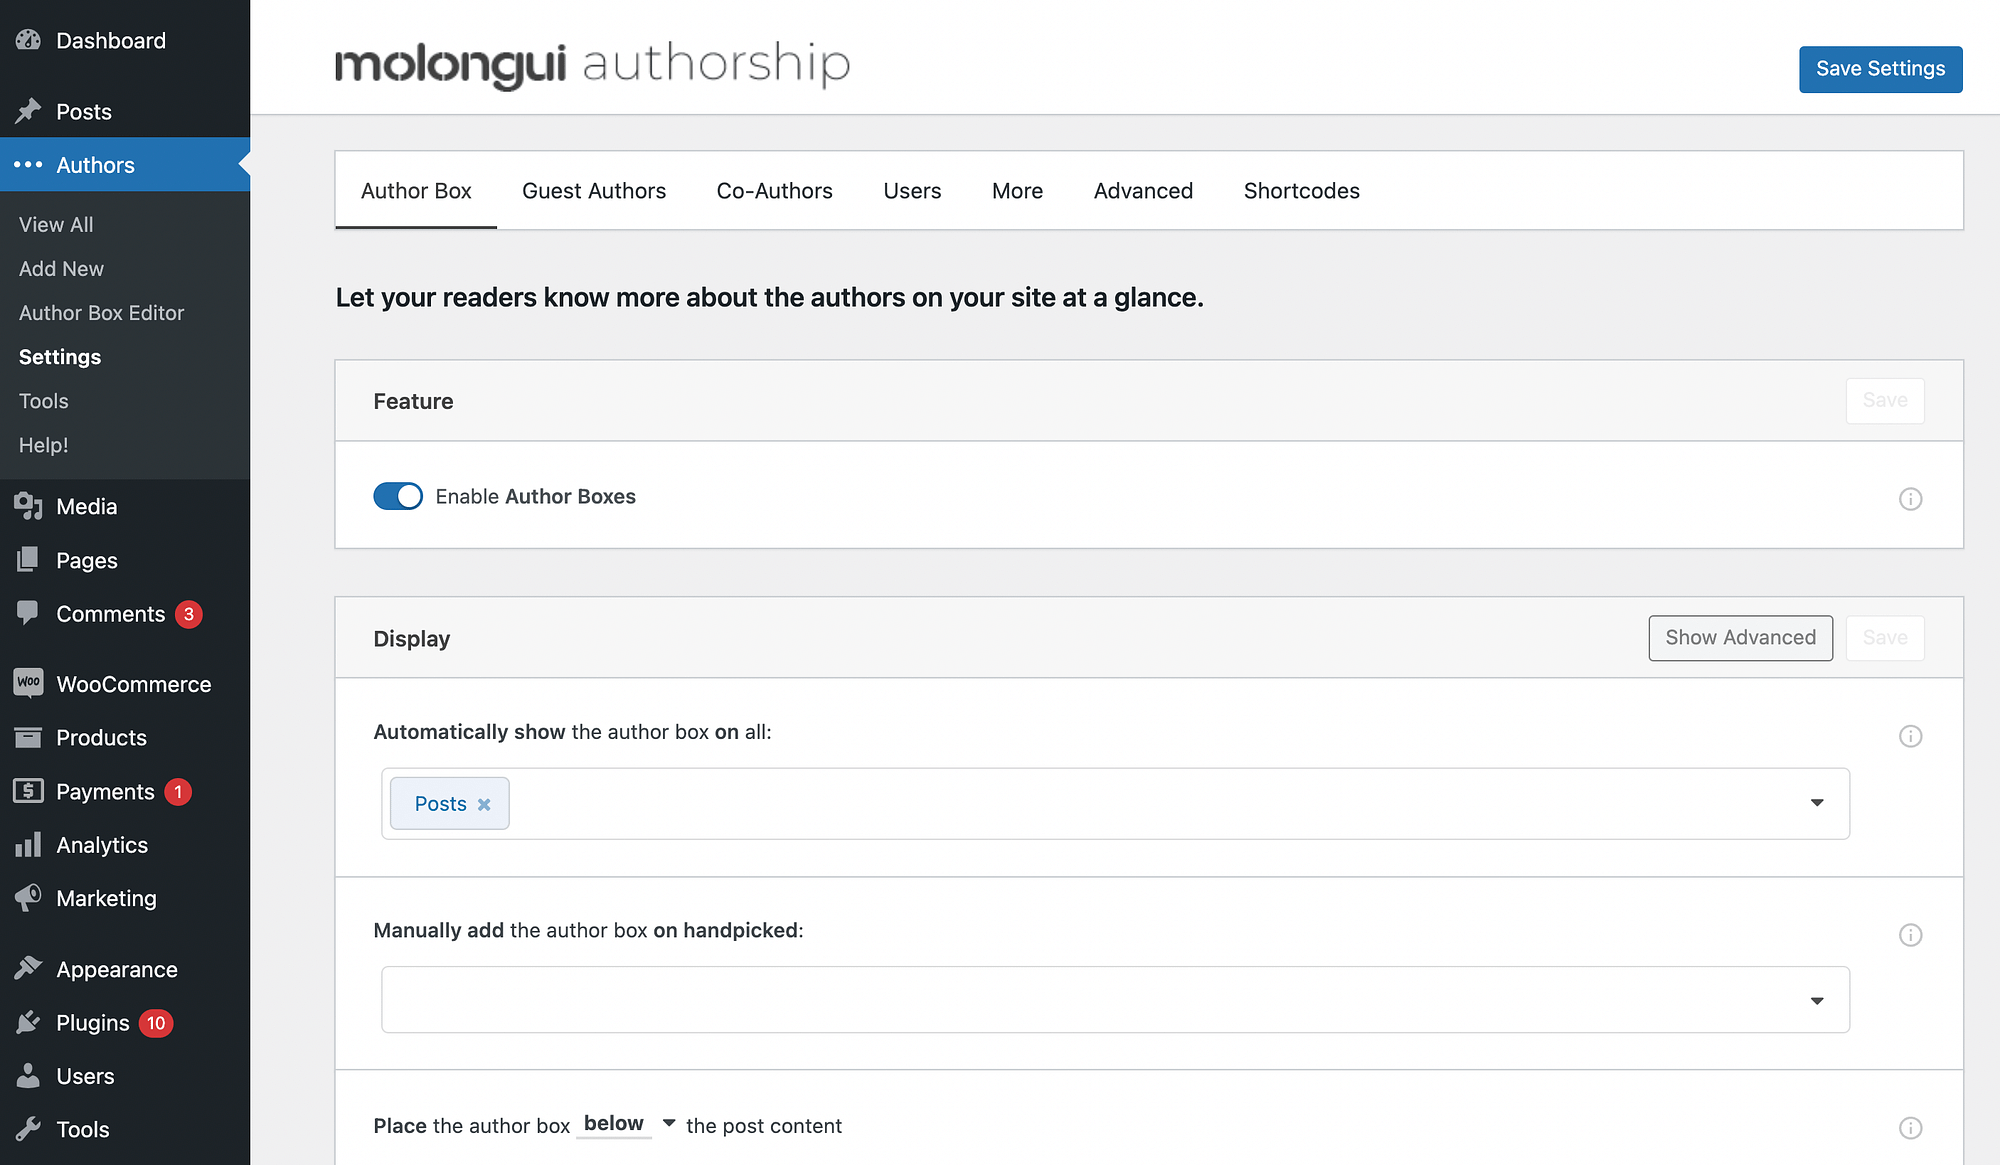
All types of author boxes are enabled by default, but you can turn off some options if you prefer.
In addition, under the author box In the tab, you can change the position of the author boxes. In the Users tab, you can enable or disable additional field options such as Phone, Company, and Social Media Links.
so you can go to Author, author box editor To customize the look of your WordPress author bios:
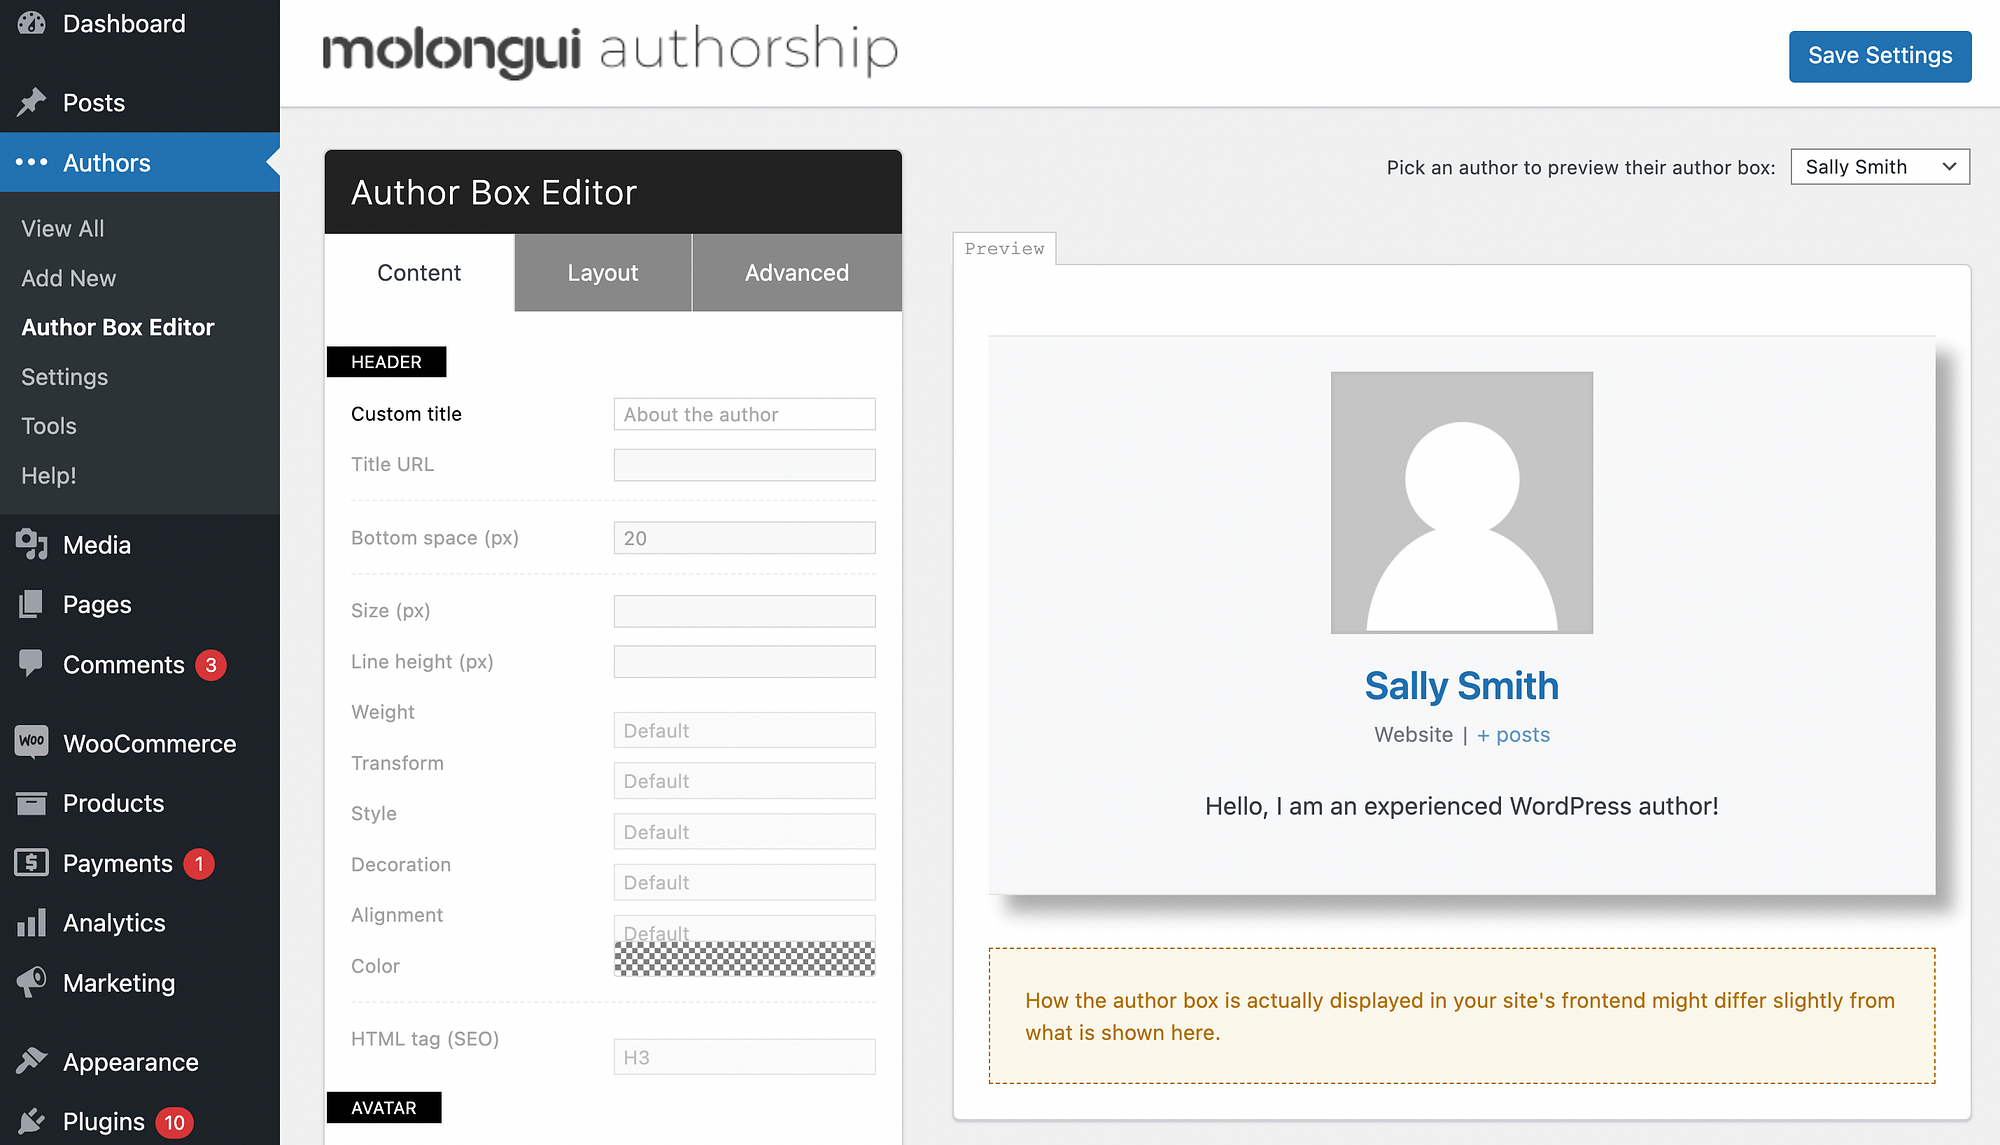
Just be sure to hit save settings when you’re finished!
If you want to add WordPress author bio boxes, but you don’t want to include them at the bottom of the page, you can use sidebar widgets instead. For this approach, you will need the Mex Smart Writer Widget Tool.
After installing and activating the plugin, navigate to Presence, Widget,
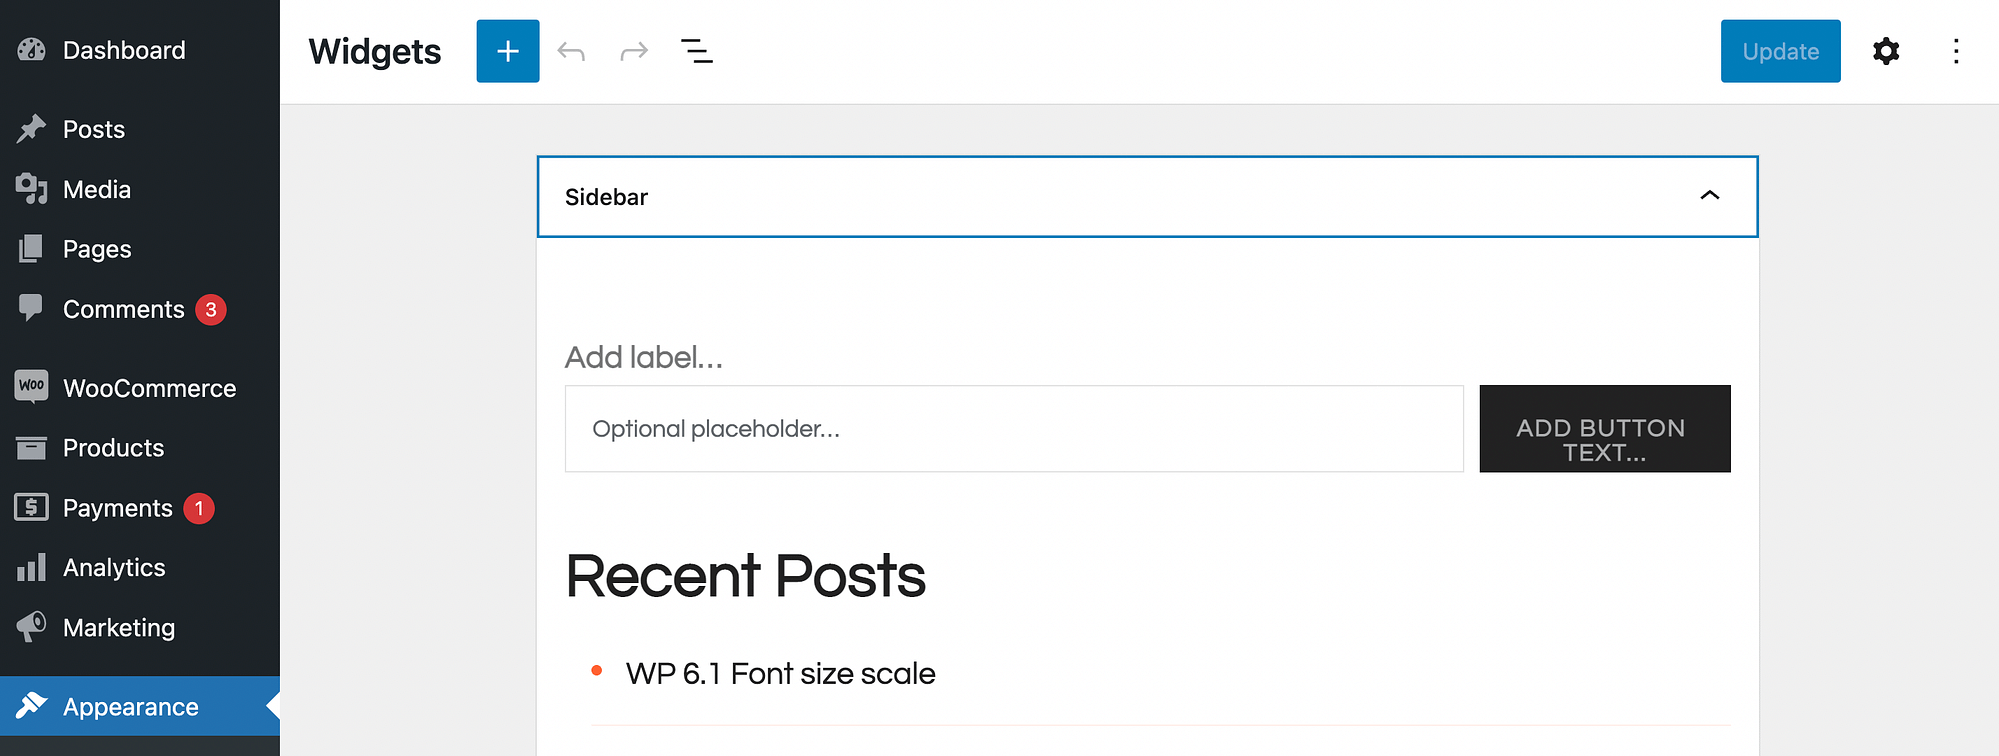
Once in the Widget Editor, make your selection sidebar Area:
click on, Symbol for adding a block. We’re going to add ours at the very bottom of your sidebar section. Now, find and select Meks Smart Author block:
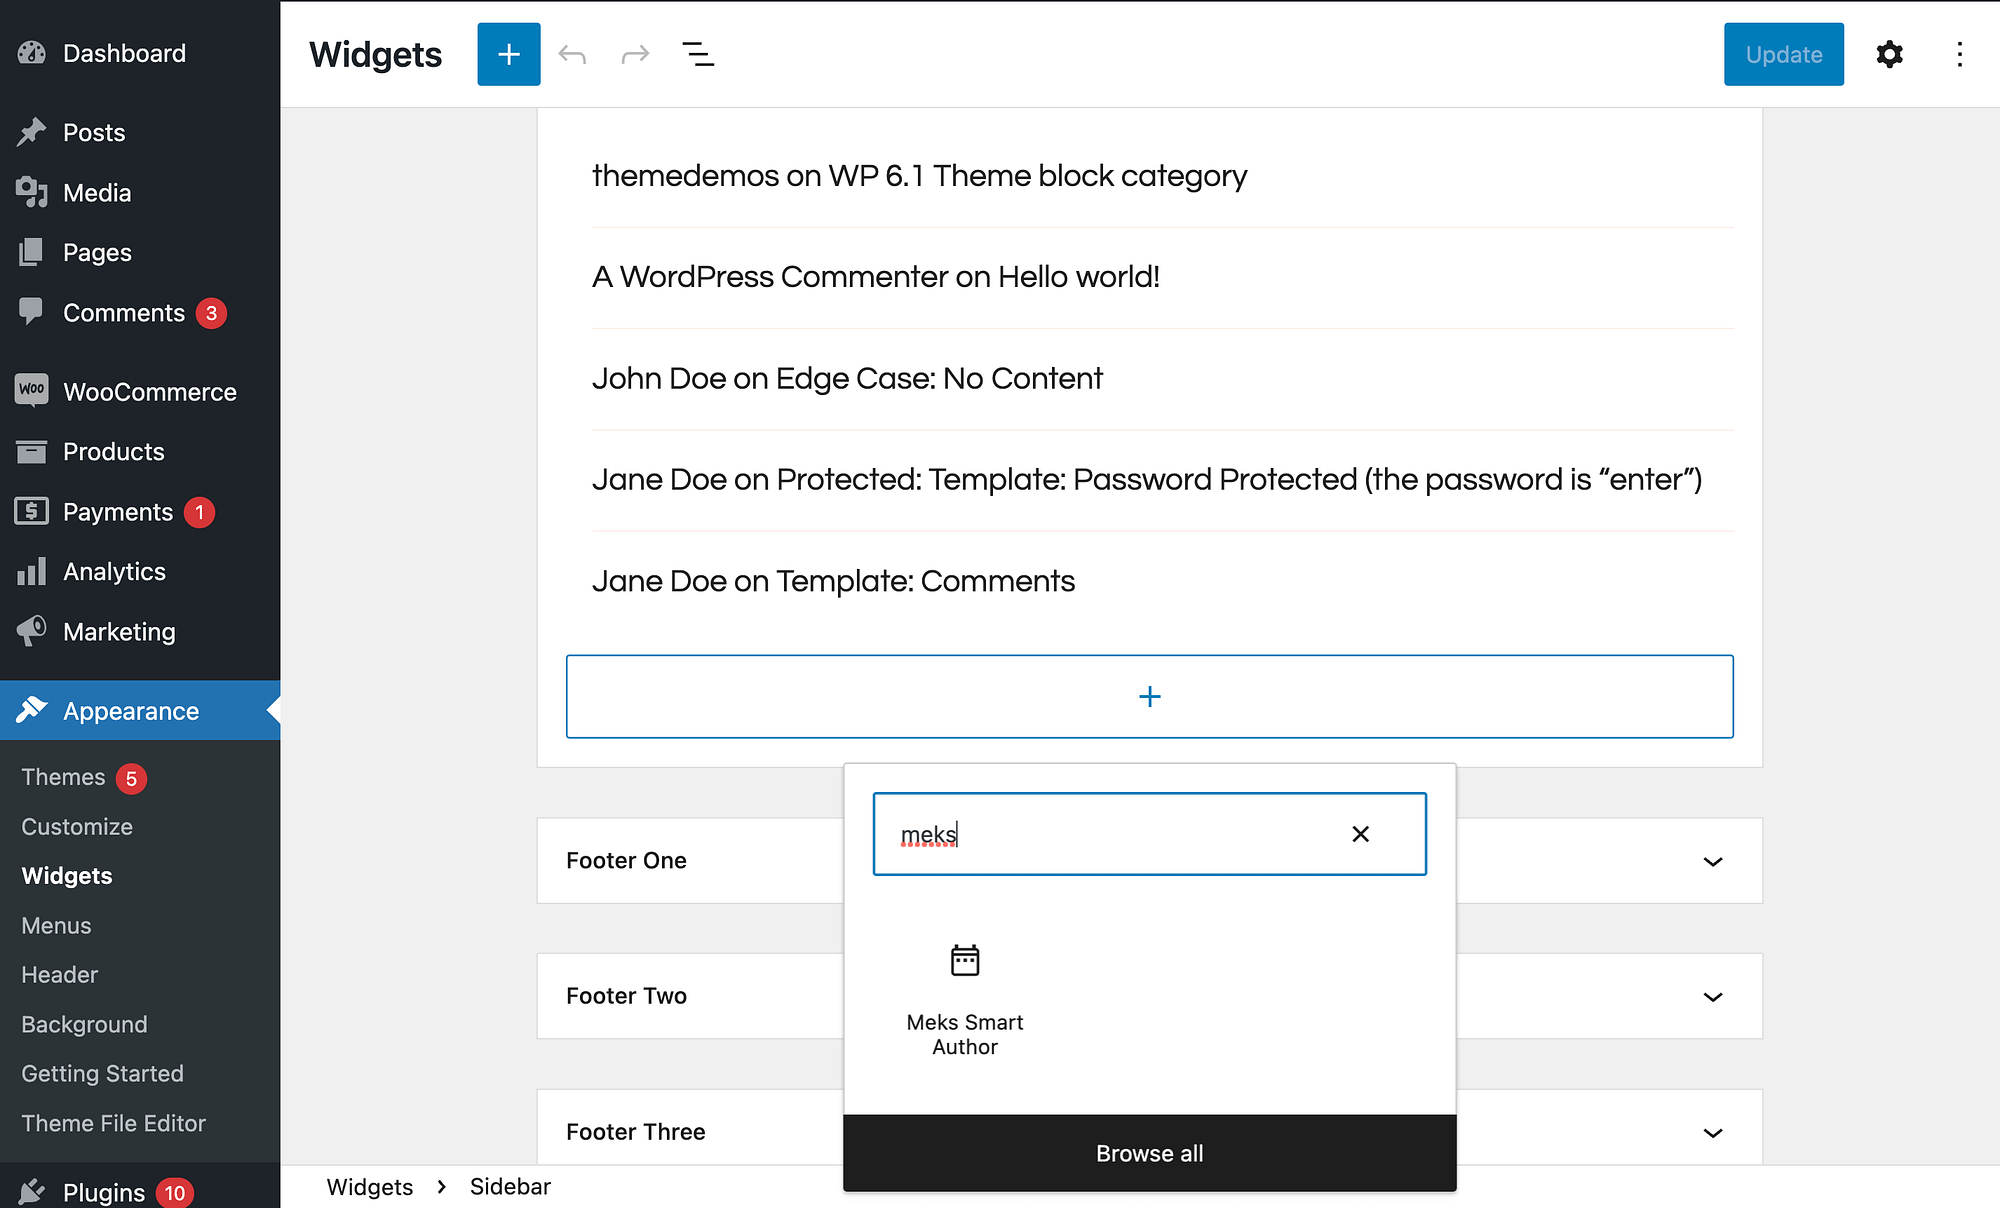
This will immediately add it to your widget area:
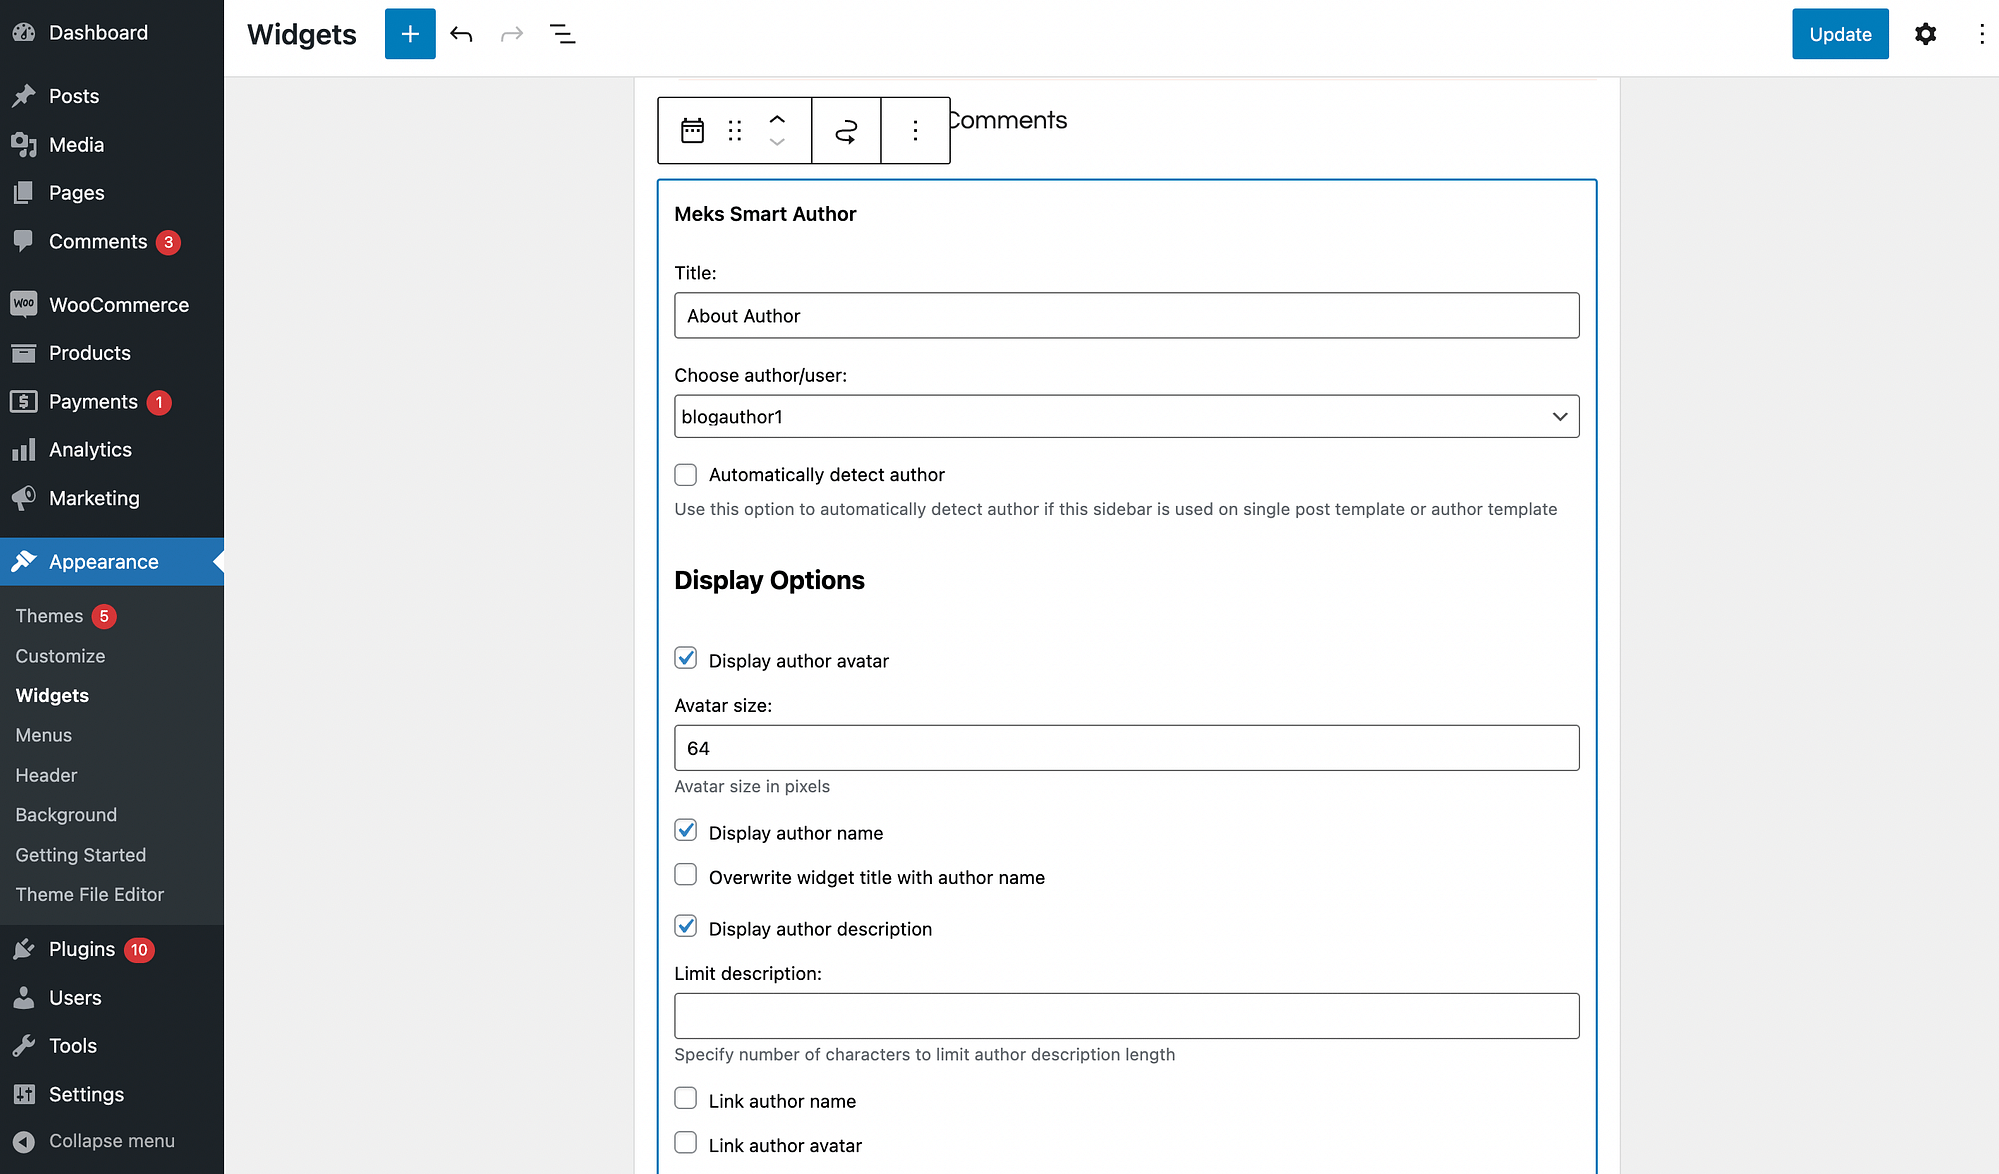
Now go ahead and configure your settings. Then click on Updates to save your changes.
Here’s what it would look like on the front end:
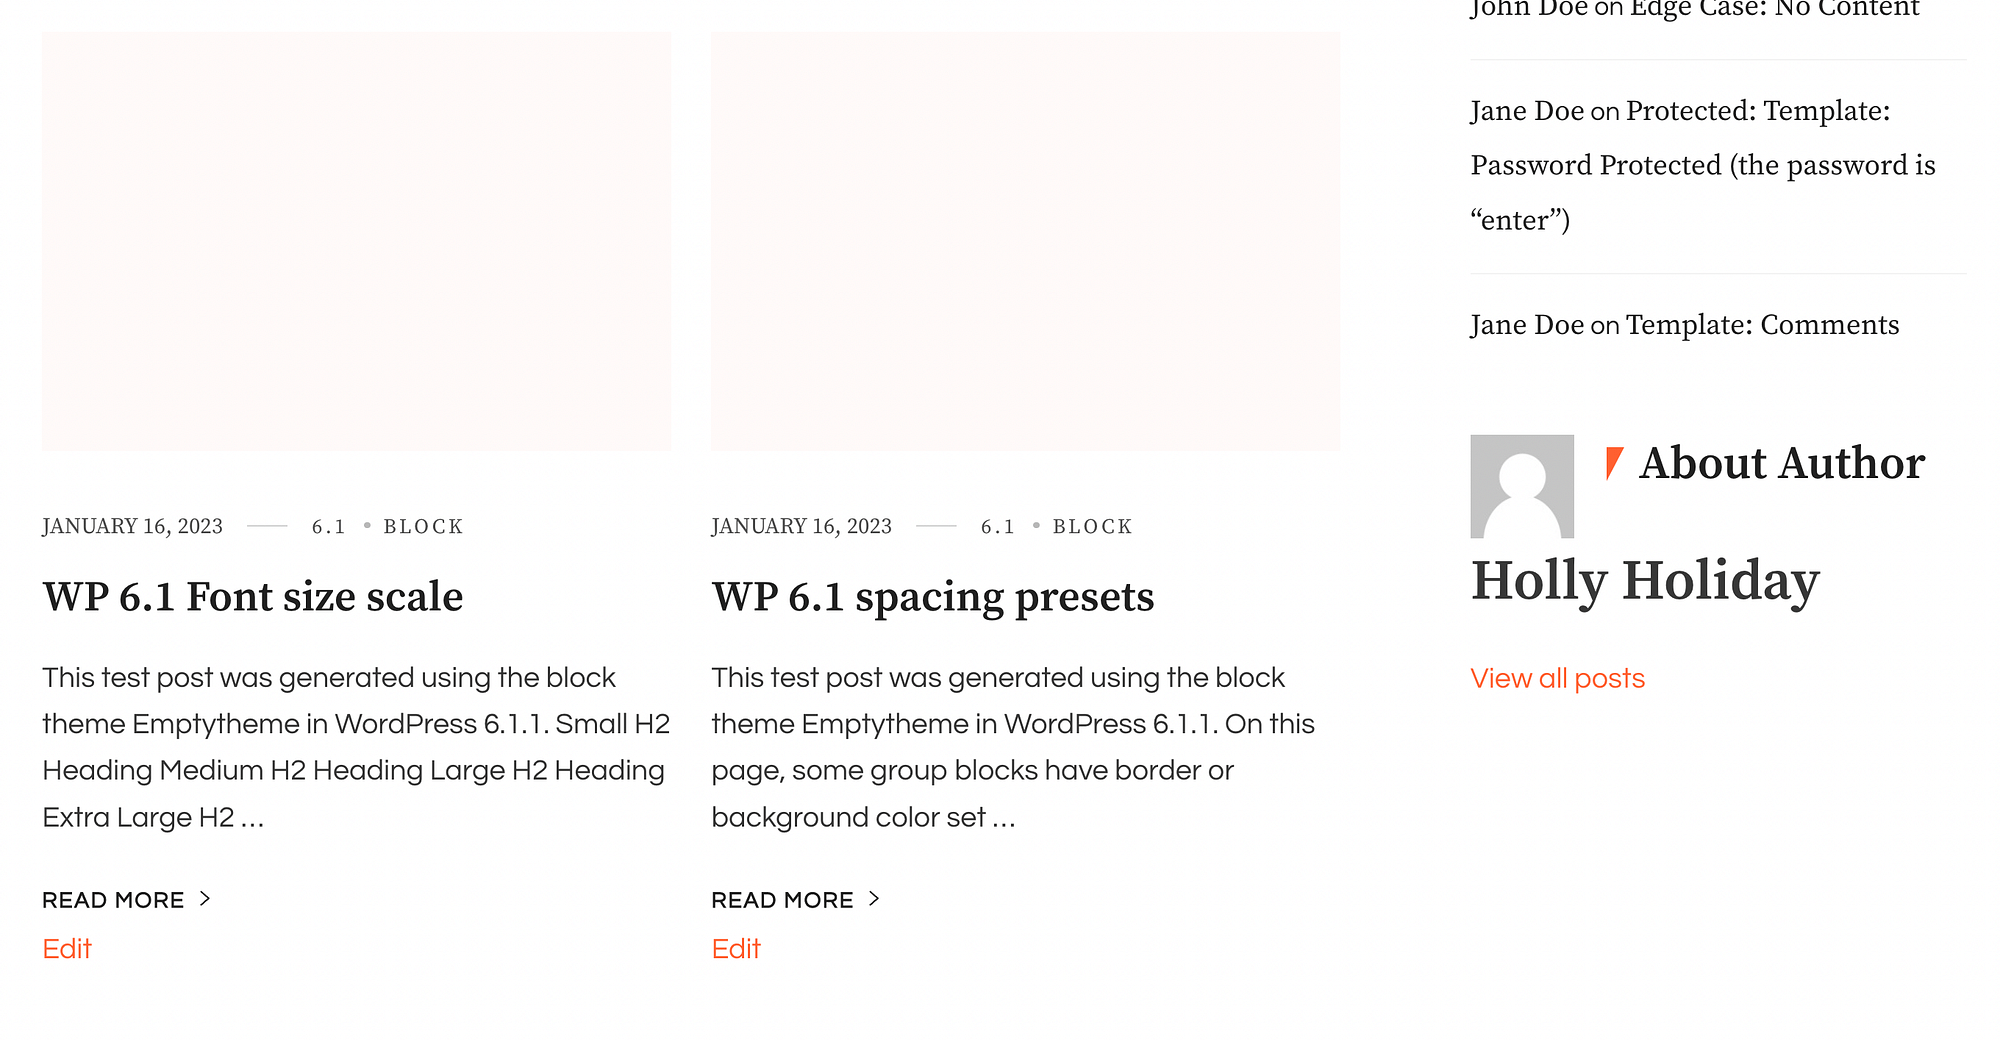
Keep in mind, adding a WordPress author bio to a sidebar widget is best for single-author publications such as personal blogs. This is because it is a universal feature that will appear on every page.
Conclusion
When you’re managing a multi-author WordPress blog, it’s important to let readers know who is writing your articles. This can help you grow your reputation and gain trust among your audience.
The good news is that you can easily add a WordPress author bio box to your posts. Even better, there are a few different viewpoints, so you can choose the one you like. For example, you can configure it in your WordPress settings, use post author blocks, add one to the widget area, or even use a dedicated plugin for additional customization options.