Looking for the best way to add WooCommerce Compare Products functionality to your store?
Offering a strong catalog of products can help you reach a larger audience. However, if your customers are faced with too many options, they may struggle to shop, which is where the comparison feature can be helpful.
In this post, you will learn how to use Sparks for WooCommerce The plugin creates a customizable WooCommerce Compare Products table that looks something like this:
Customers will be able to easily add products to the table by clicking an icon on the shop or single product page. What’s more, you can customize all the details and designs according to your needs.
Why would you want to add the WooCommerce Compare Products feature?
If you want to grow your online store, expanding your product selection can be an effective strategy. When you offer more products, you can attract a wider demographic by appealing to different price points and preferences.
Plus, you can unlock opportunities for cross-selling and upselling. As a result, you will be able to increase your conversion rates and average order value (AOV). However, you may have difficulty reaping these benefits if your customers are overwhelmed with your selection.
In fact, studies show that online shoppers are already experiencing search fatigue. [1], Therefore, a large catalog may make things worse.
That’s where a product comparison table comes in handy. This feature can be especially useful when you offer similar products with different technical specifications.
This produces a horizontal panel at the bottom of the page where you can view the items you’ve selected. Then, when you click on compare button, you’ll get a custom comparison grid:

This allows customers to easily compare things like auxiliary jacks, pairing capabilities, and Bluetooth options – all in one place! Some product comparison tables also have advanced navigation elements such as sticky headers:

That way, when you scroll down to see a long list of product details, you won’t lose sight of which product is which. This can majorly enhance the User Experience (UX) and motivate customers to hit the buy now button.
Unfortunately, there’s no built-in WooCommerce products comparison feature. However, you can use a plugin that provides this feature.
How to set up WooCommerce Compare Products functionality
As you can see, you can get a lot of benefits when you add WooCommerce Compare Products functionality to your store.
Now, let’s see how to create an attractive product comparison table in just a few steps!
Step 1: Install and Activate Sparks for WooCommerce
Since WordPress doesn’t come with a built-in product comparison table, you’ll need to choose a premium tool. Sparks for WooCommerce To get this easy feature. Our plugin enables you to design a custom comparison table for your online store:

It comes with a collection of tools designed to optimize your online store and increase conversions. For example, you can create Wishlist, display advanced product reviews, and more.
to get started with Sparks for WooCommerce, you need to choose a subscription plan and sign up. Then, you will be able to log in to your account and download the file for the premium plugin.
After that, go to your WordPress dashboard and navigate to plug-in, add new, Then click on the upload plugin Button at the top of your screen:
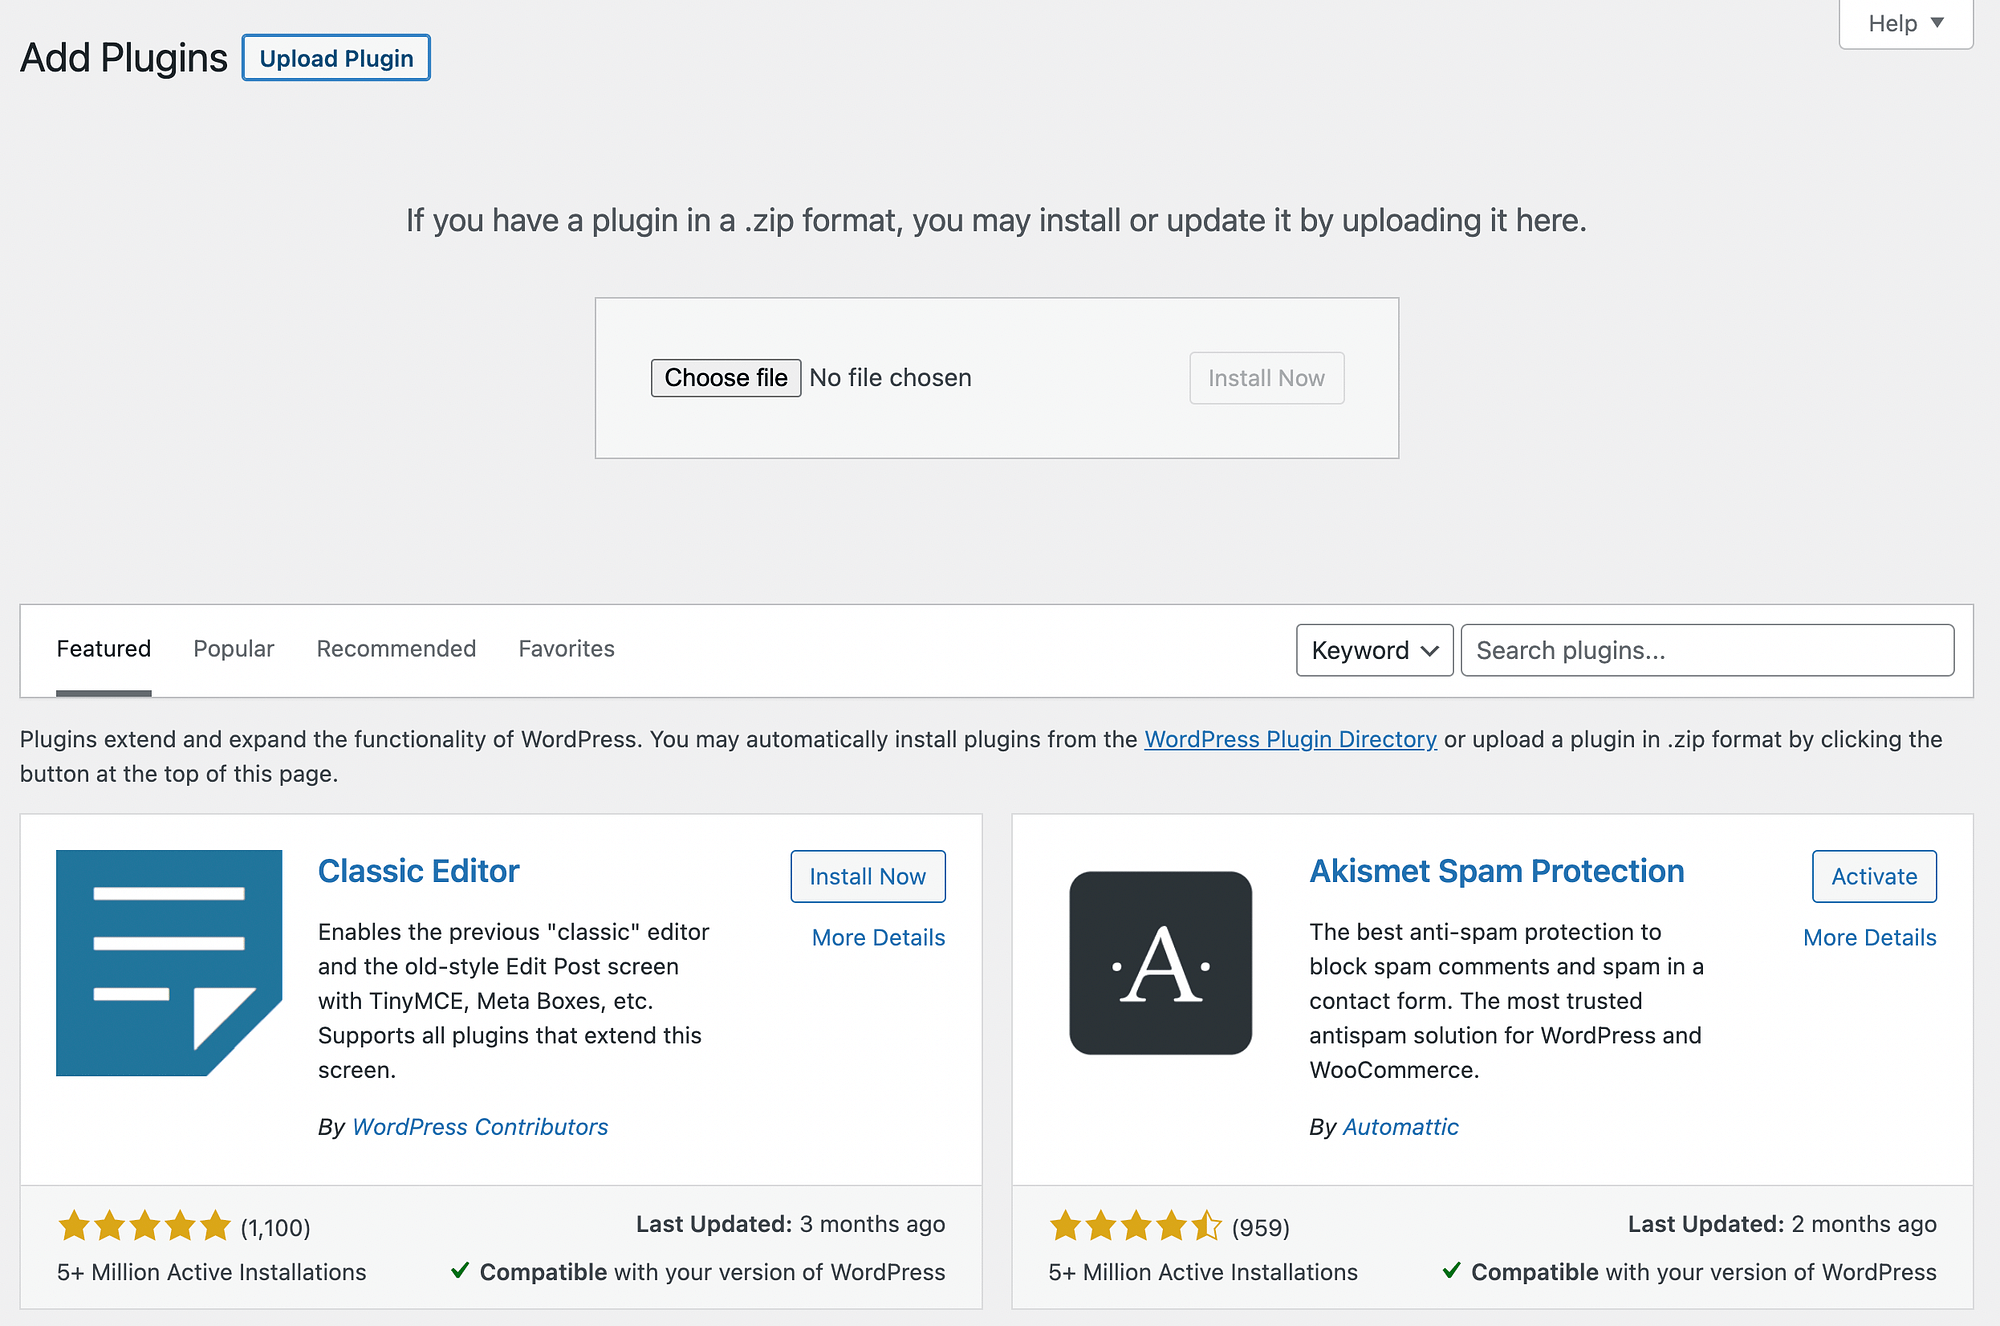
Choose files And upload the plugin file that you just downloaded. Then click on Install Now After Active,
Eventually, you have to go to Adjustment, sparks, Enter your license key, and hit Active, Now, you are ready for the next step!
Step 2: Activate and configure the Product Comparison module
As we mentioned earlier, Sparks for WooCommerce Comes with a full suite of e-commerce features. These organize easily into a module library, so all you have to do is turn them on.
To activate the Product Comparison Module, you need to go to Adjustment, sparks to reach till sparks alternative Page:
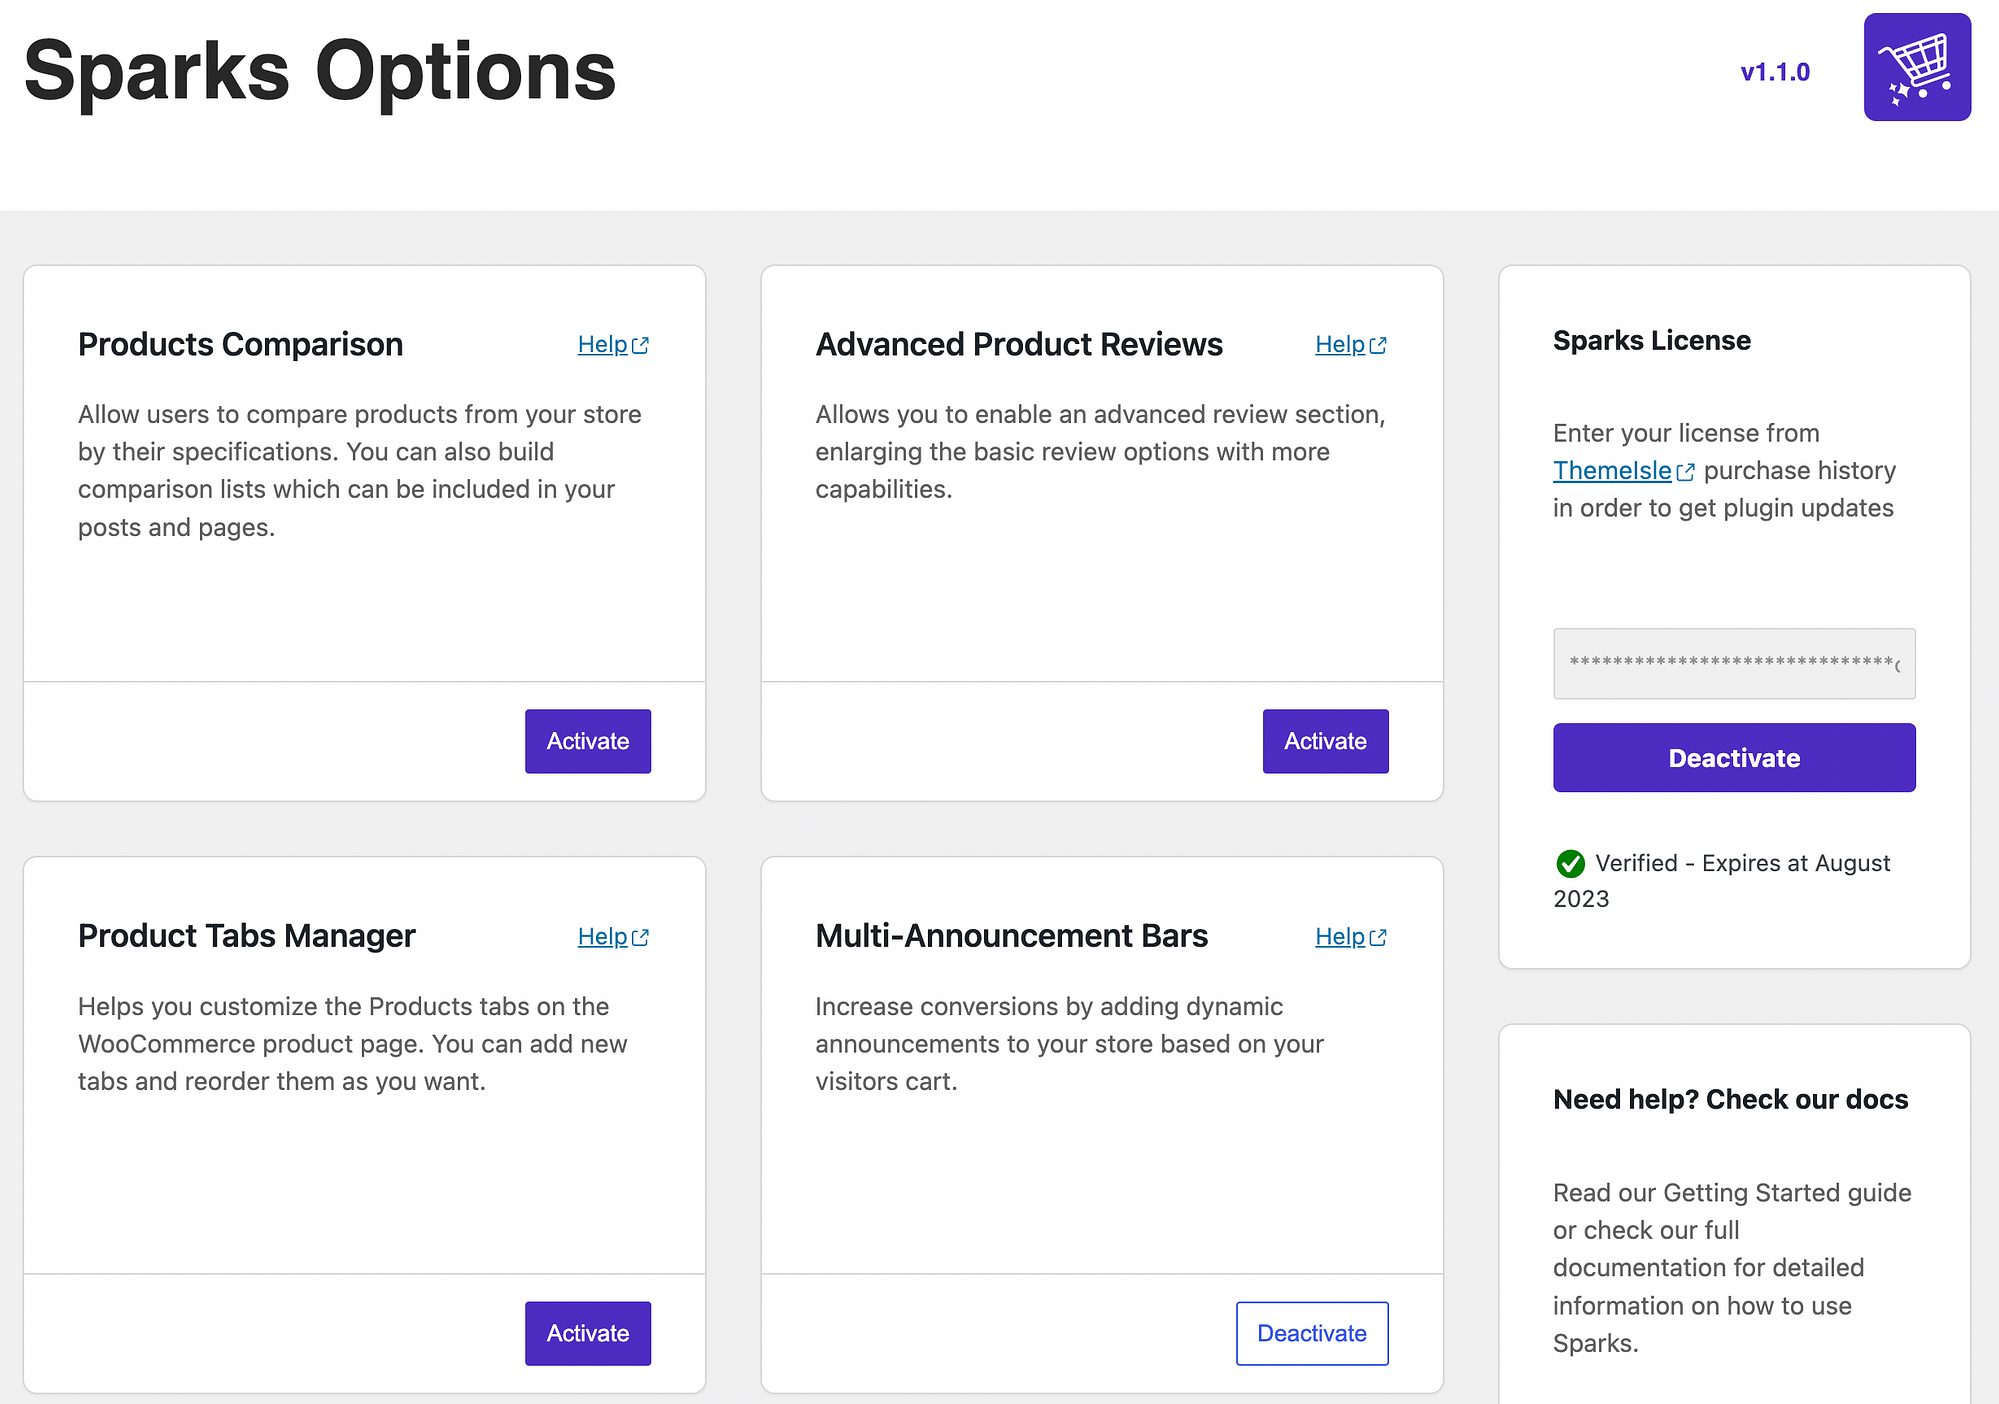
You should watch the product comparison module immediately. just click the Active button.
now one configuration The link will appear. However, before configuring the comparison table, let’s see how it looks on the front end with the default settings:

Currently, all products have a plus sign (,), Which one is that compare icon, When you select your items, you’ll see them listed at the bottom of the screen:

then you can hit compare, The custom list appears on a dedicated comparison table page and shows details like Name, worthAnd rating,
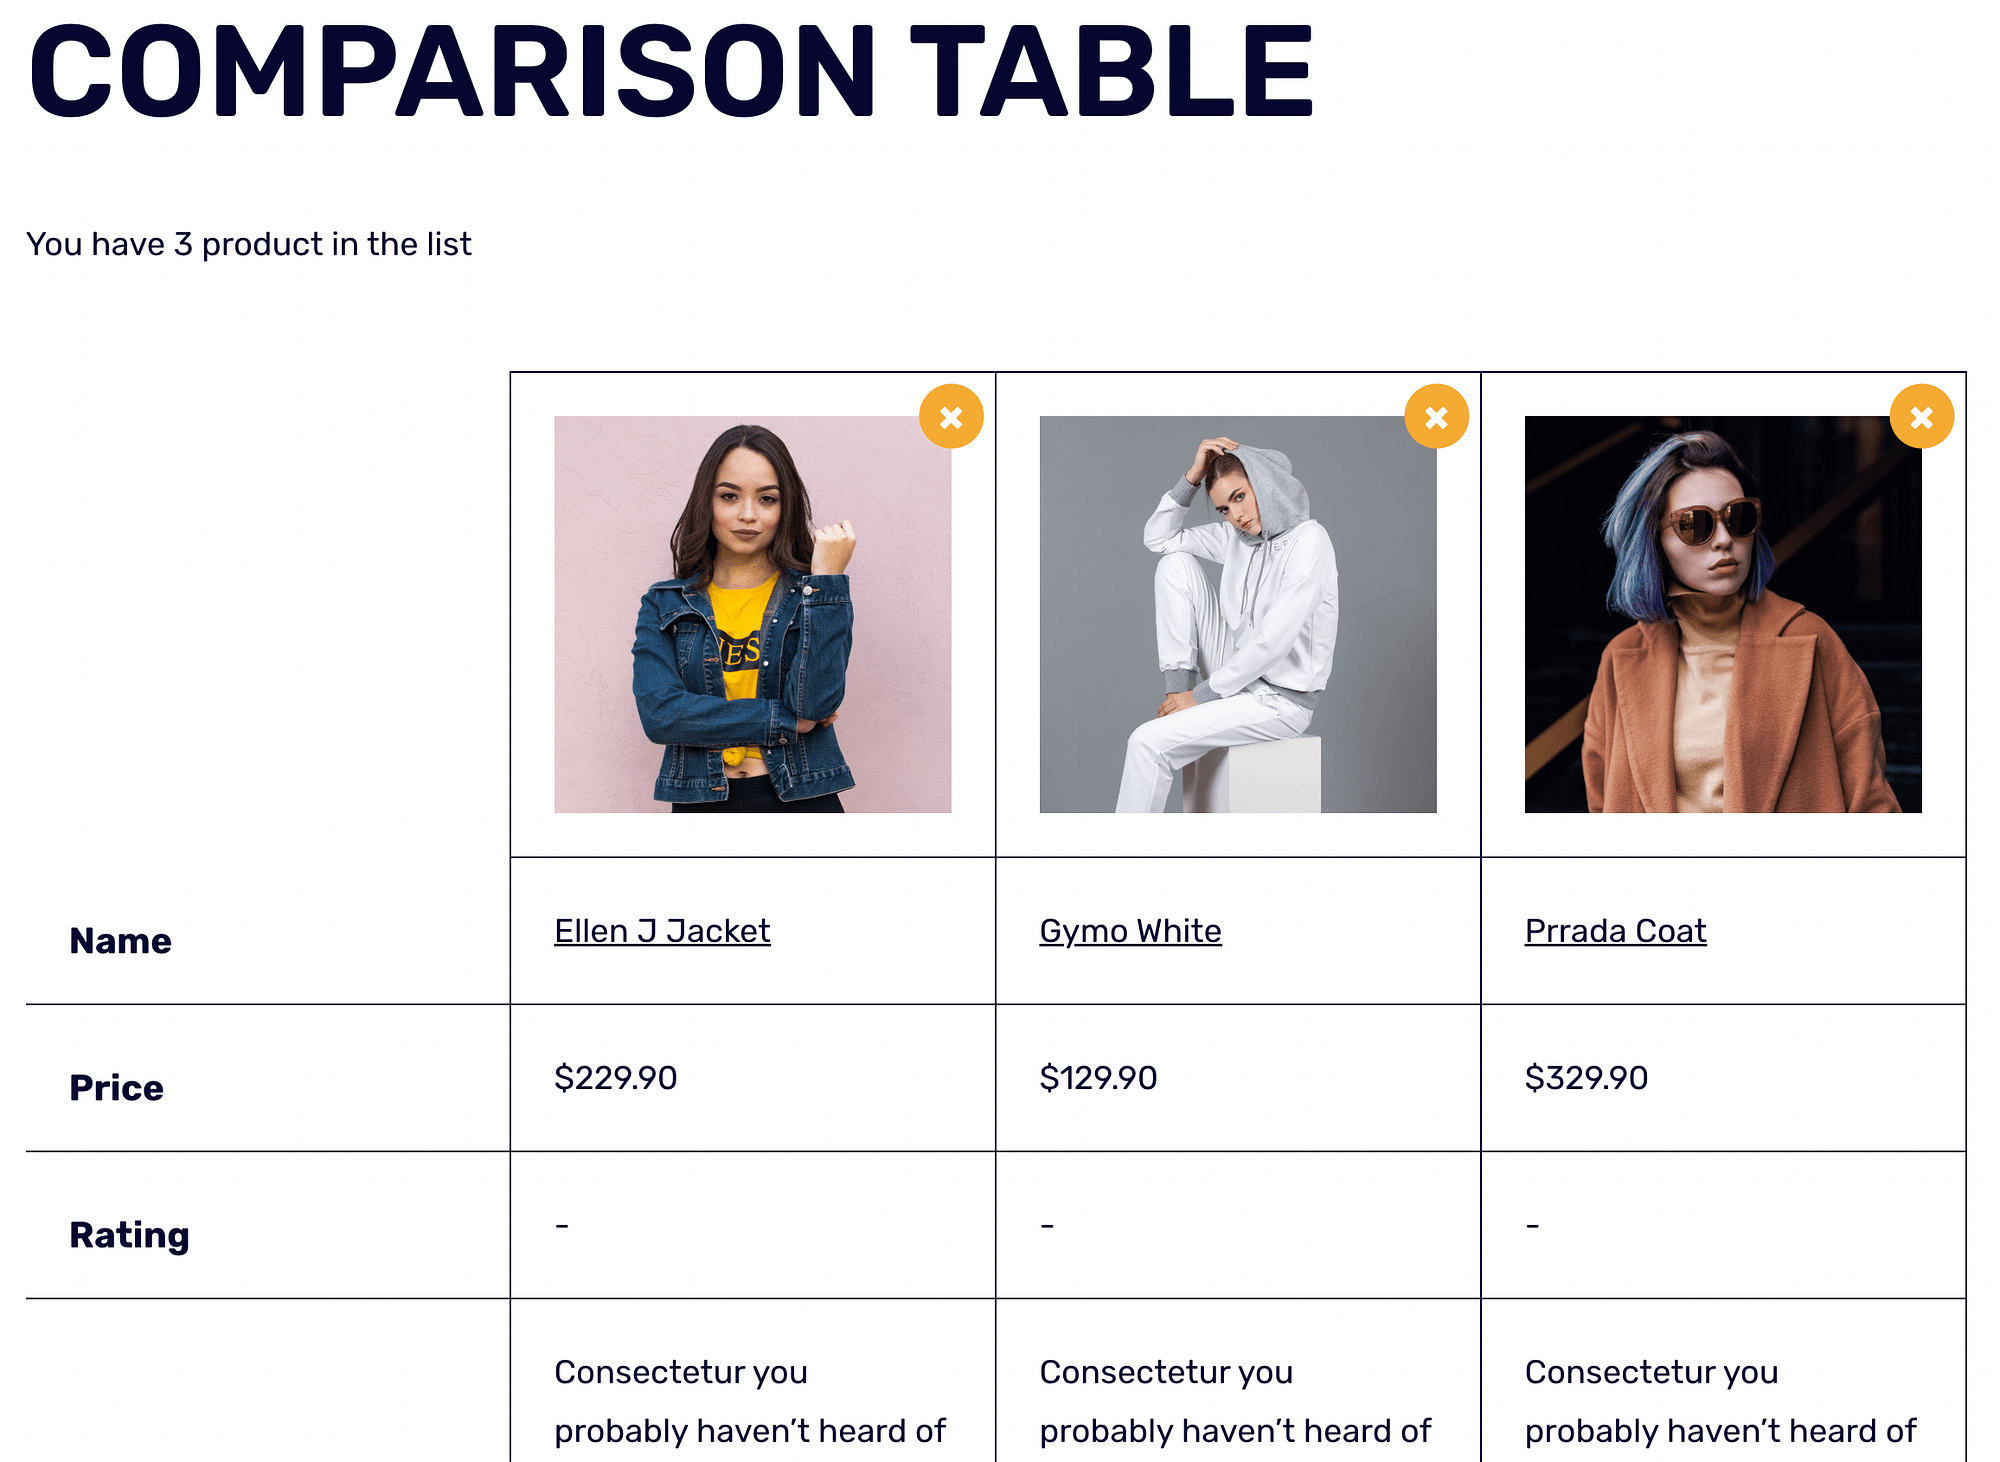
To remove products from the list, just click on X in the upper right corner of each item.
Scrolling down, you can view additional details and add items to the cart:

To customize the look of your comparison table, return to Sparks alternative pages and hit configure In Product comparison Panel. under General SettingsYou’ll need to choose where your product comparison table will appear:

As a default, Sparks for WooCommerce uses a dedicated comparison table Page. However, you can change this by selecting Other Page from the dropdown menu.
You may also want to change the maximum number of products a user can compare. Additionally, you can adjust the position of the Compare checkbox. You have the option of placing it above or below the product image.
Step 3: Customize the Style and Layout of Your Table
You may have noticed that all new visual elements are generated by product comparison The module fits seamlessly into your site’s design. This is because all their colors are inherited from your theme’s color palette.
Still, you might want to tweak the visuals to better match your brand or your customers’ needs. In the sparks settings page, find table style Click the arrow to expand the row and your options:
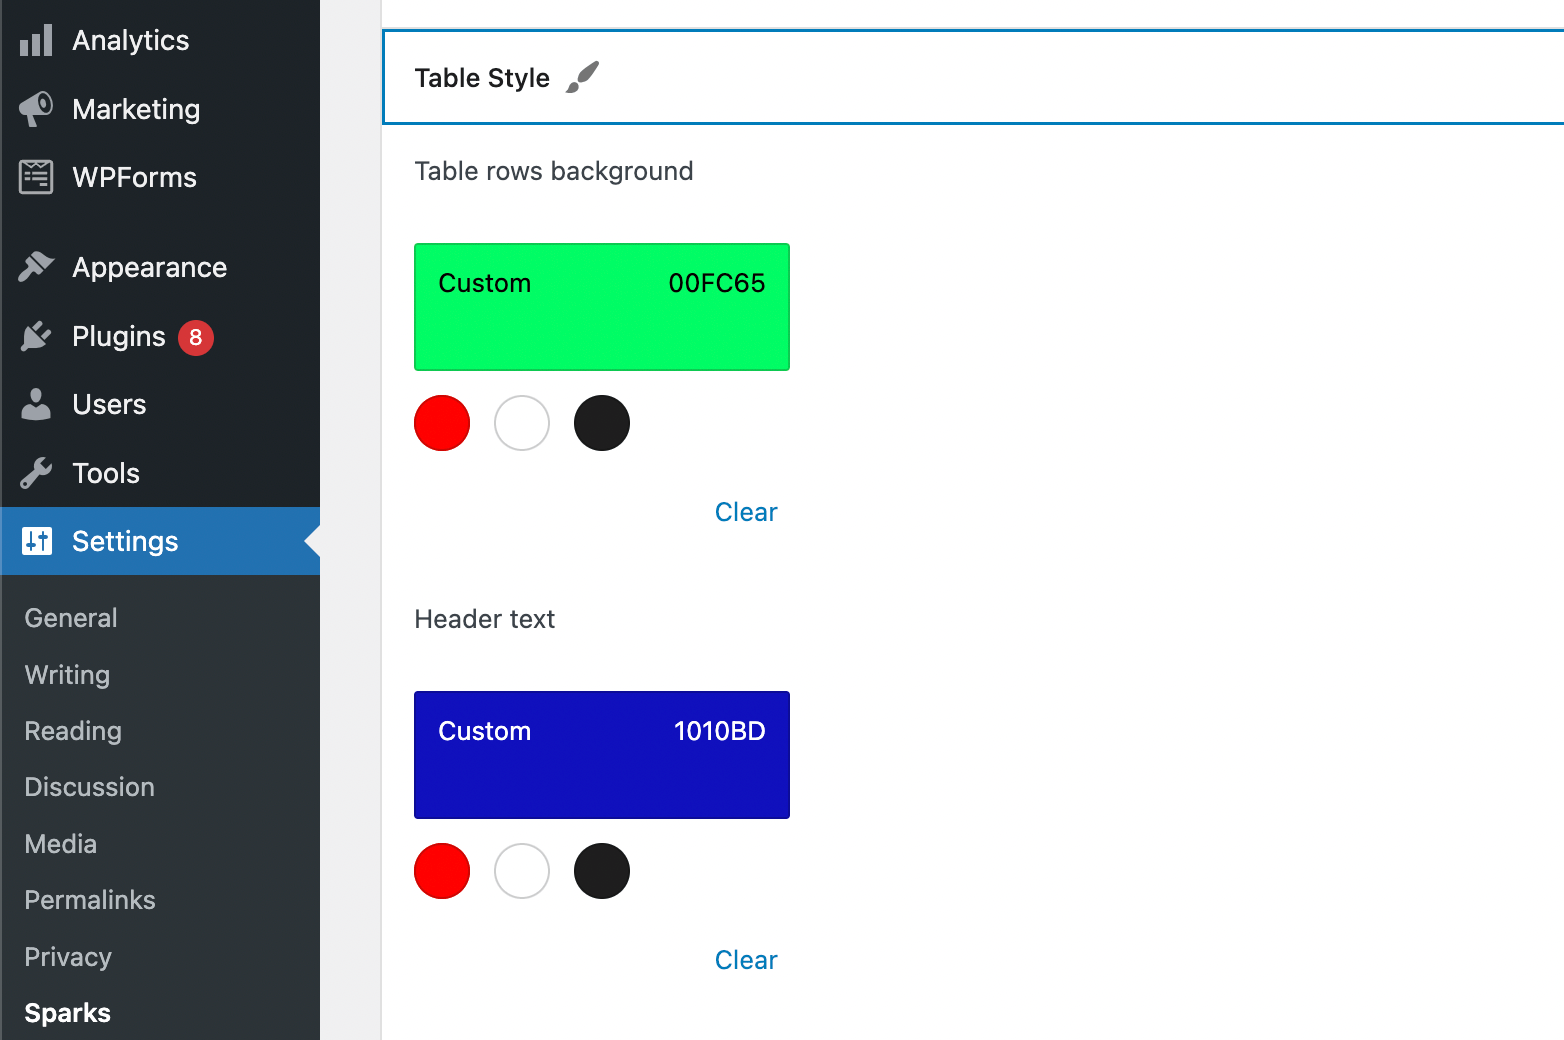
Here, you can modify the background, text color, border, and more. Simply choose from one of the pre-installed colors or enter a custom hex code. You can also toggle the button to enable alternate row colors.
Further down, you can restrict the categories and modify the layout of your table. just click the table layout Row to see your options:

Here, you can rearrange your fields or hide them by clicking on the eye symbol. When you hide a field, it will move to the bottom of the list and be grayed out. Finally, you can change your table view type either for a row or column.
Step 4: Personalize Your Product Table With More Features
As you can see, there are a few additional ways you can personalize the product comparison table. For example, you may want to add a “Related Products” section. This will enable you to cross-sell to your customers and maximize sales.
You also have the option of customizing your Sticky Bar’s colors and buttons:
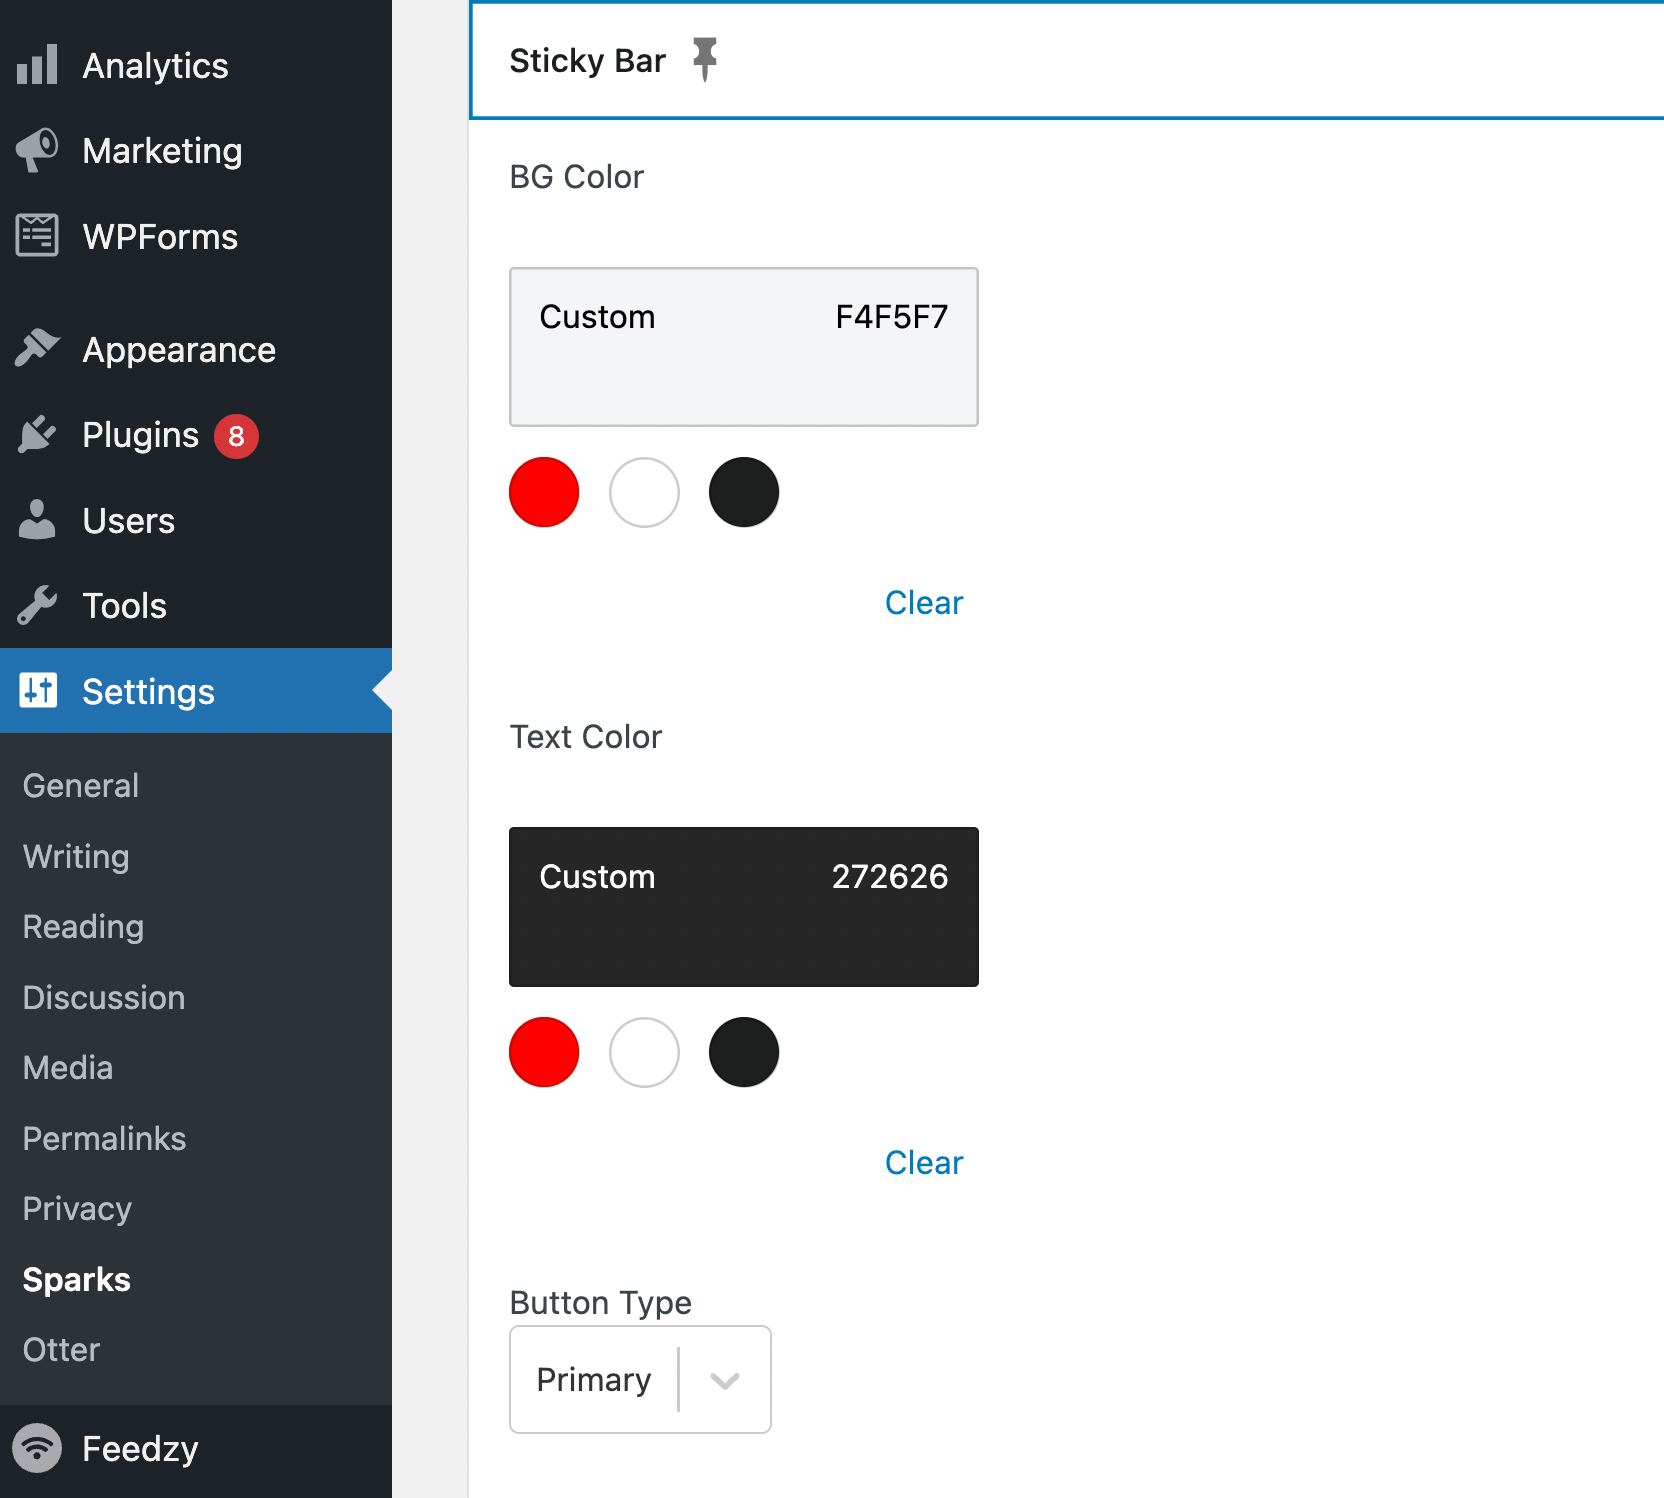
Remember, the sticky header is an important design element, as it makes your product comparison table easy to navigate.
Last but not least, you can choose an attractive compare button for your table:
Note that your edits will be saved automatically. When you’re happy with your changes, you can go ahead and preview your product comparison table!
Set up a WooCommerce products comparison table today
As your e-commerce store grows, you may decide to add more products to your catalog, giving customers more options. This can help you increase your customer base and increase your income. However, some buyers may get overwhelmed with all these options.
Luckily, you can add a WooCommerce products comparison table to your store in four easy steps:
- install and activate Sparks for WooCommerce,
- Activate and configure the Product Compare module.
- Customize the style and layout of your table.
- Personalize your product table with more features.
For some other ways to improve your store, you can also browse through our collection of the best WooCommerce plugins for all different types of use cases.